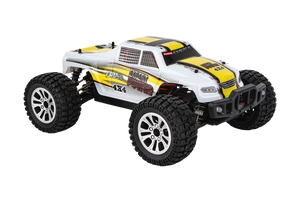

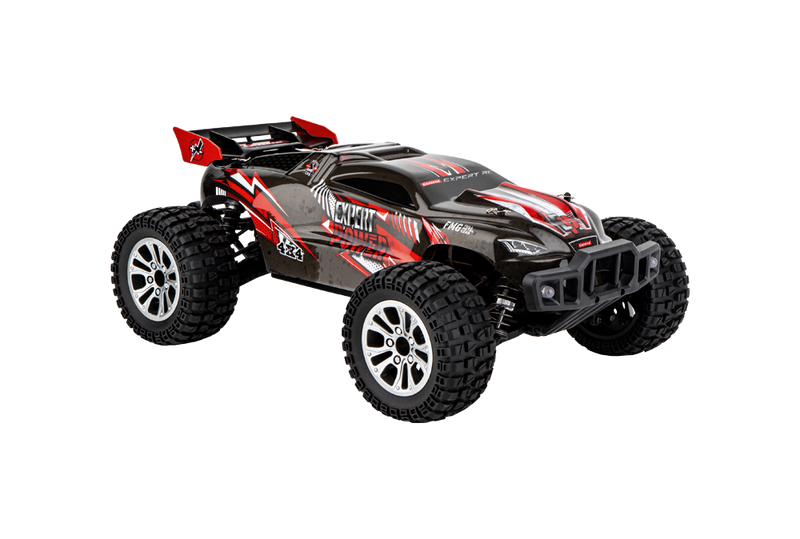
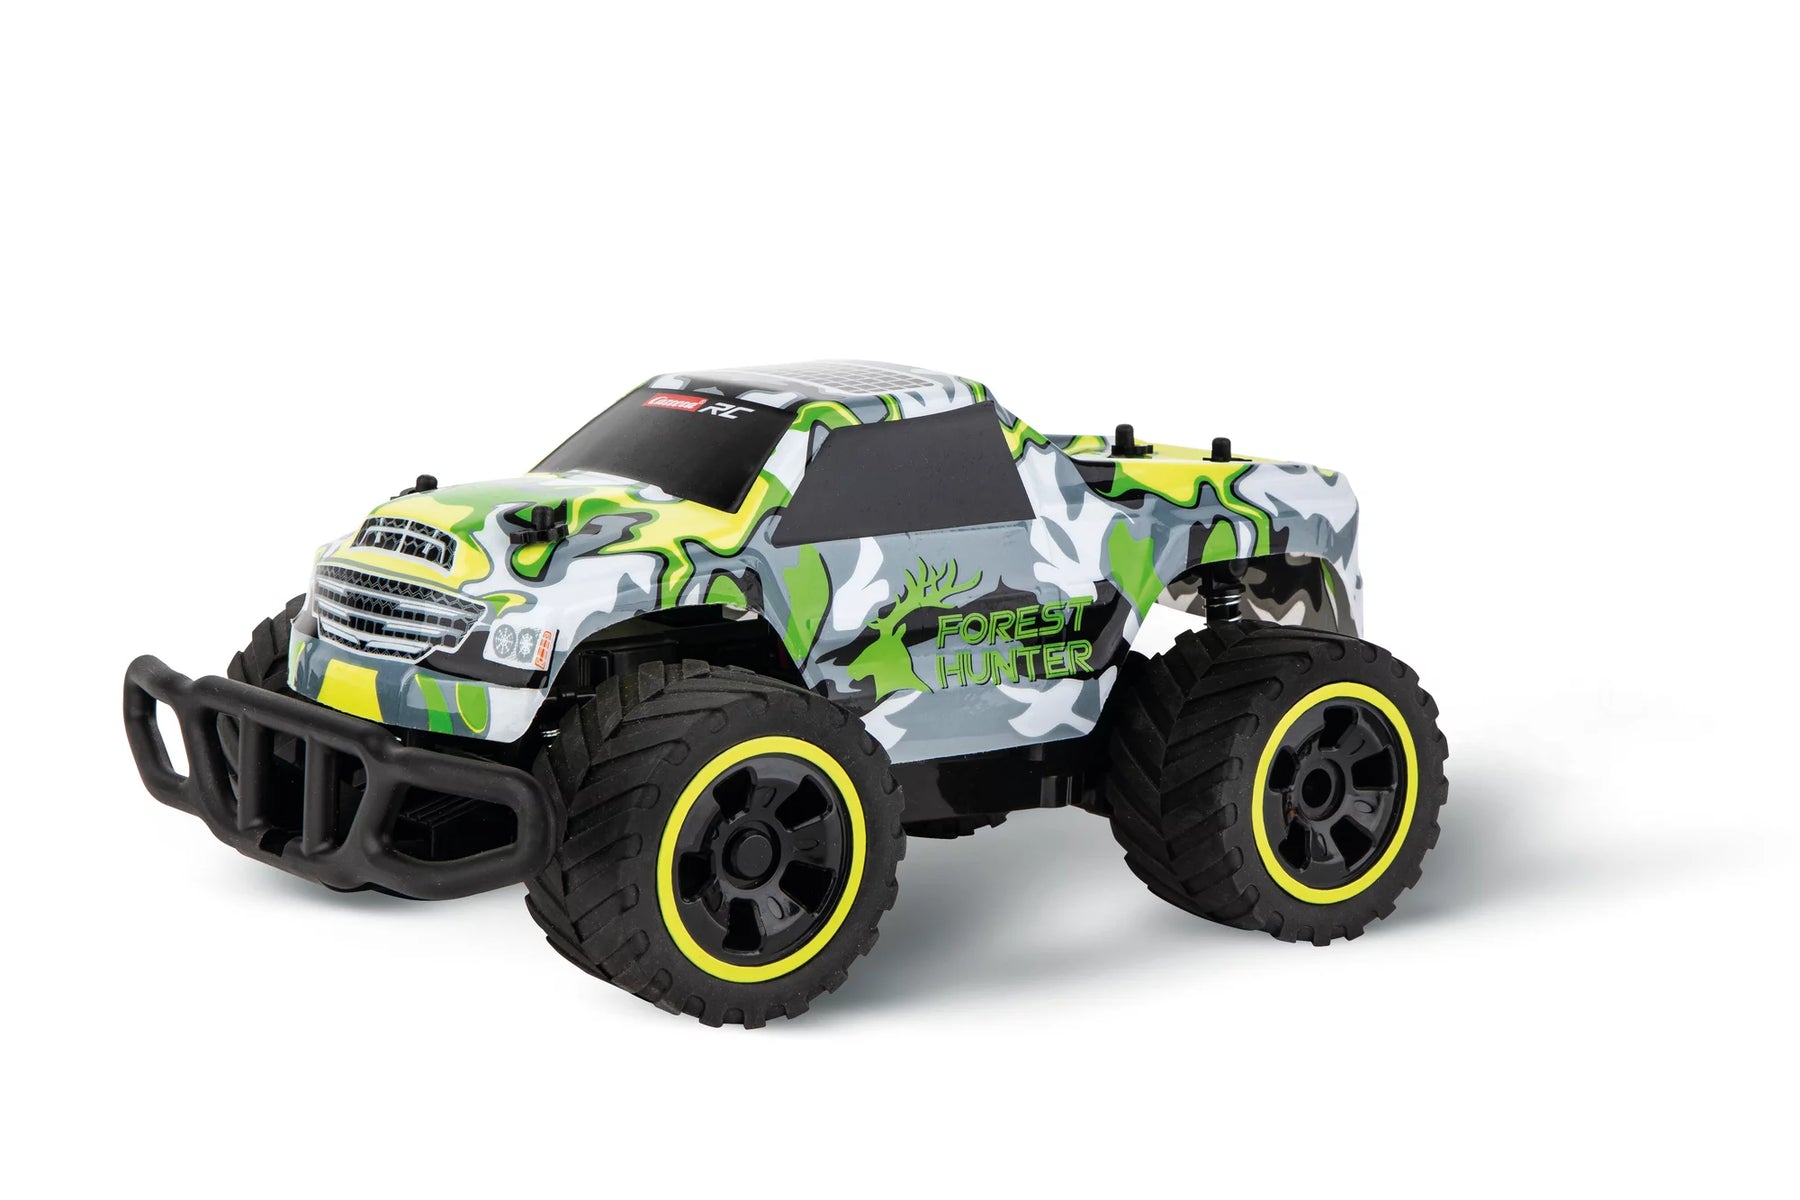
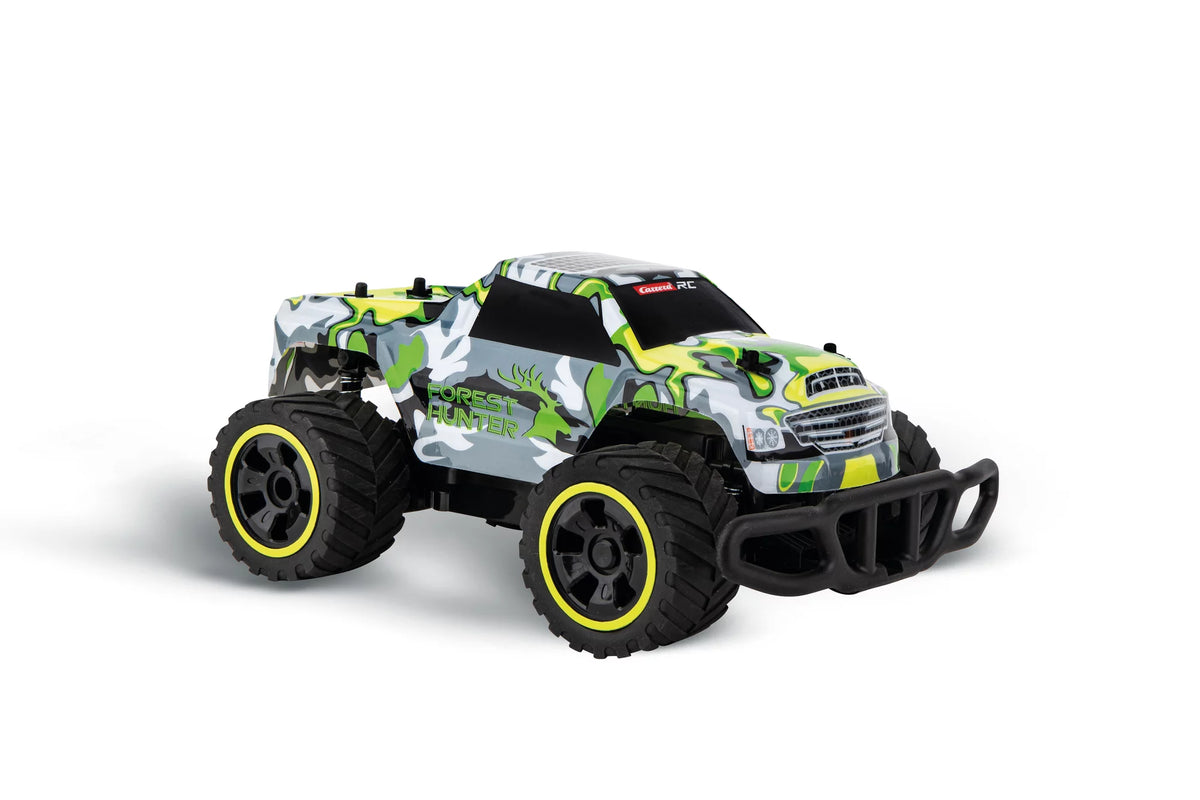
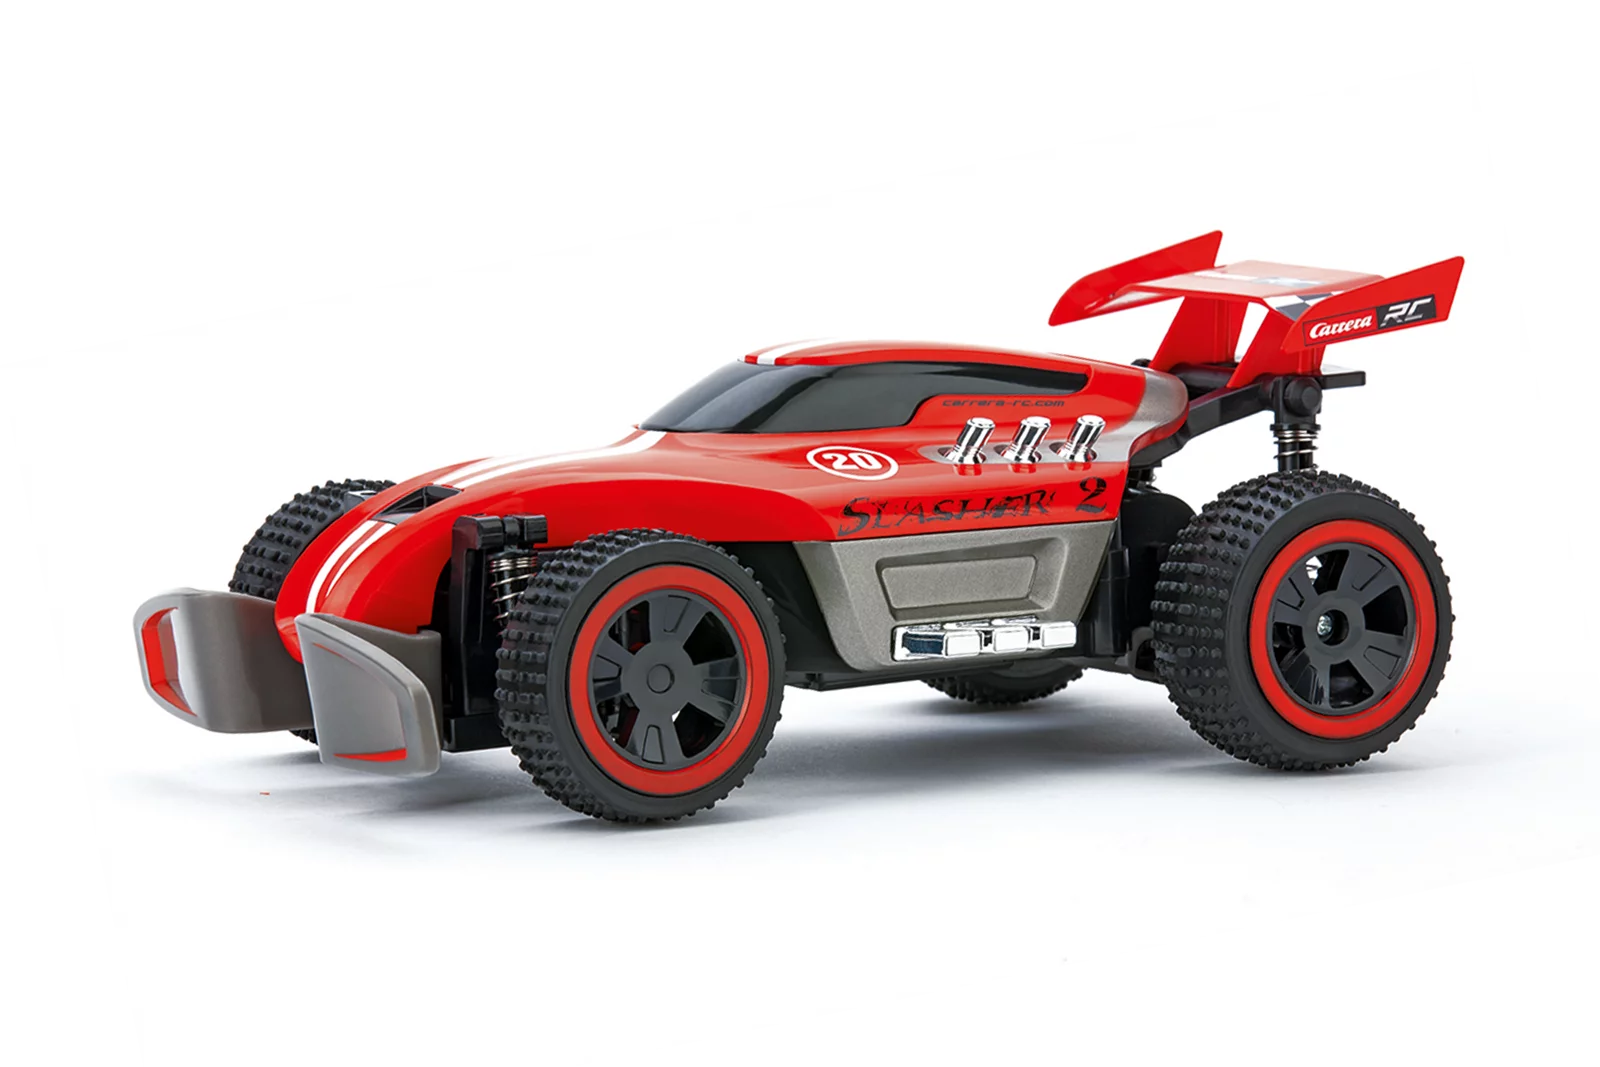
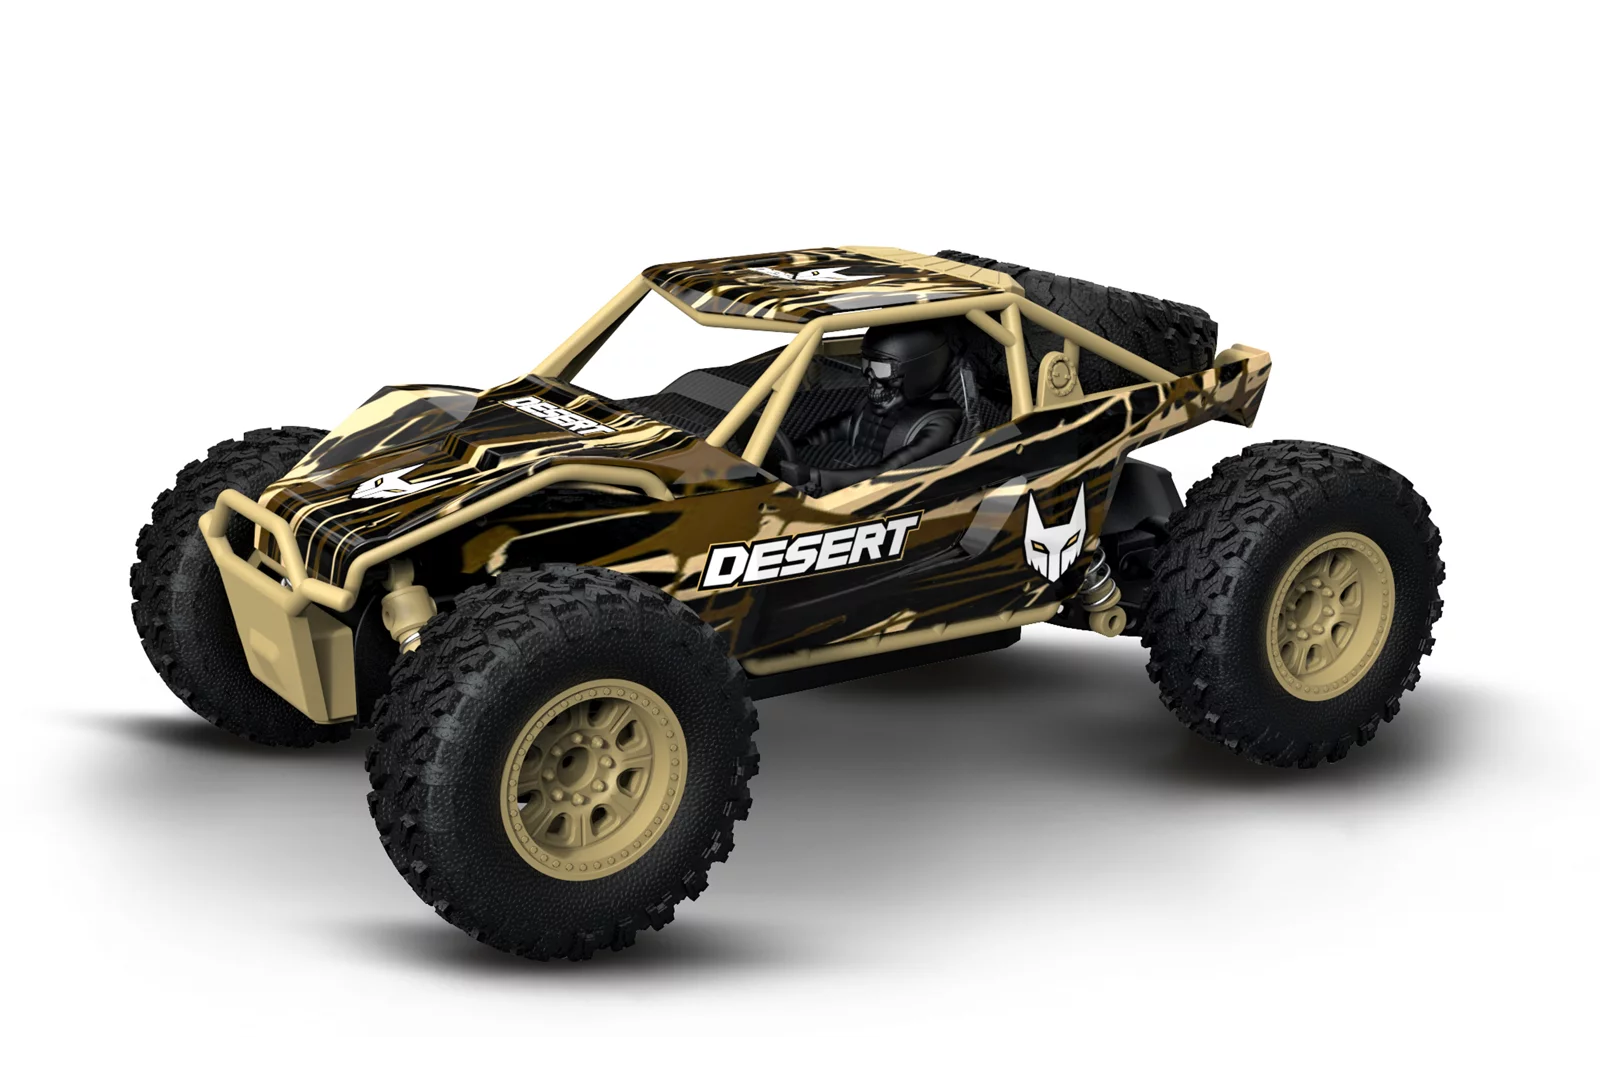
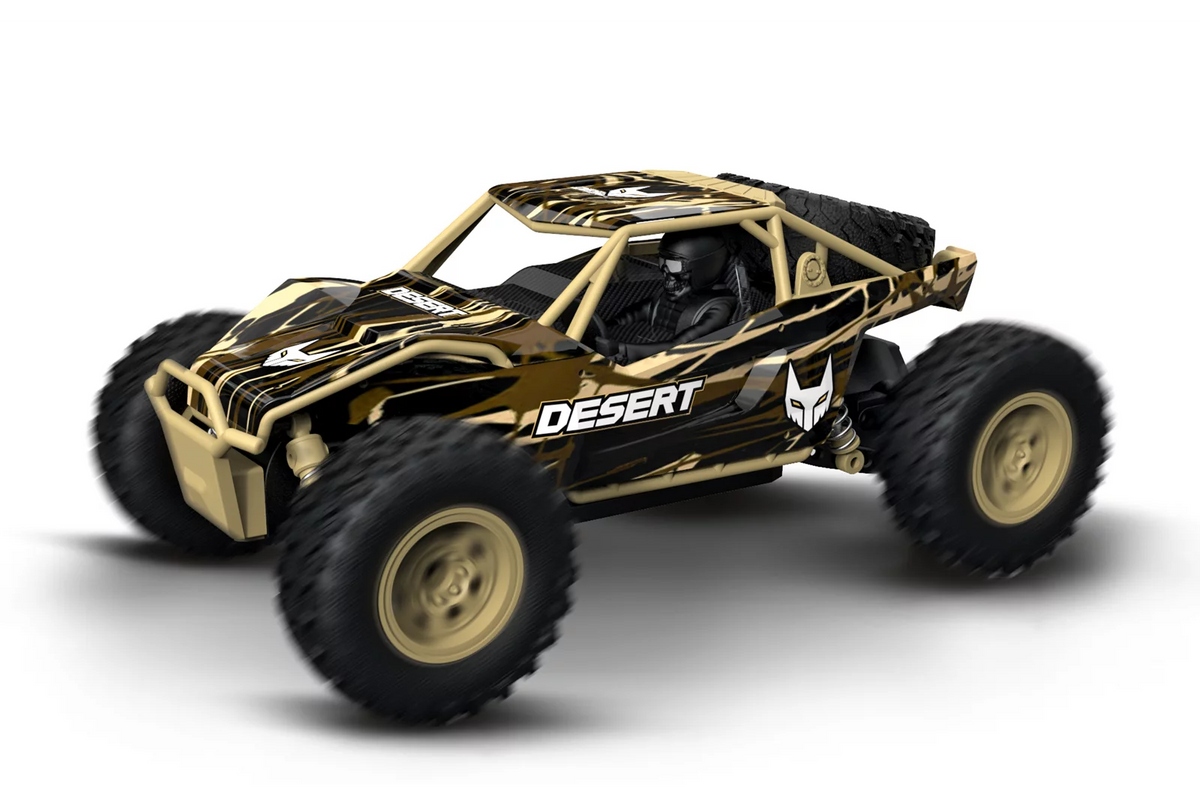
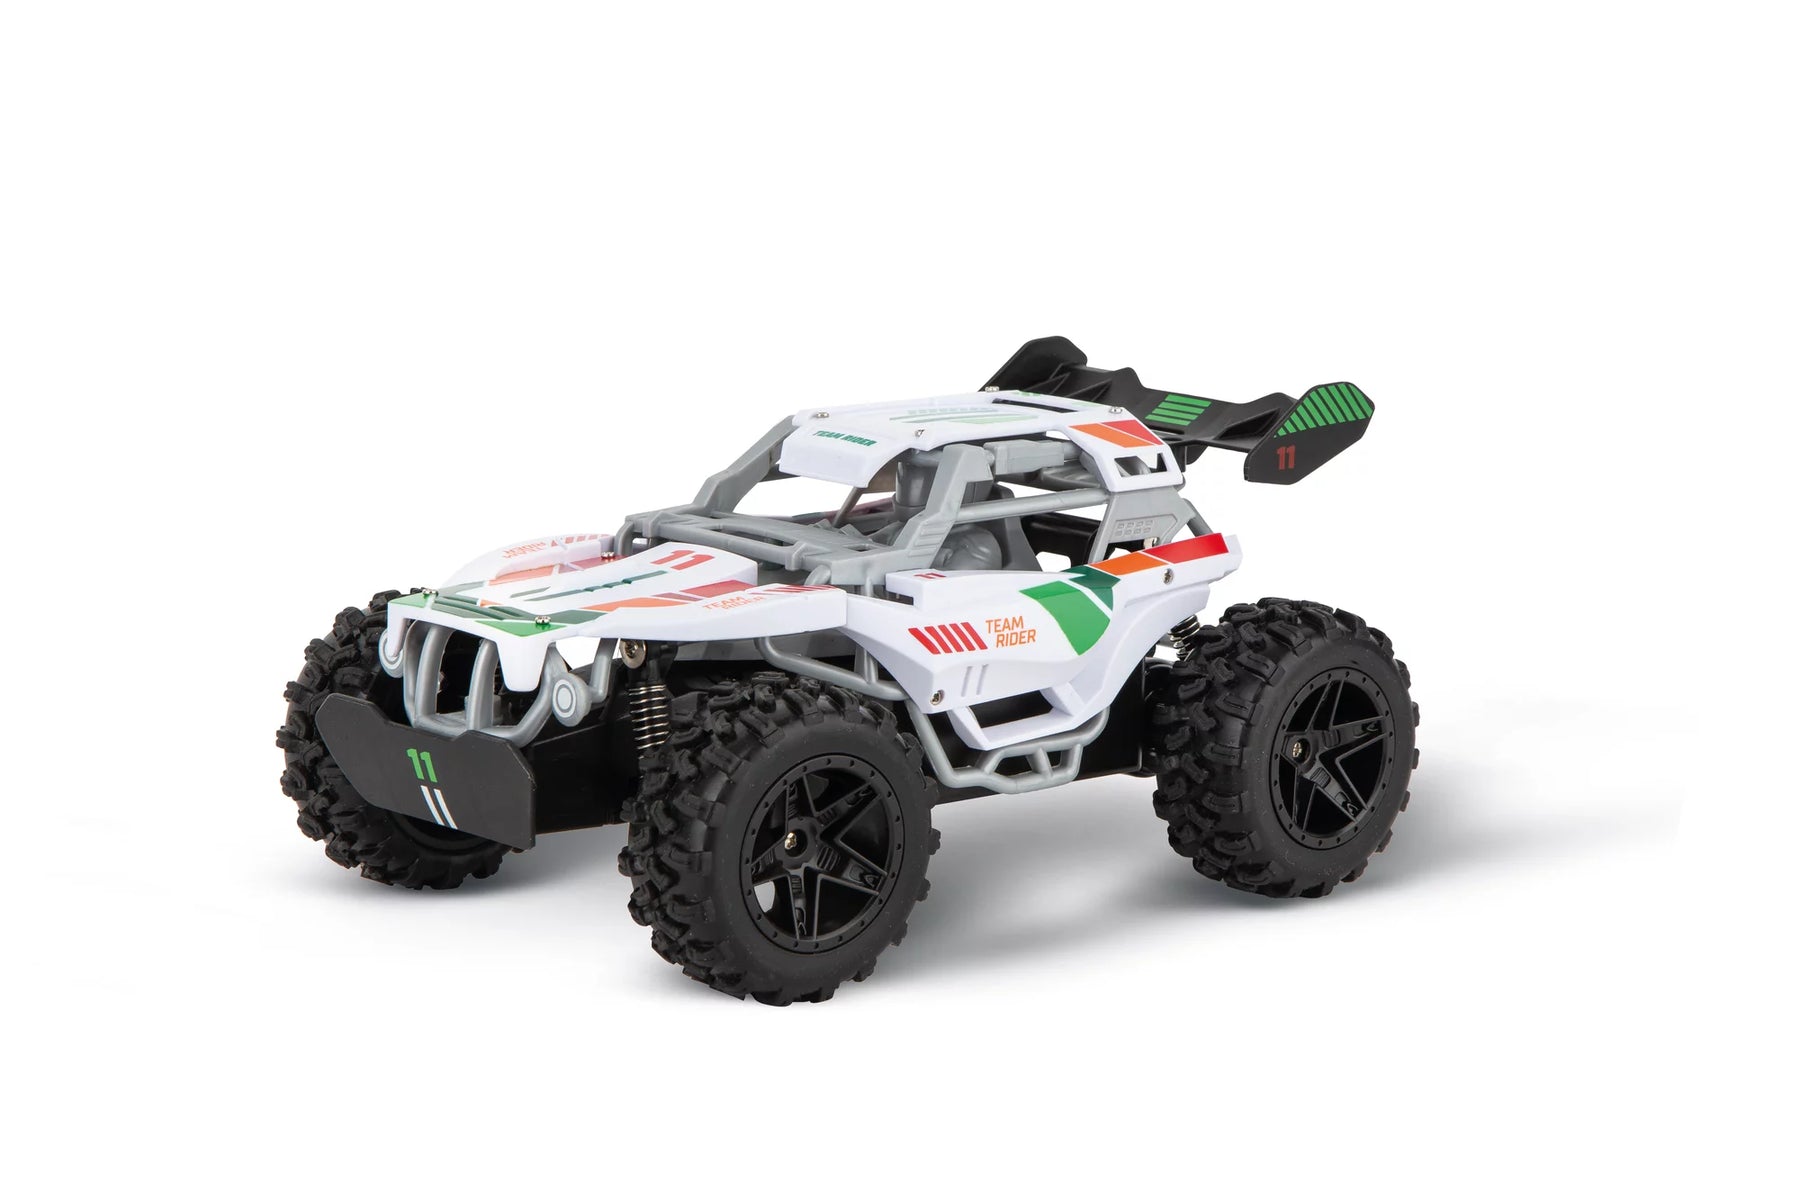
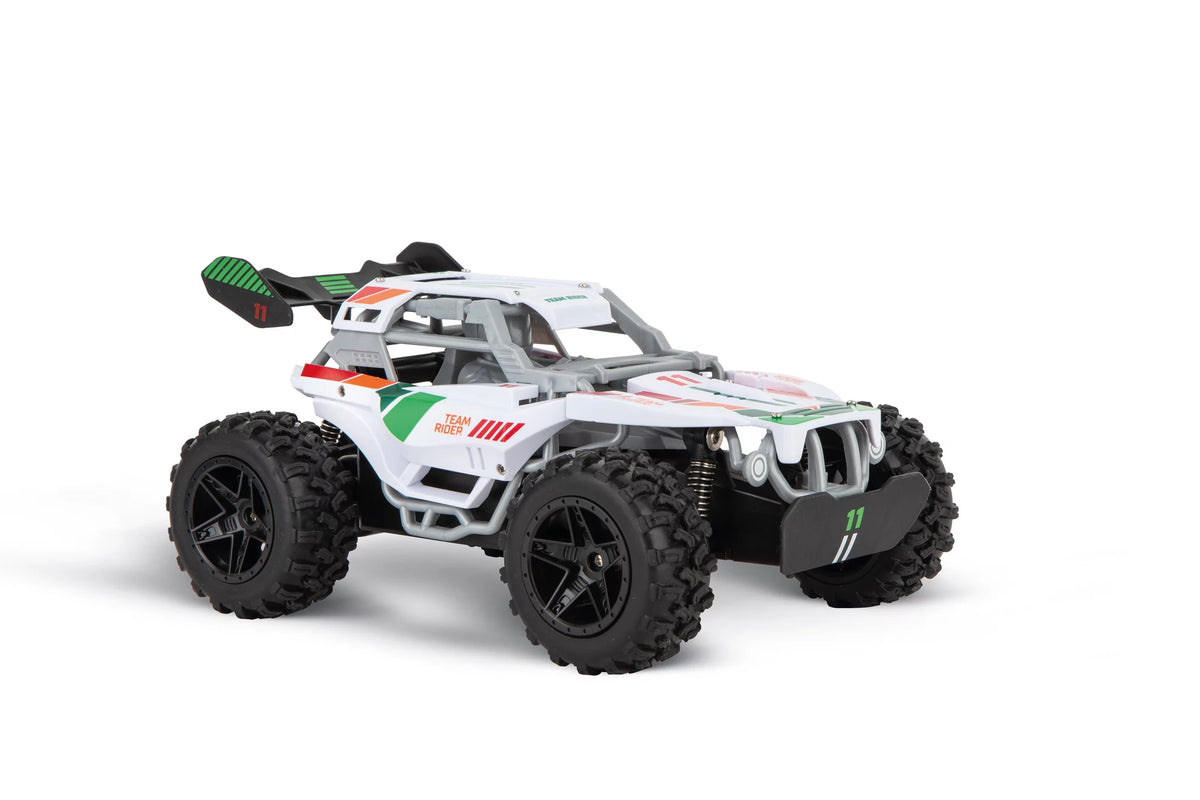
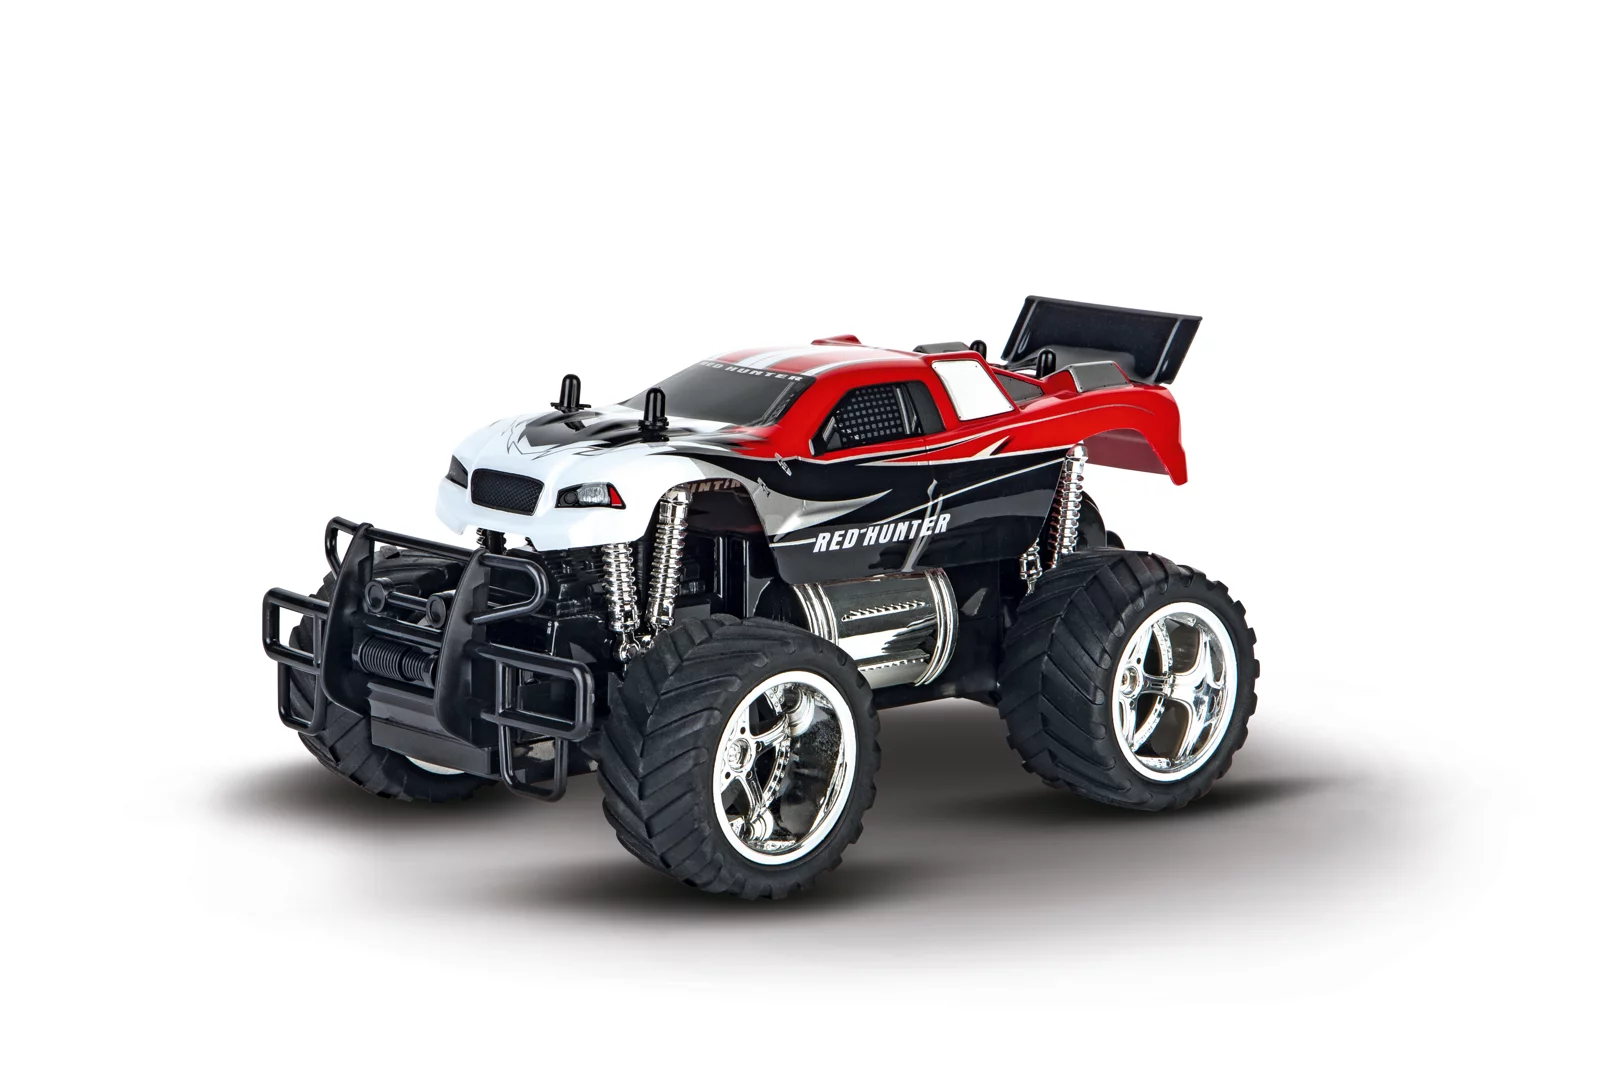
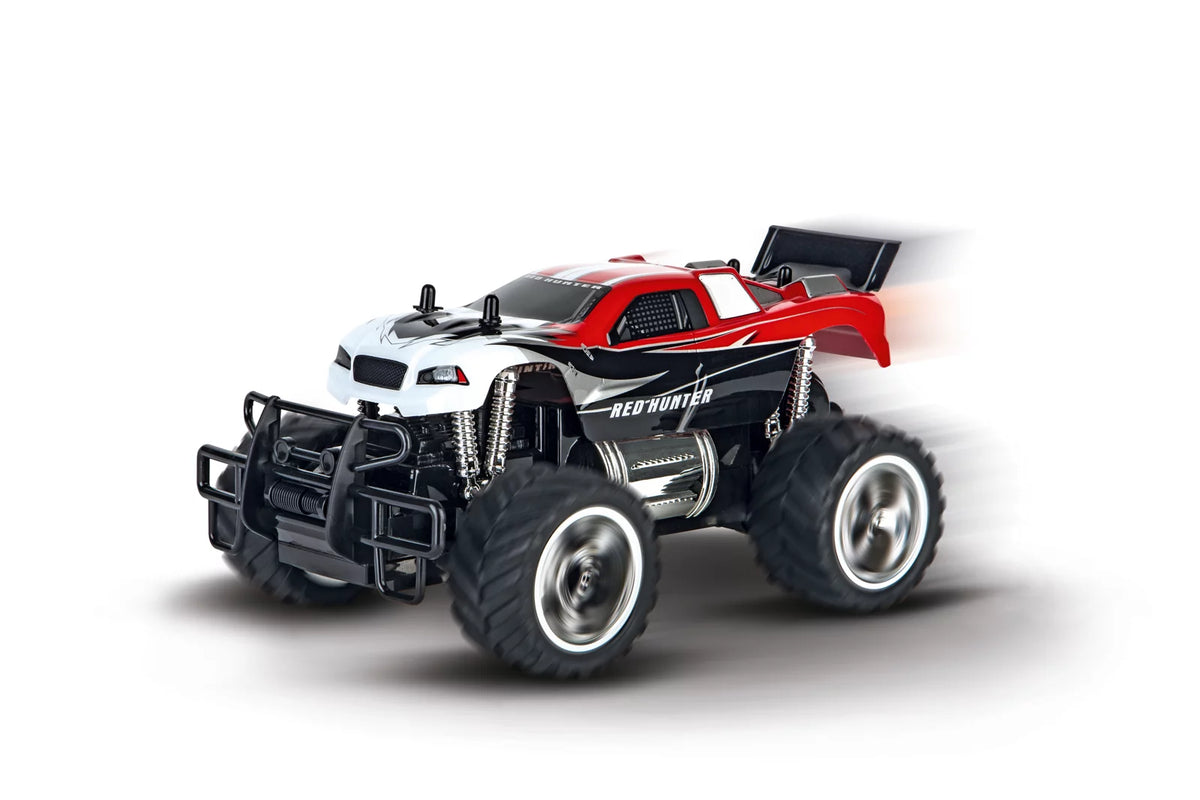
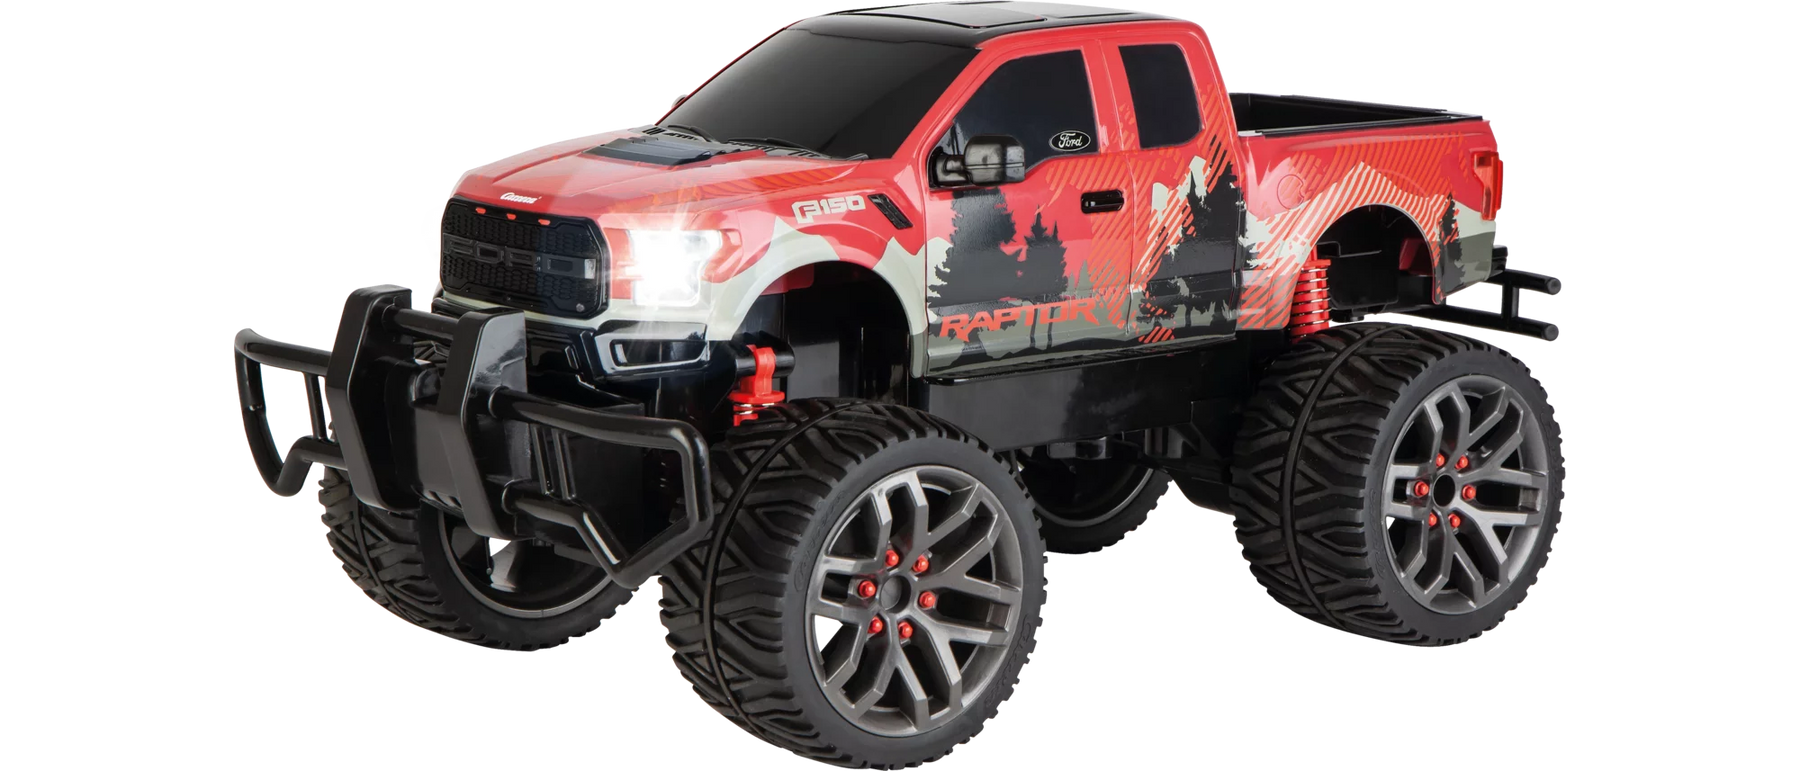
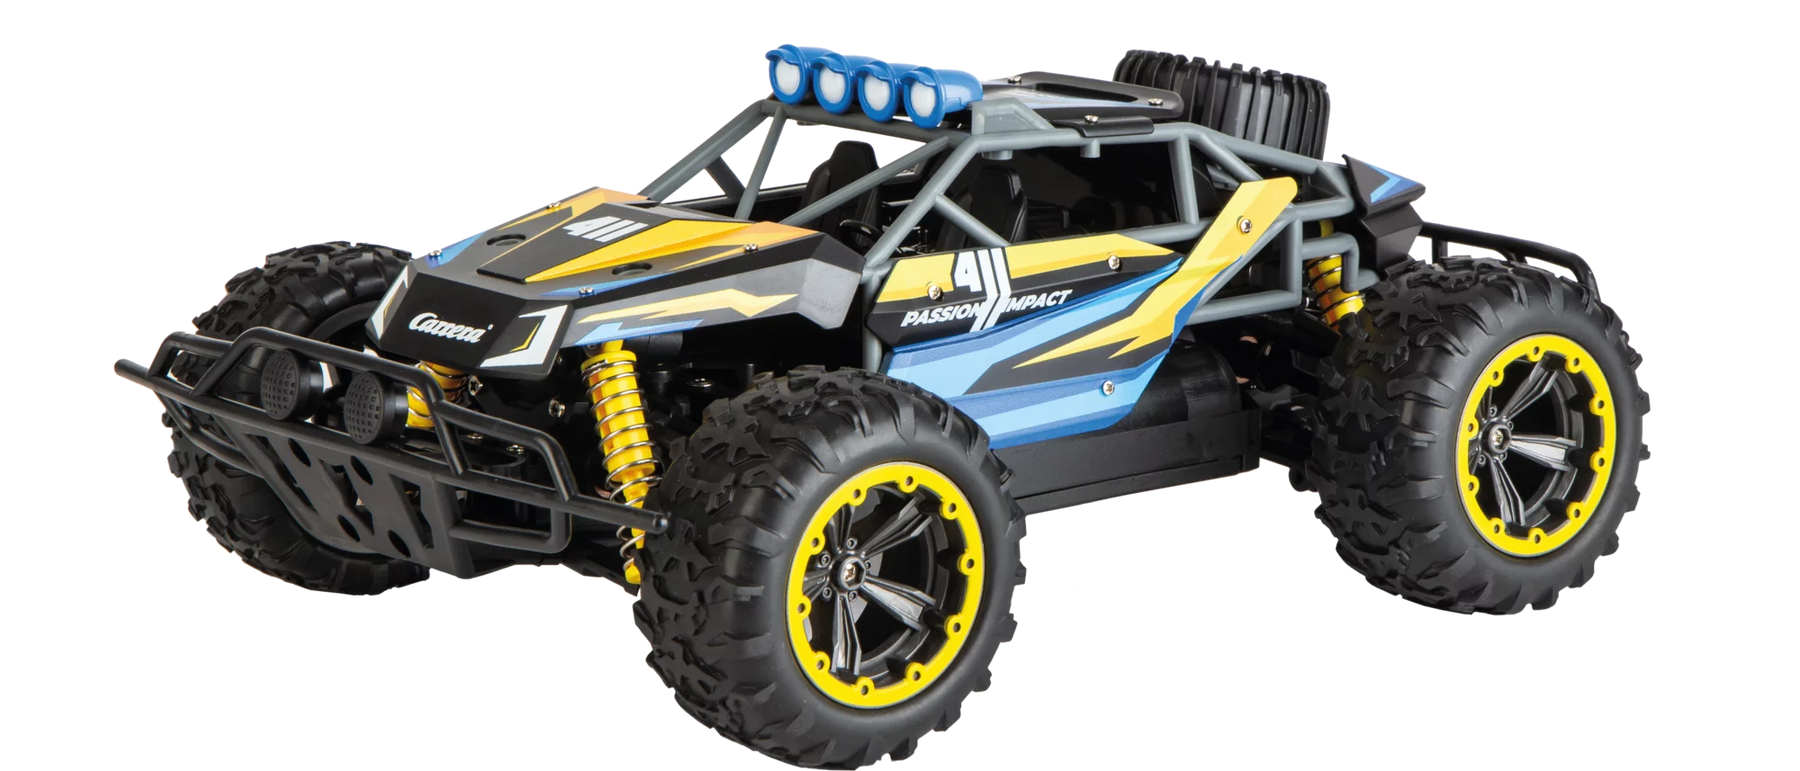
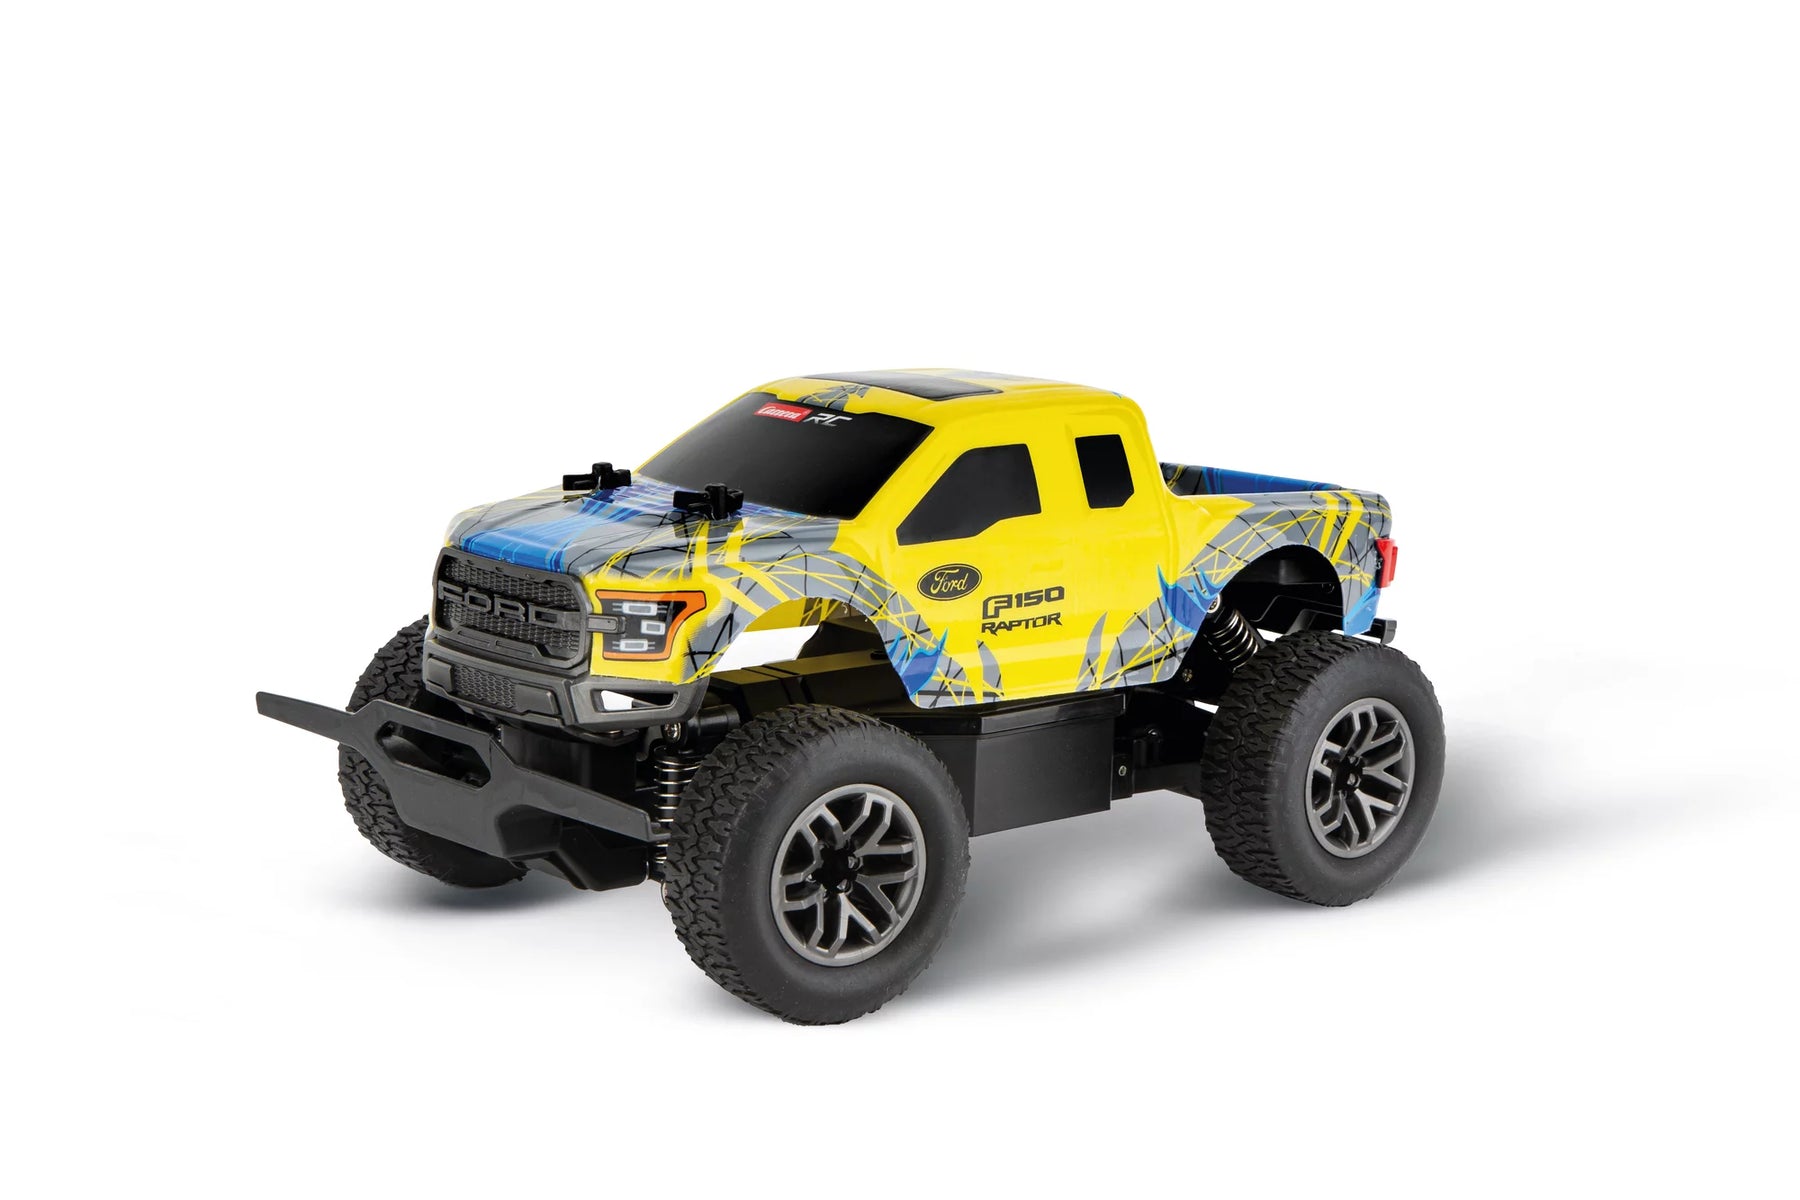
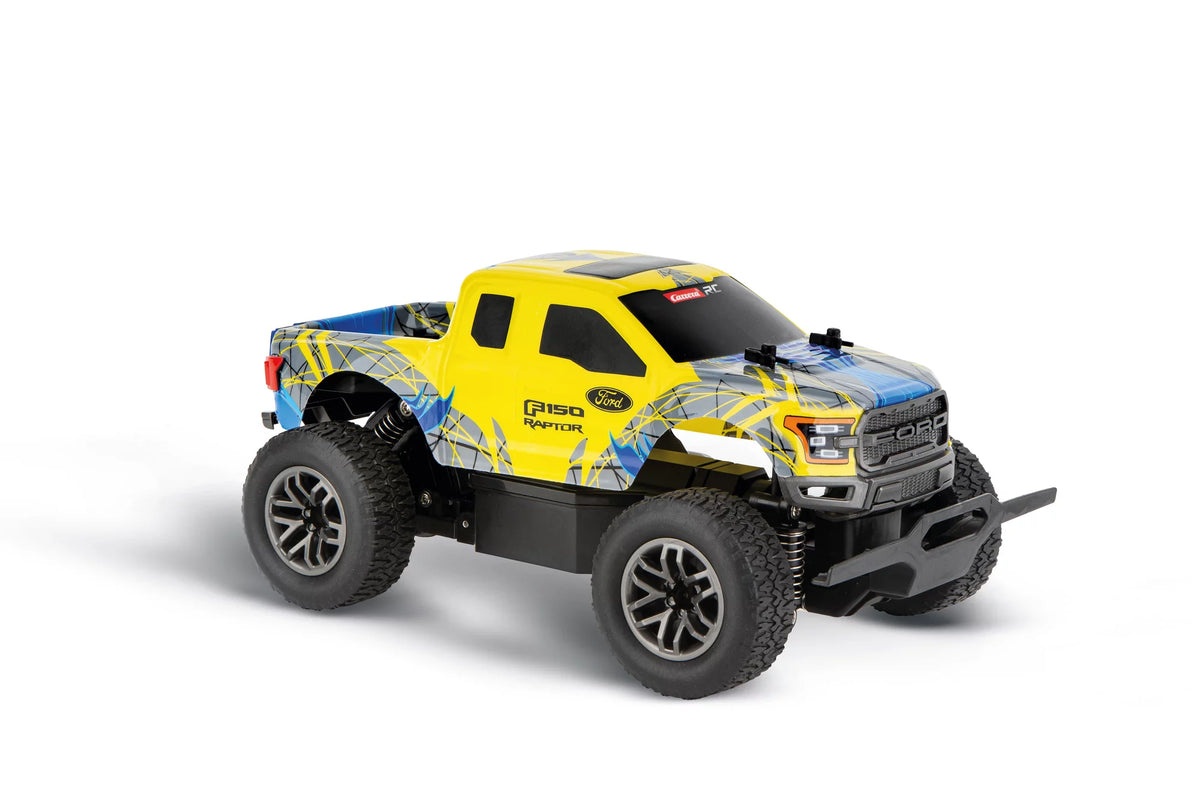
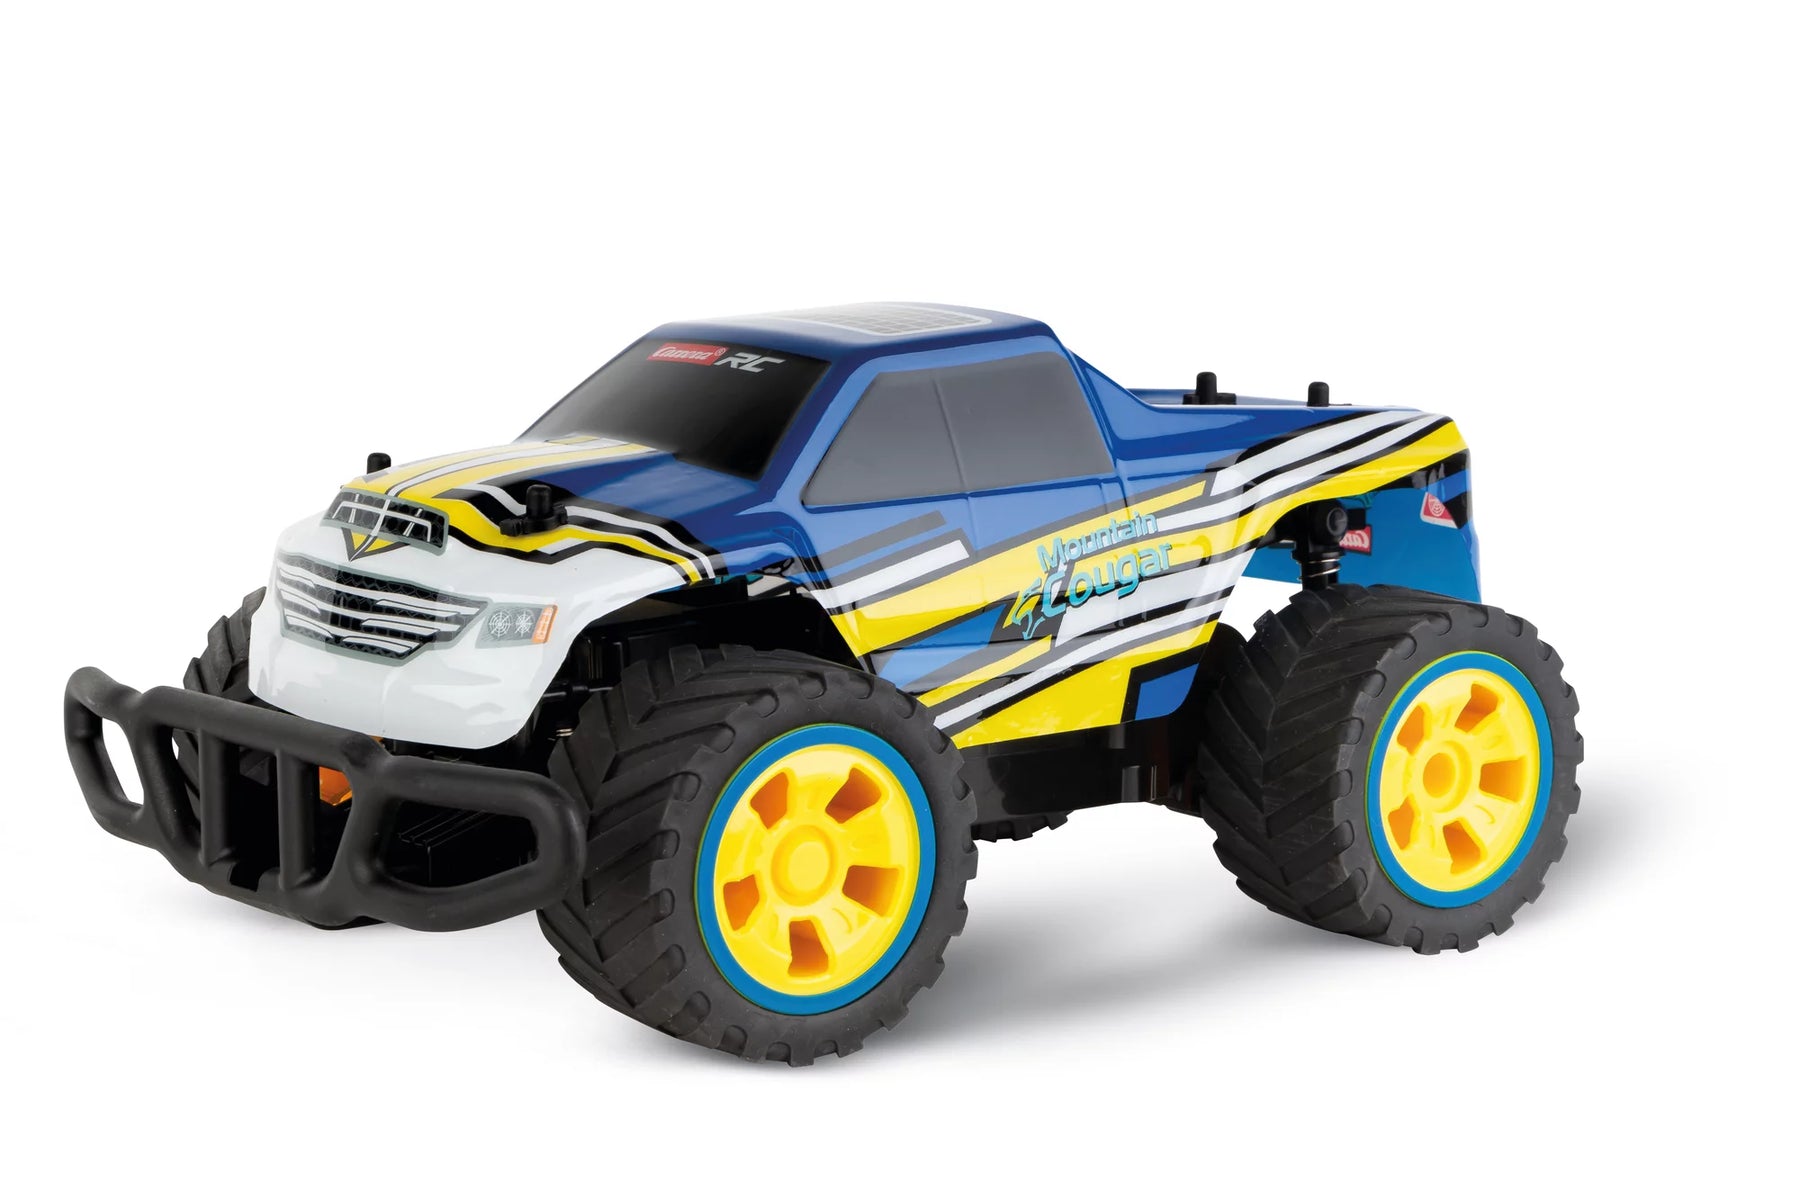
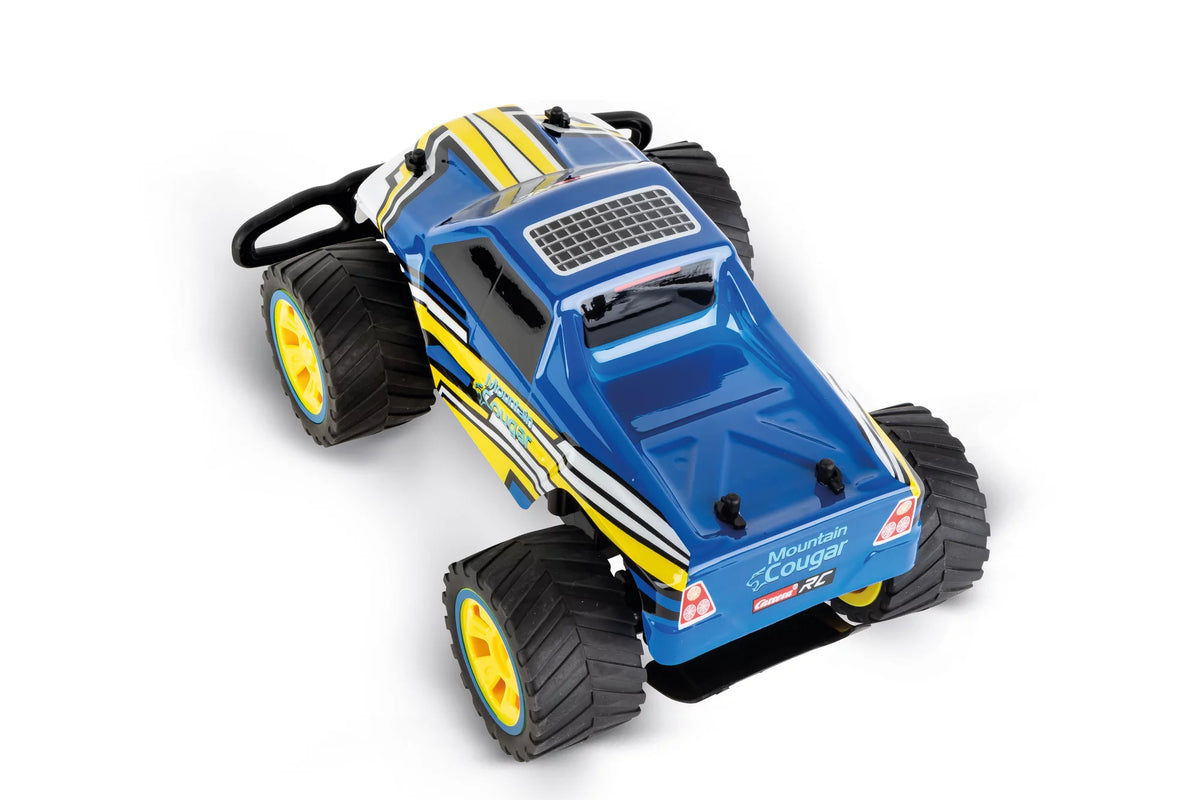
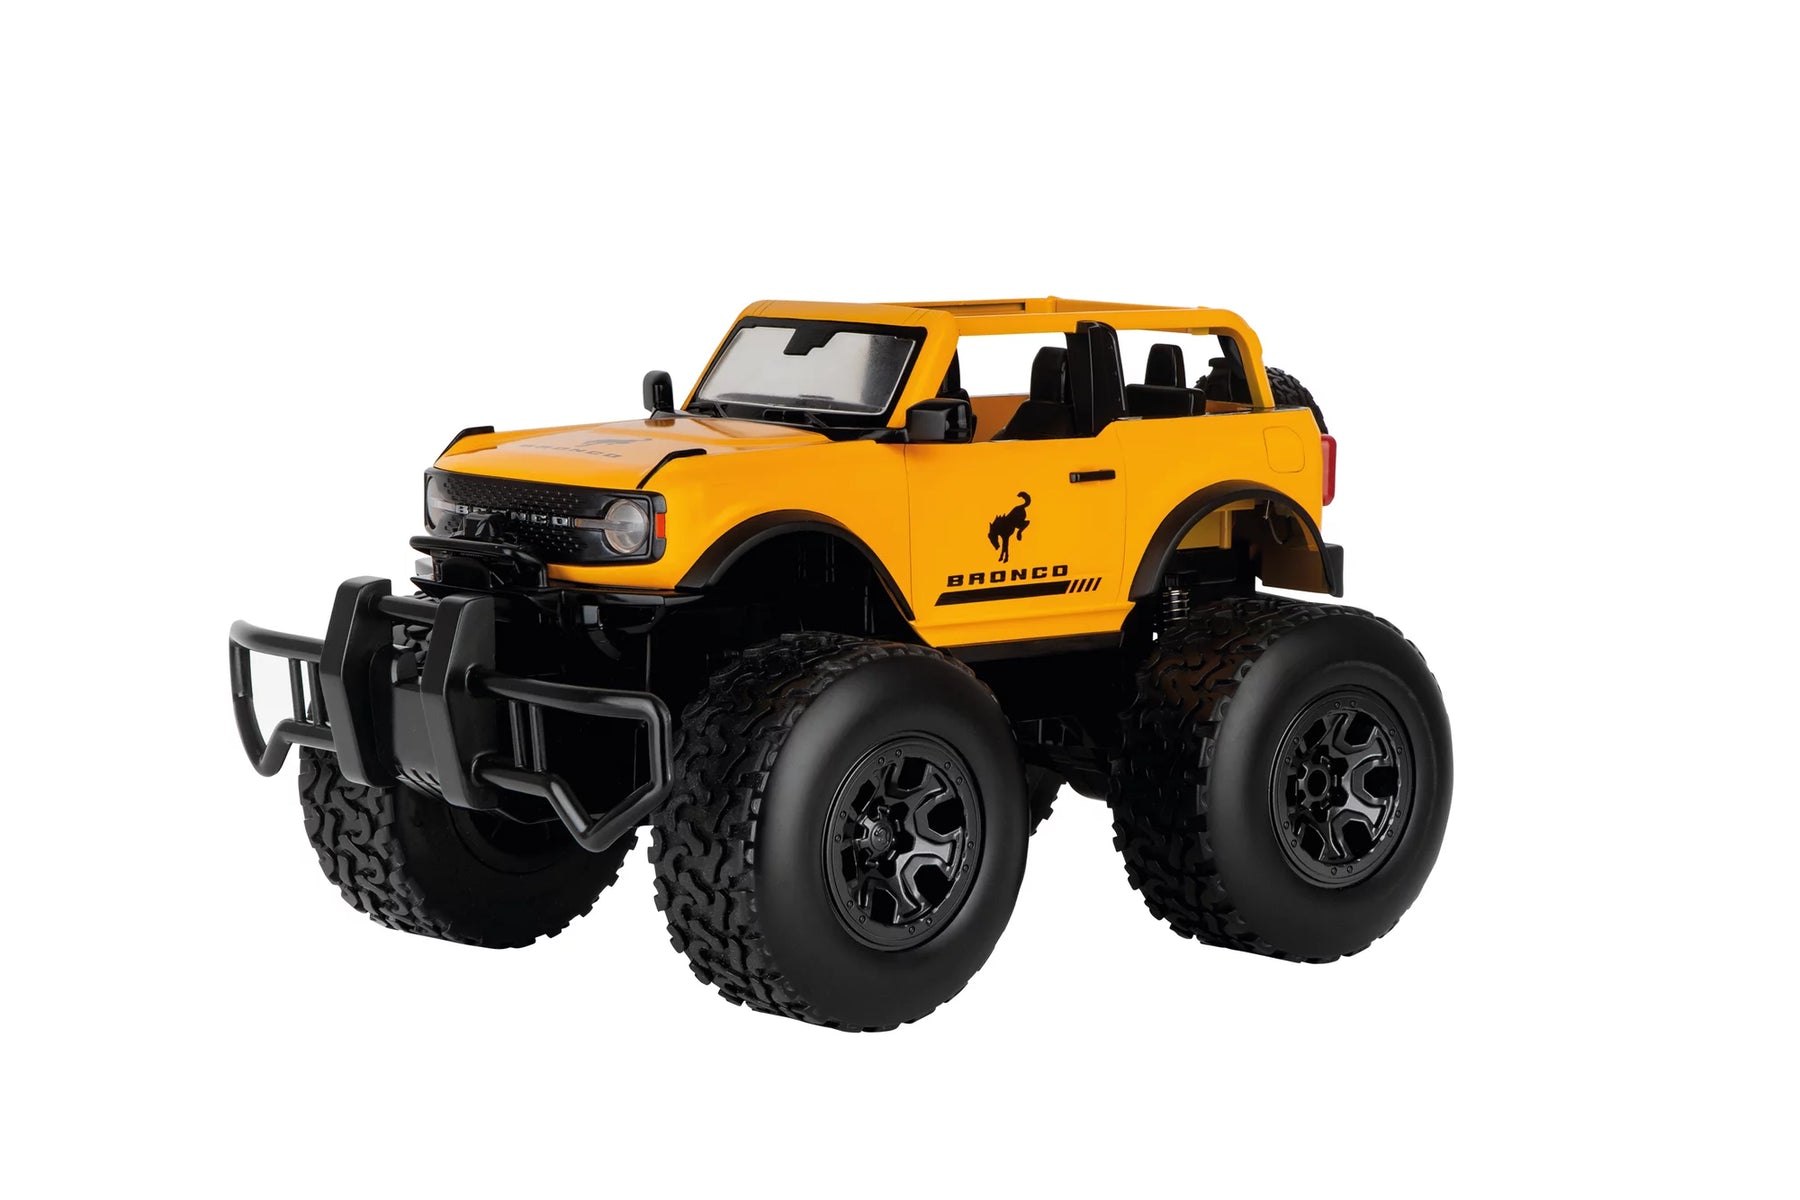
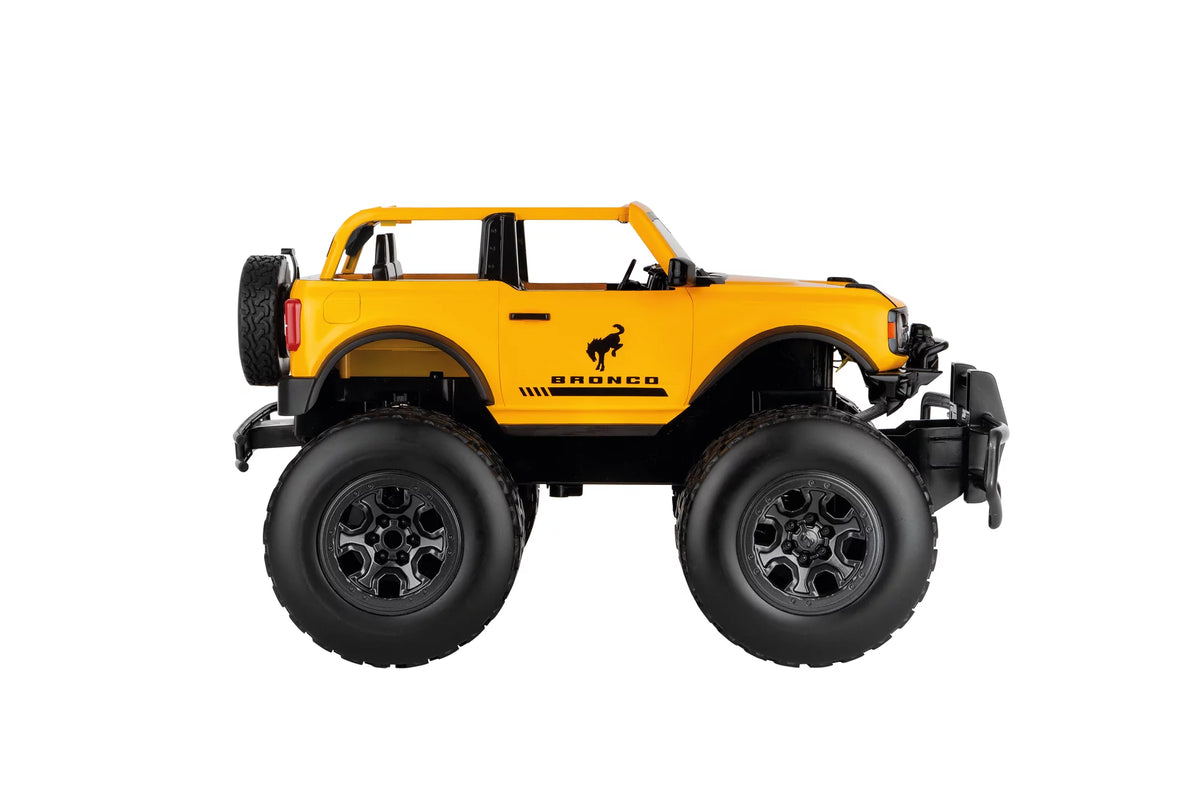
Carrera RC Buggies: Remote-controlled off-road cars for a racing experience in the great outdoors
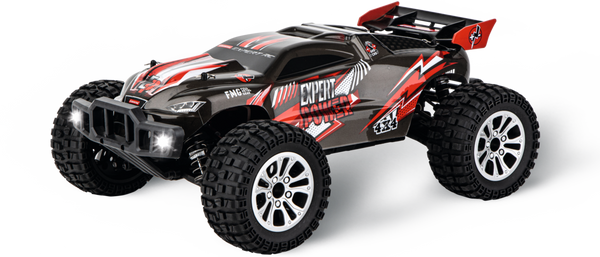
Maneuverable, fast, agile: buggies for dynamic off-road maneuvers

Off-road action outdoors: the perfect companion for every adventure