











Full Throttle with Mario, Yoshi, and Co.

Featuring officially licensed vehicles from the world of Super Mario™ Every racetrack becomes a digital adventure! Whether in a go-kart, on a motorcycle, or in <tc>Carrera</tc> an <tc>Carrera</tc>RC car—Mario and his friends engage in high-speed duels on the track. Colorful, packed with detail, and full of fun!

Mehr über Mario RC
Sort by:
Sort by:
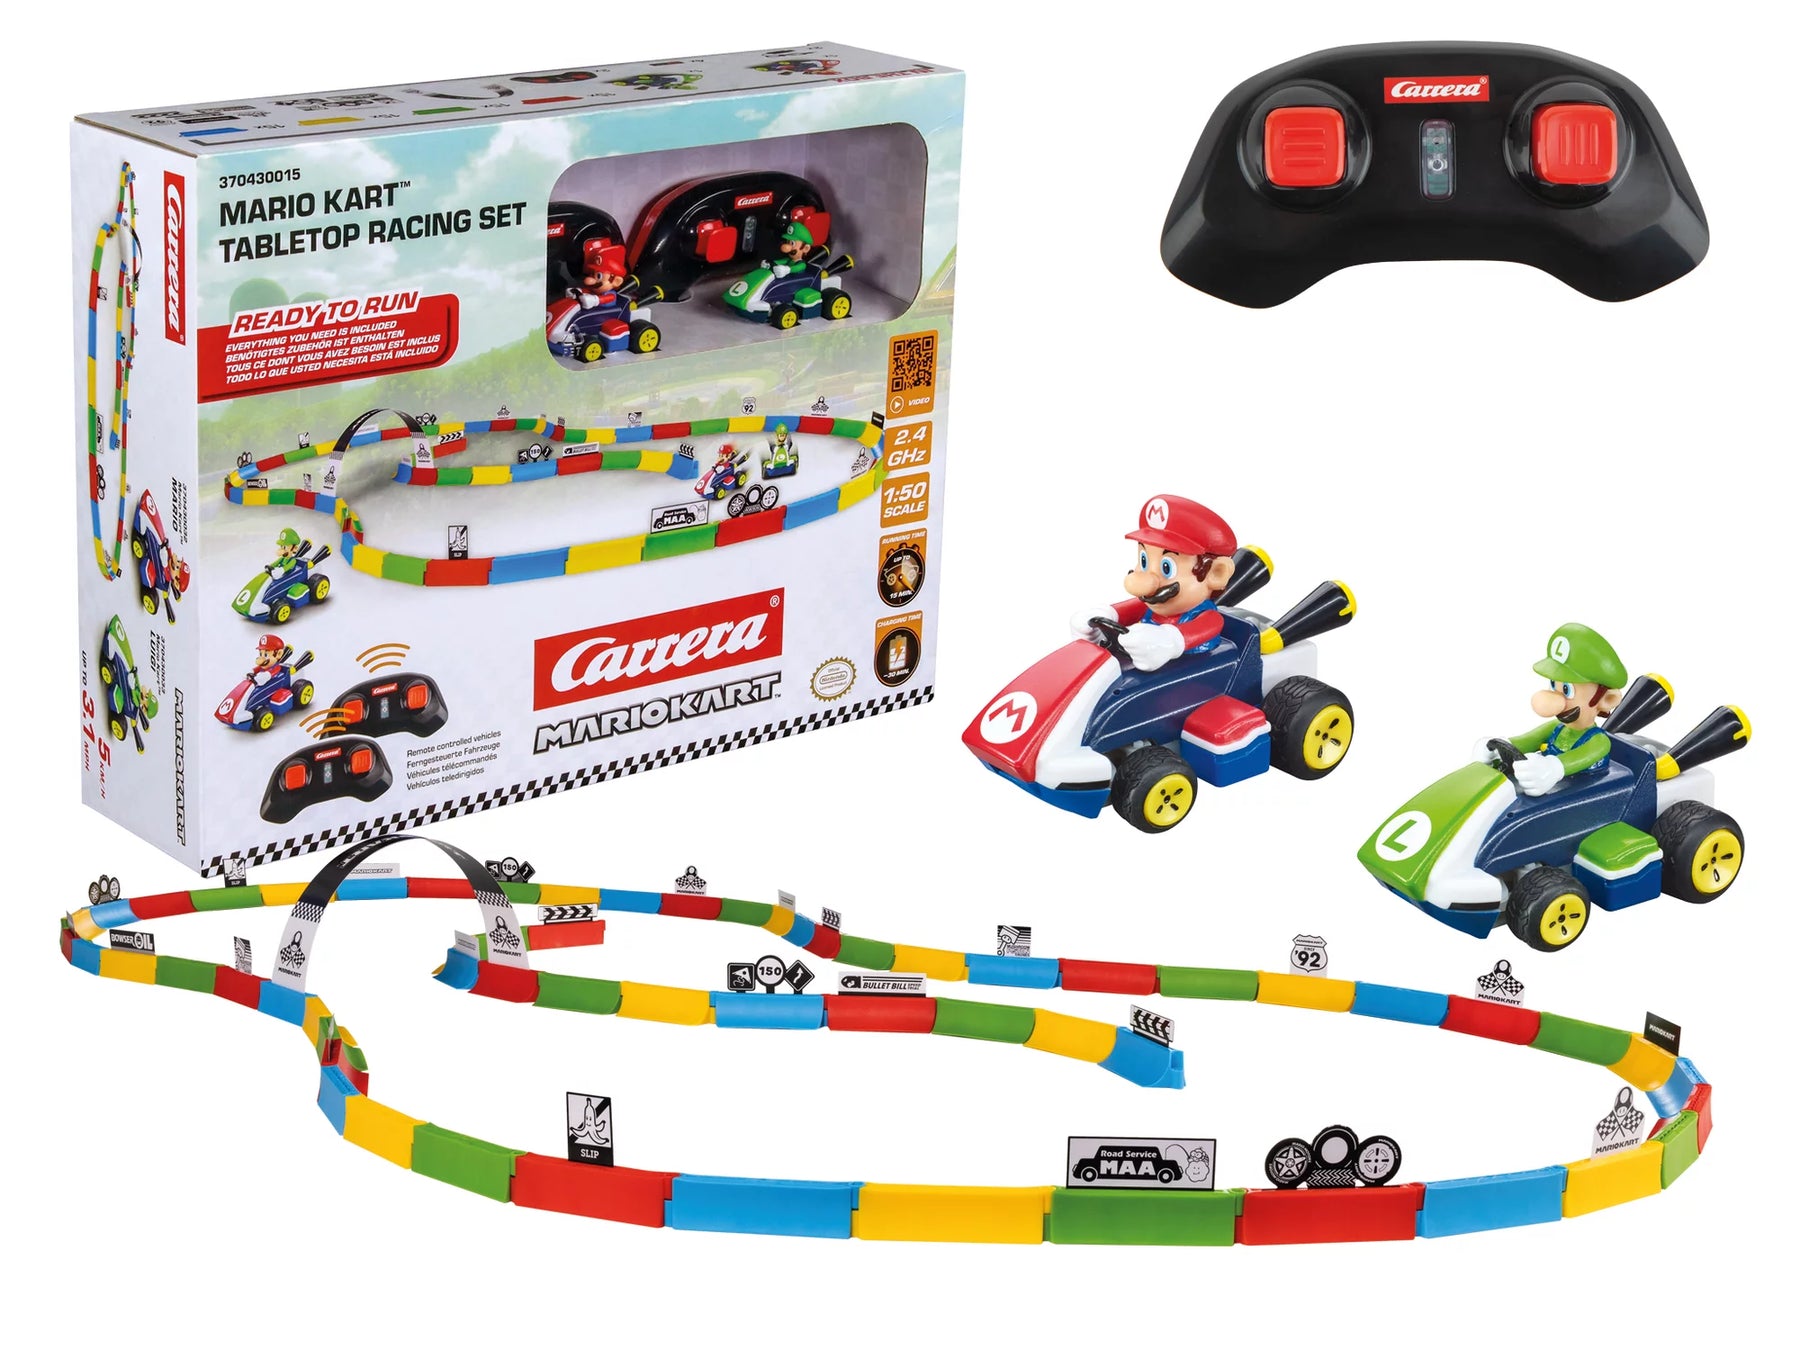
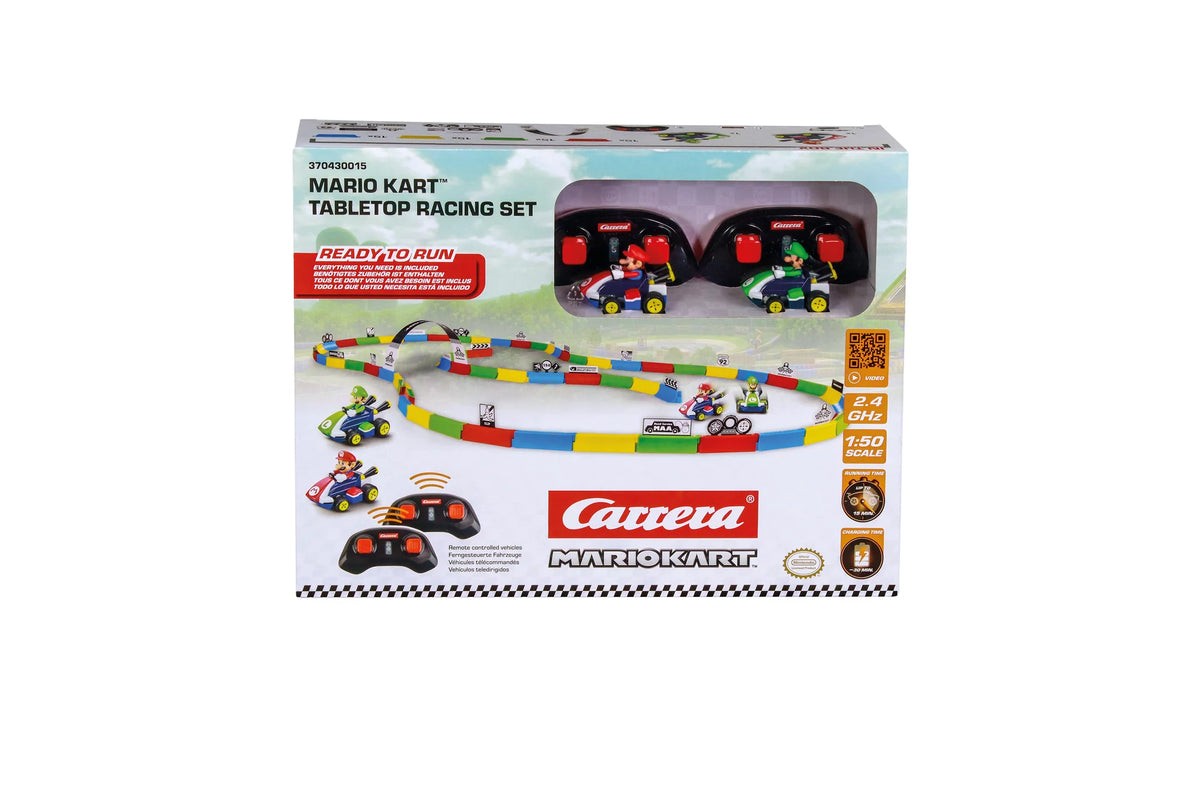
2,4GHz Mario Kart™ Tabletop Racing Set - Mario & Luigi2,4GHz Mario Kart™ Tabletop Racing Set - Mario & Luigi
6+ 6+
Art. Nr 370430015 2.4 GHz Mario Kart™ Tabletop Racing Set -MarioLuigi
Asking Price€54,99 EUR Regular Price€59,99 EUR
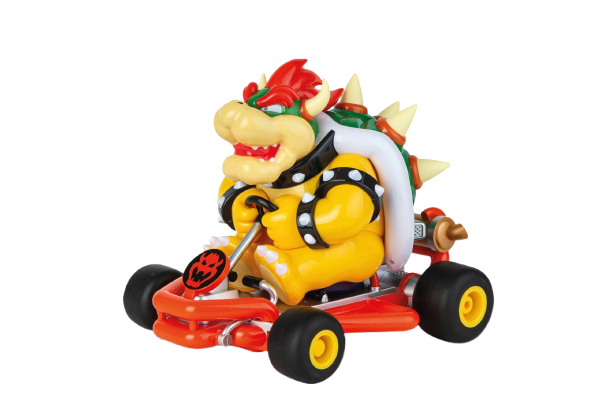
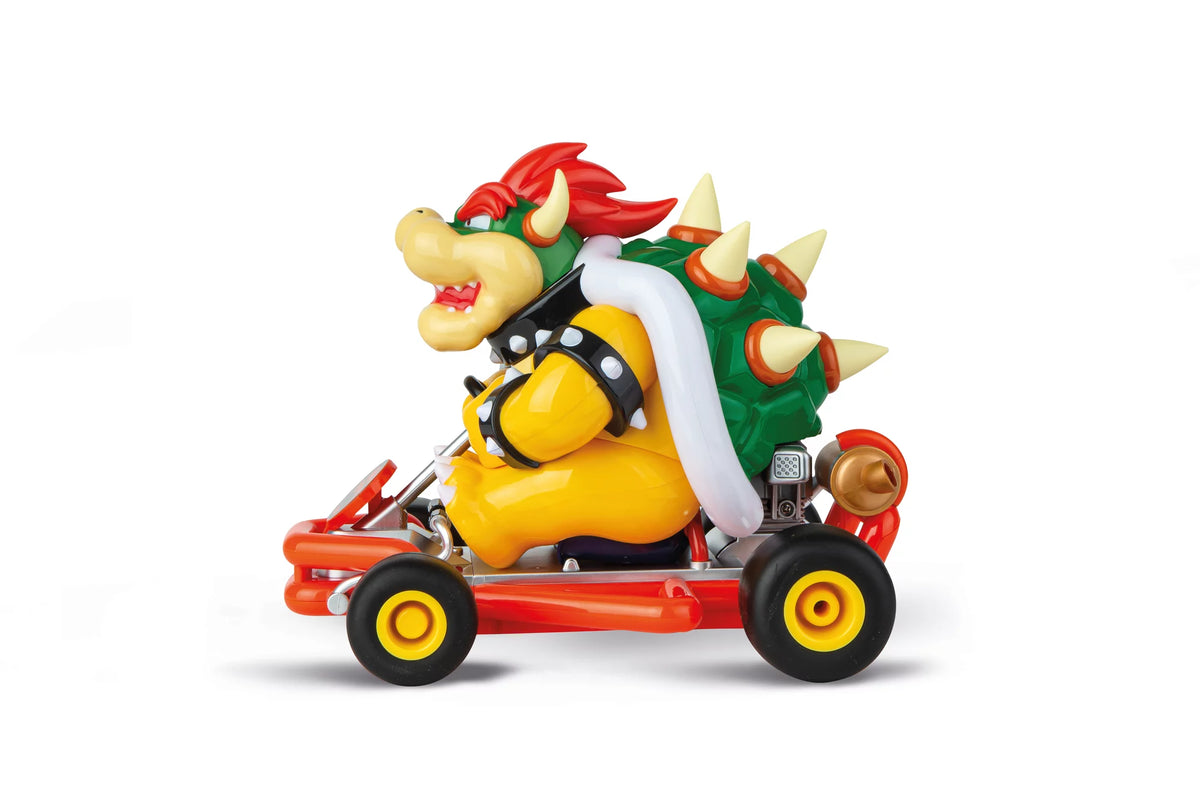
2,4GHz Mario Kart(TM) Pipe Kart, Bowser2,4GHz Mario Kart(TM) Pipe Kart, Bowser
6+ 6+
Art. Nr 370200981P 2.4 GHz Mario Kart(TM) Pipe Kart, Bowser
Asking Price€49,99 EUR Regular Price€54,99 EUR
Bestseller
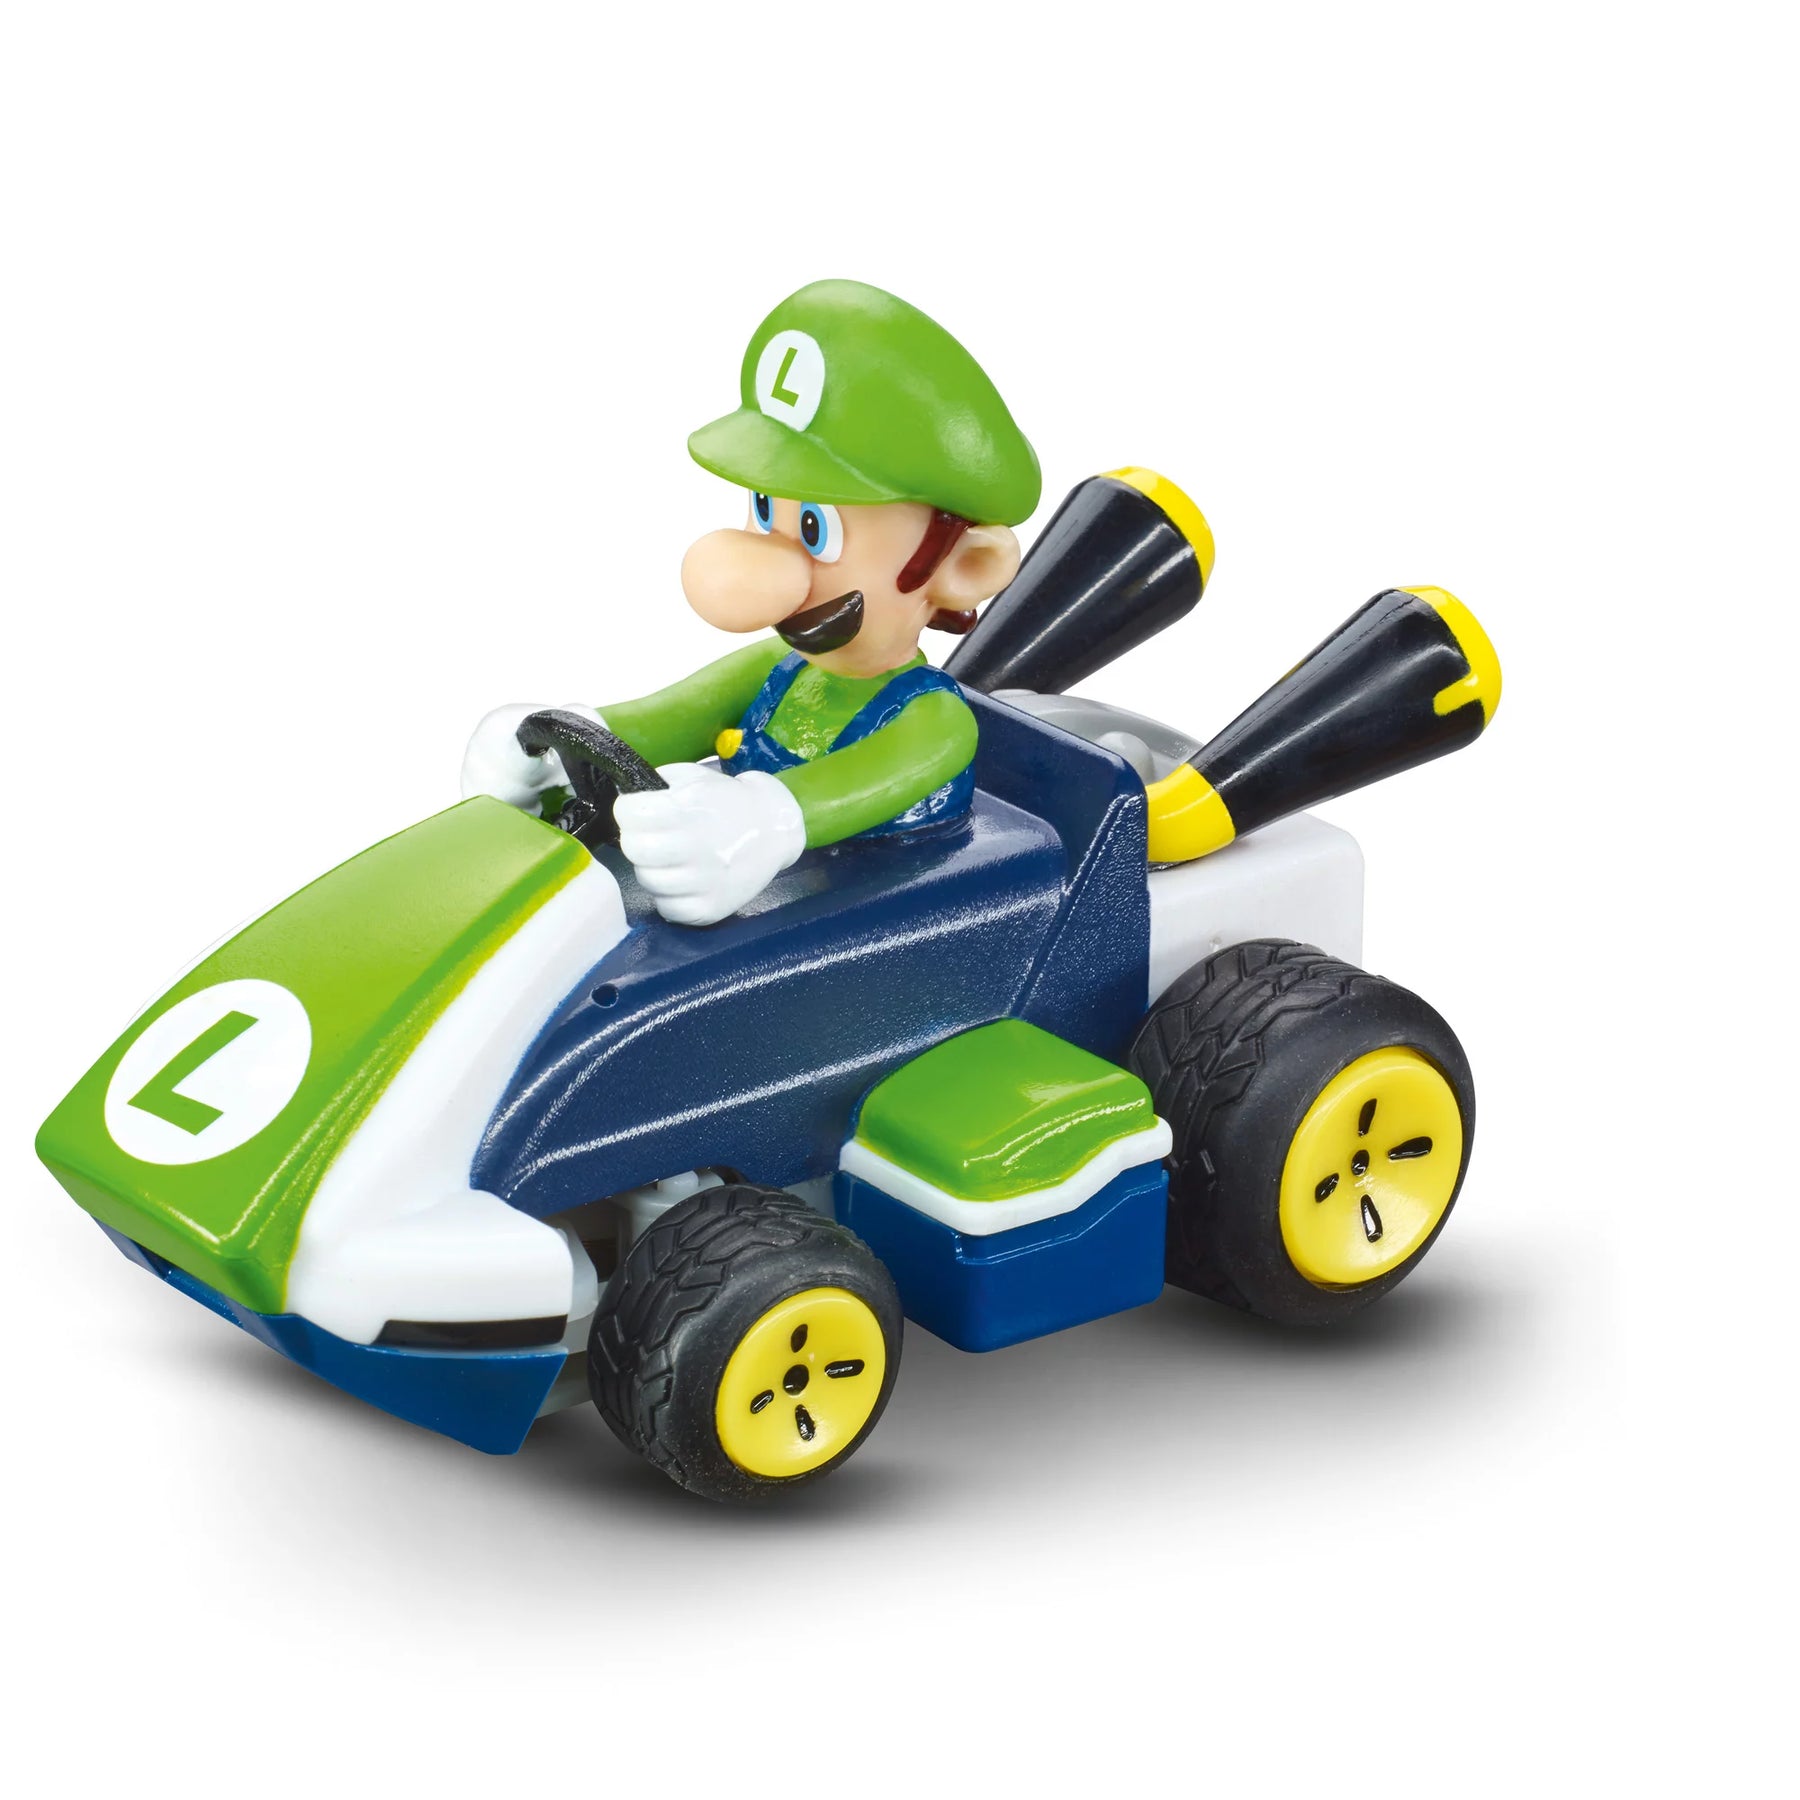
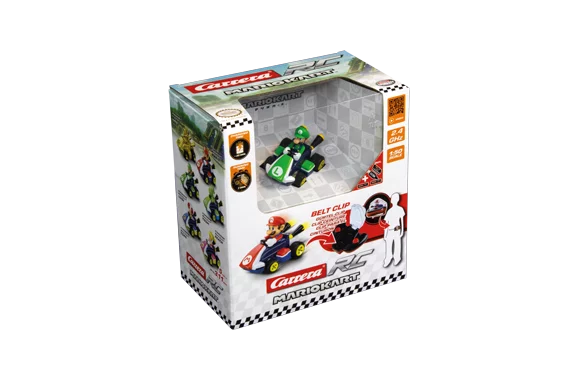
2,4GHz Mario Kart™ Mini RC, Luigi2,4GHz Mario Kart™ Mini RC, Luigi
6+ 6+
Art. Nr 370430003P 2.4 GHz Mario Kart™ Mini RC, Luigi
Asking Price€13,99 EUR Regular Price€27,99 EUR
Bestseller
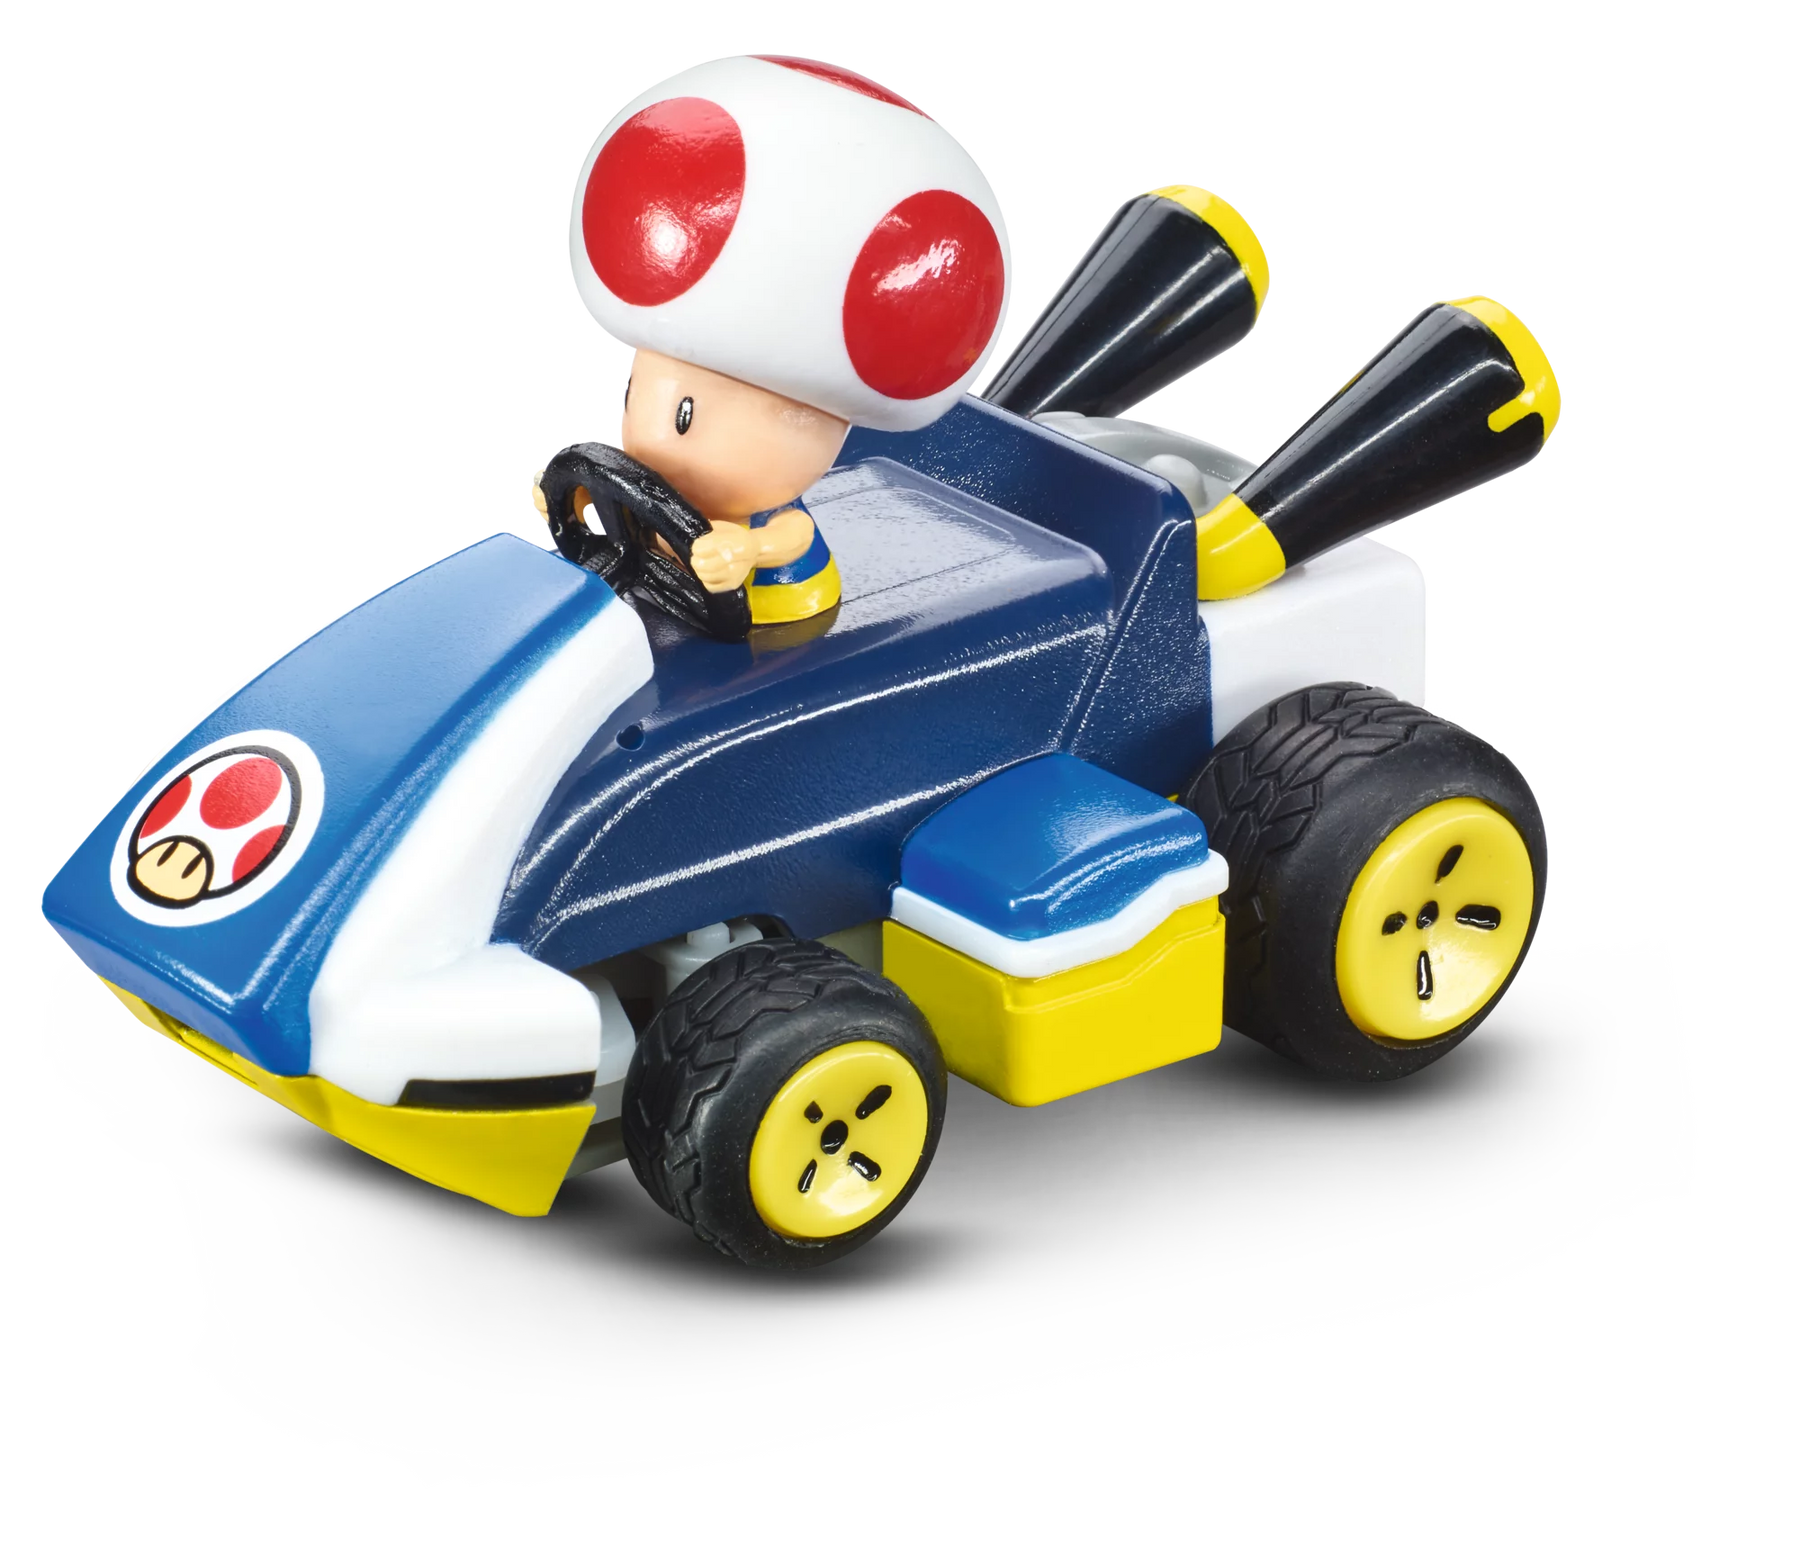
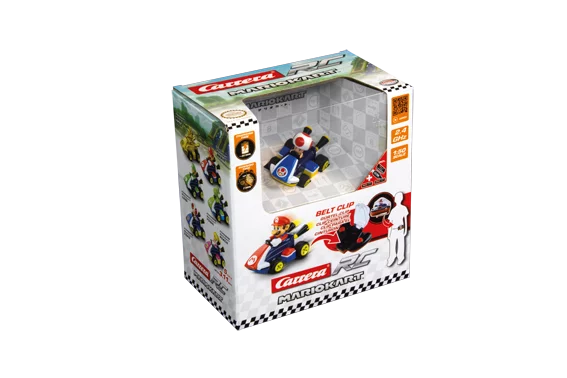
2,4GHz Mario Kart™ Mini RC, Toad2,4GHz Mario Kart™ Mini RC, Toad
6+ 6+
Art. Nr 370430005P 2.4 GHz Mario Kart™ Mini RC, Toad
Asking Price€17,99 EUR Regular Price€19,99 EUR
Bestseller
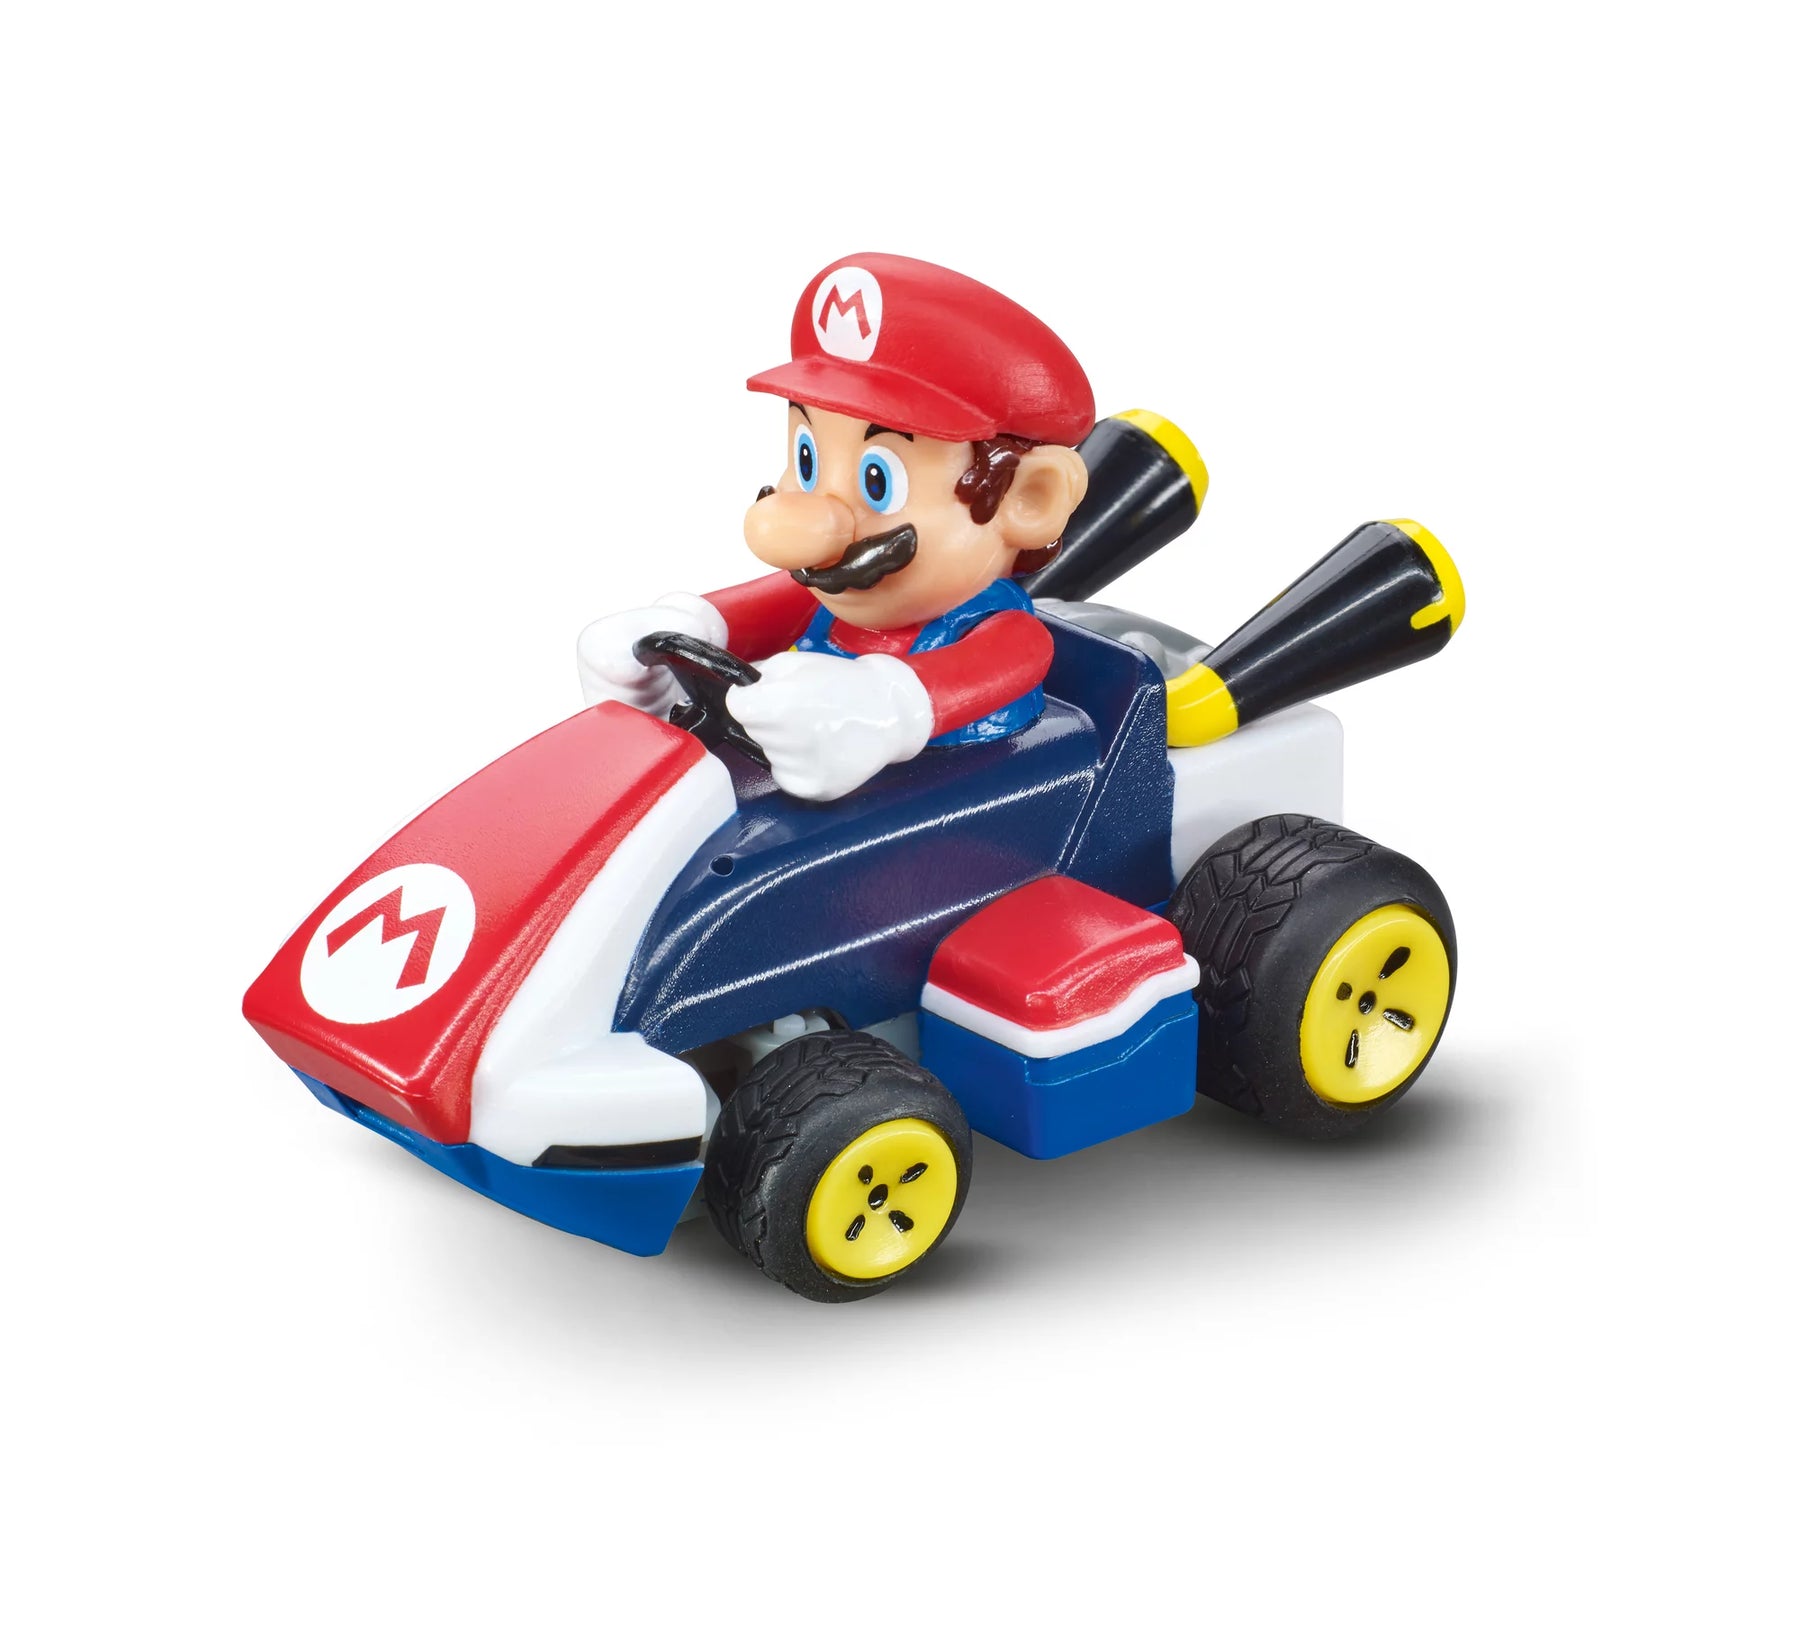
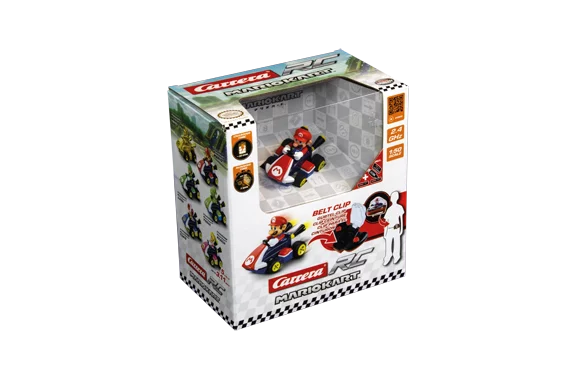
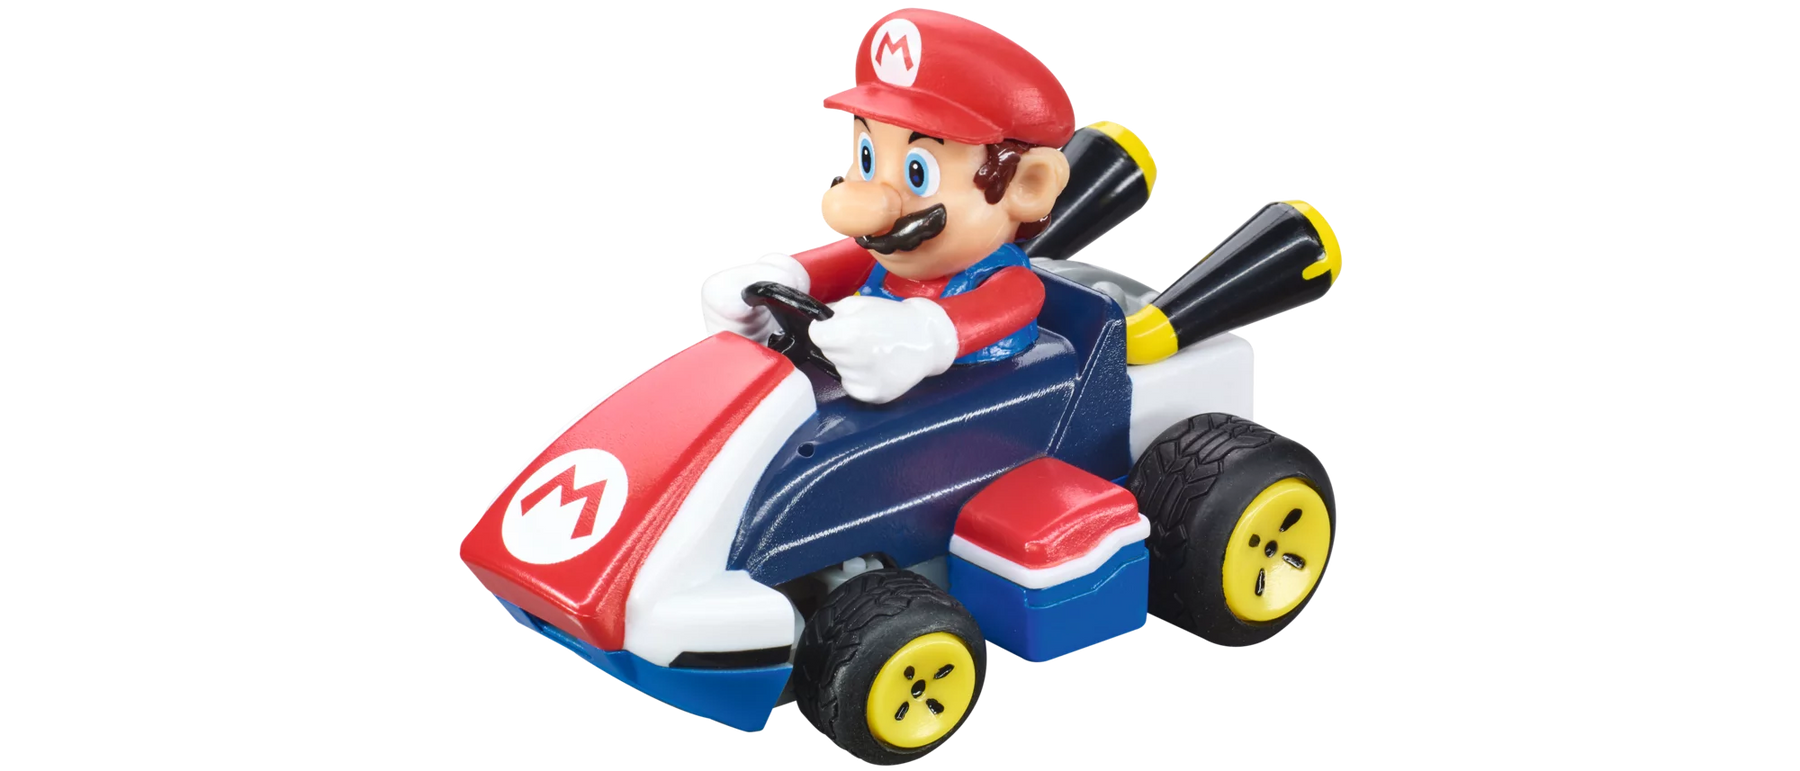
2,4GHz Mario Kart™ Mini RC, Mario2,4GHz Mario Kart™ Mini RC, Mario
6+ 6+
Art. Nr 370430002P 2.4 GHz Mario Kart™ Mini RC, Mario
Asking Price€16,99 EUR Regular Price€27,99 EUR
Bestseller
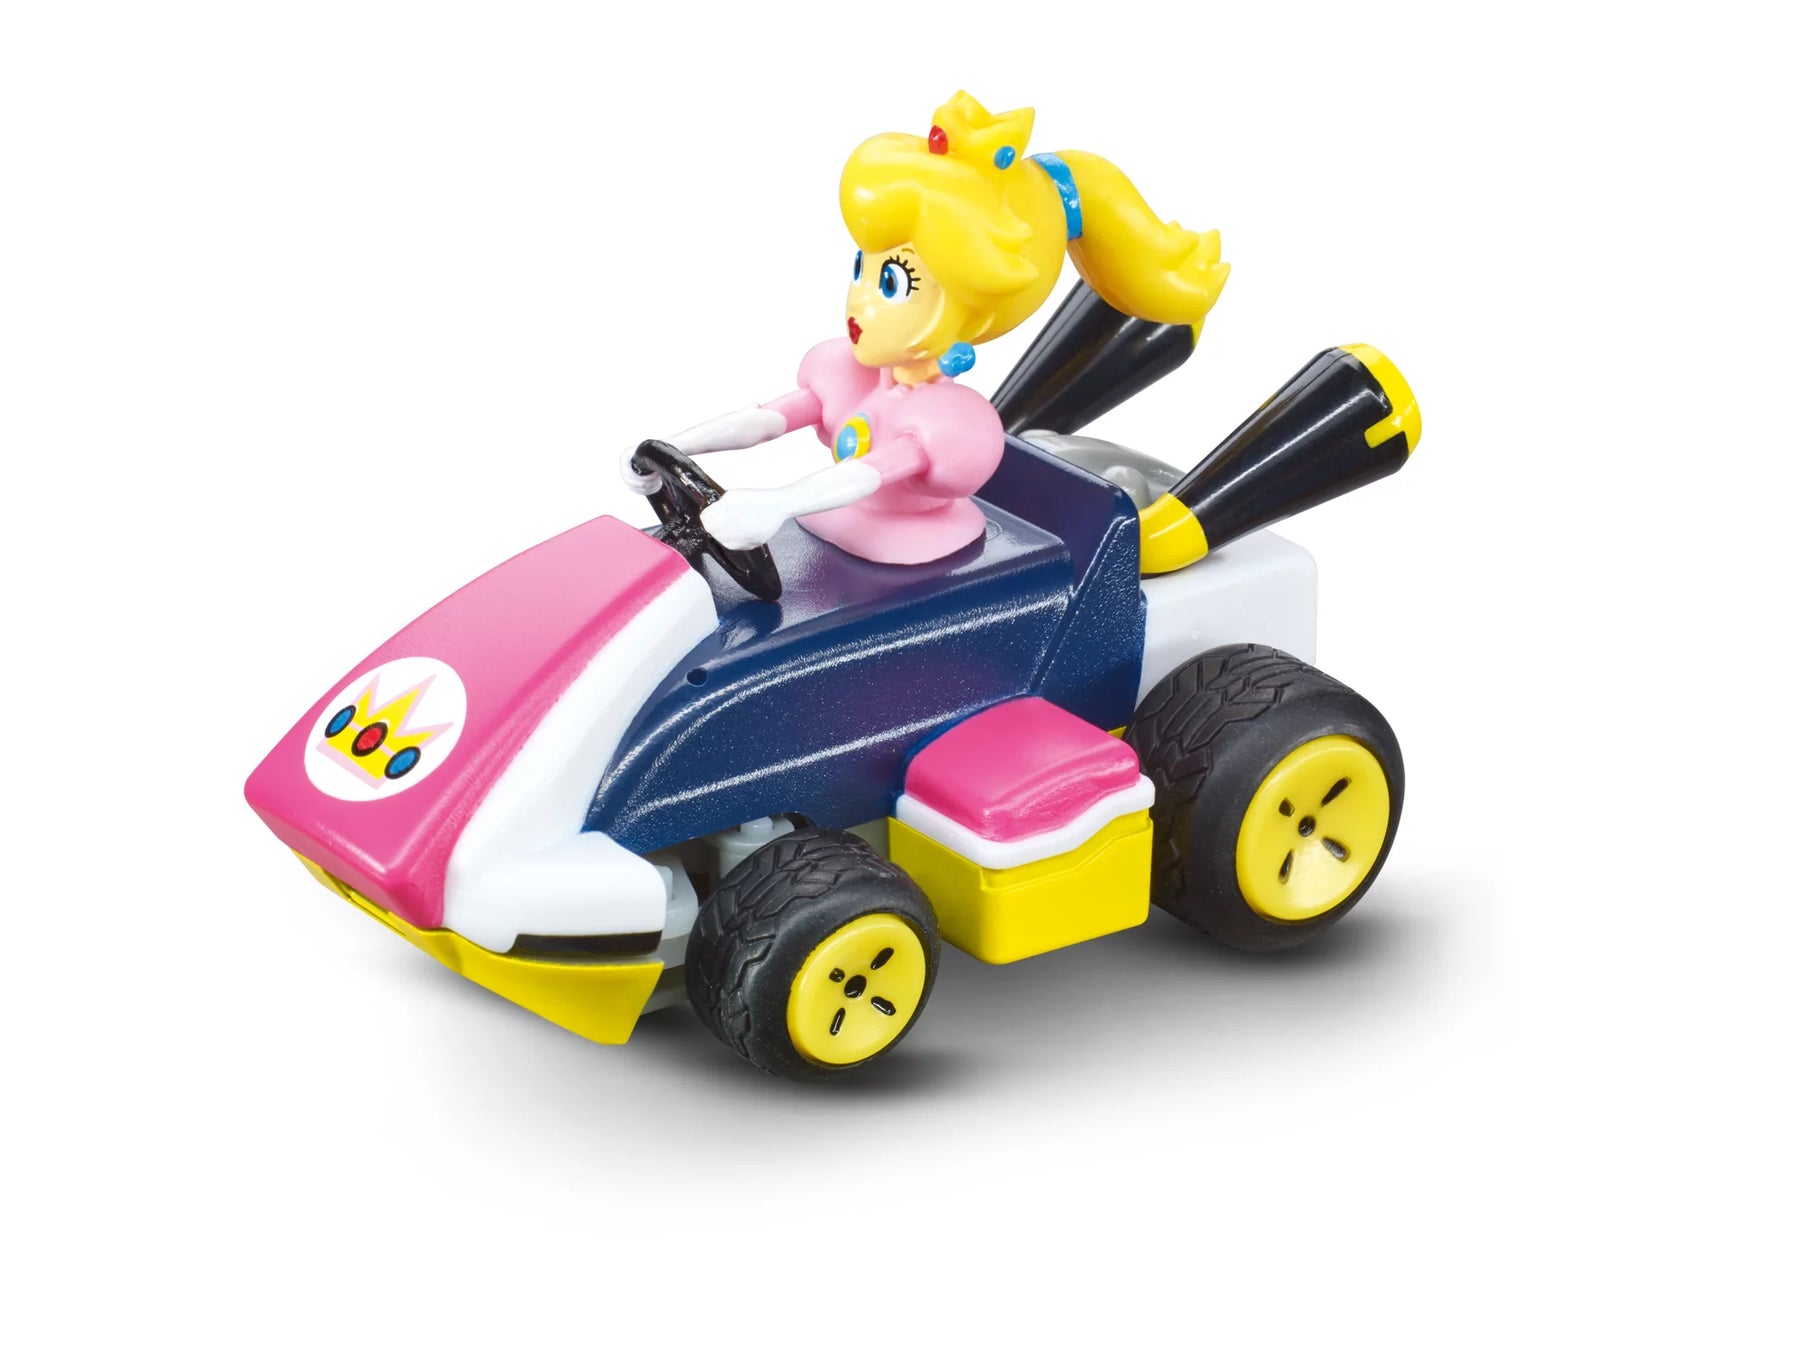
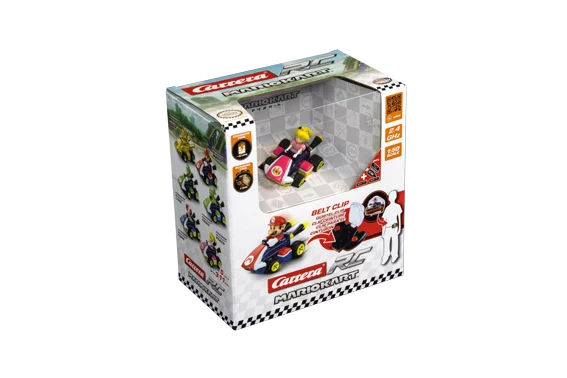
2,4GHz Mario Kart™ Mini RC, Peach2,4GHz Mario Kart™ Mini RC, Peach
6+ 6+
Art. Nr 370430006P 2.4 GHz Mario Kart™ Mini RC, Peach
Asking Price€16,99 EUR Regular Price€19,99 EUR
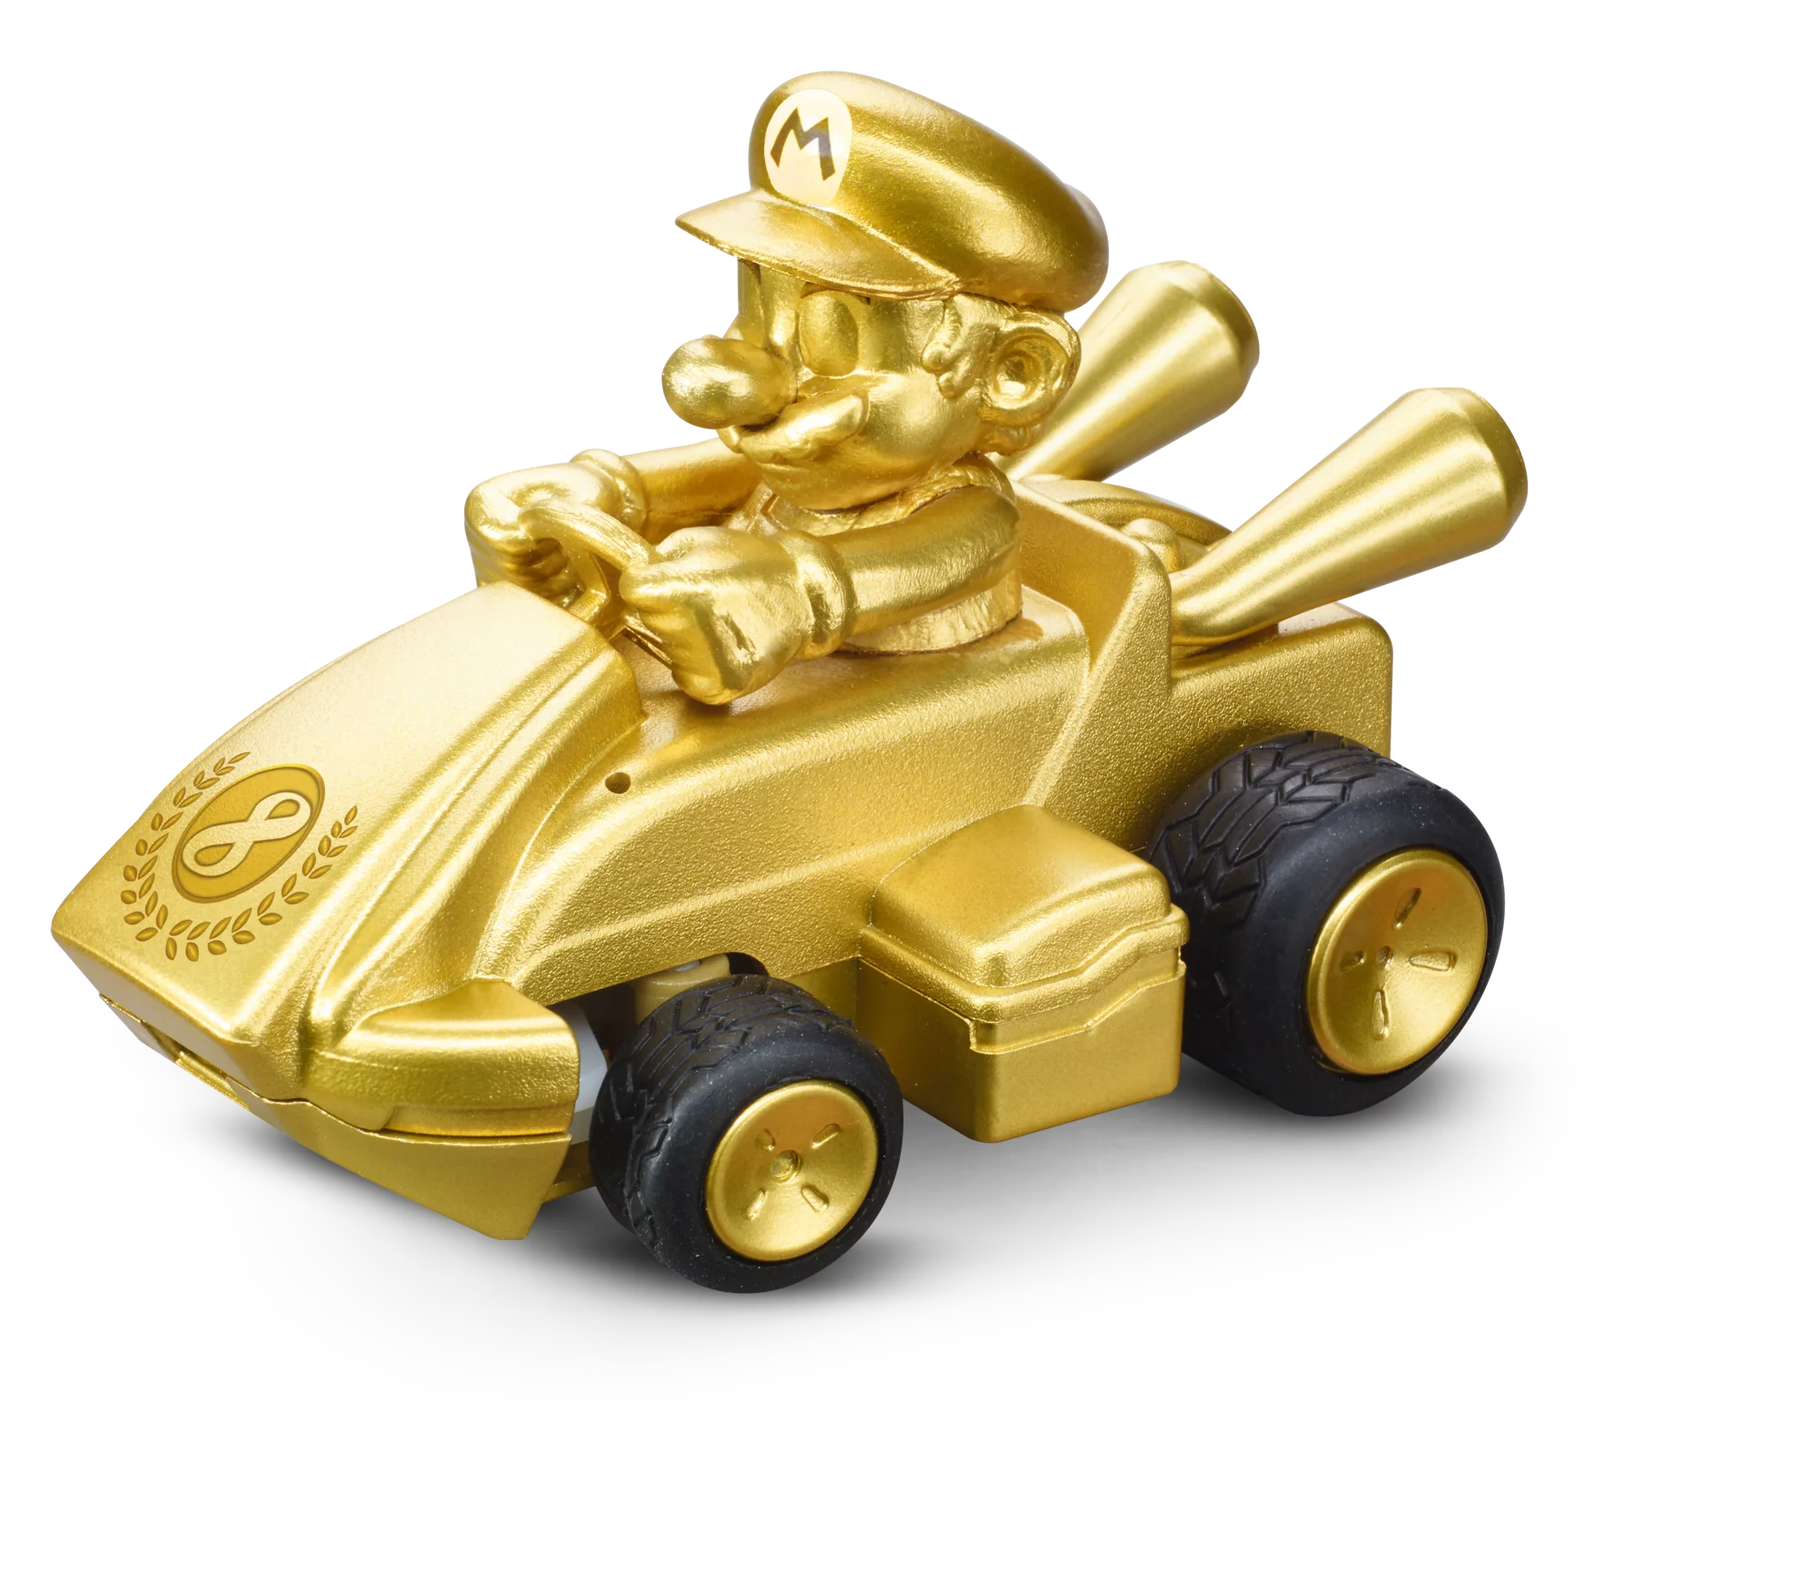
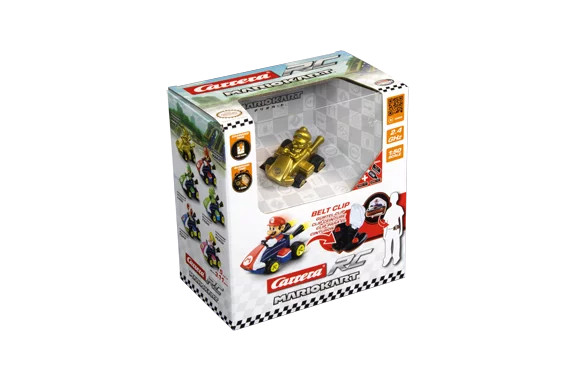
2,4GHz Mario Kart™ Mini RC, Mario - Gold2,4GHz Mario Kart™ Mini RC, Mario - Gold
6+ 6+
Art. Nr 370430001P 2.4 GHz Mario Kart™ Mini RC, Mario - Gold
Asking Price€20,99 EUR Regular Price€27,99 EUR
Bestseller
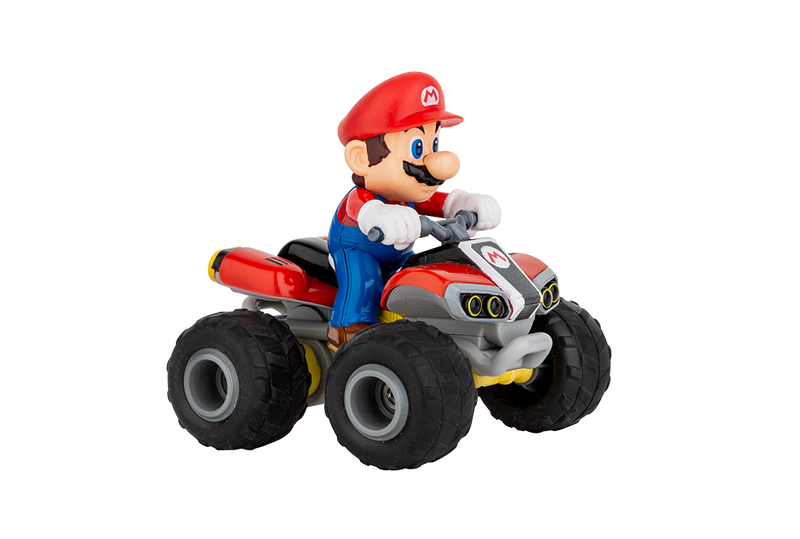
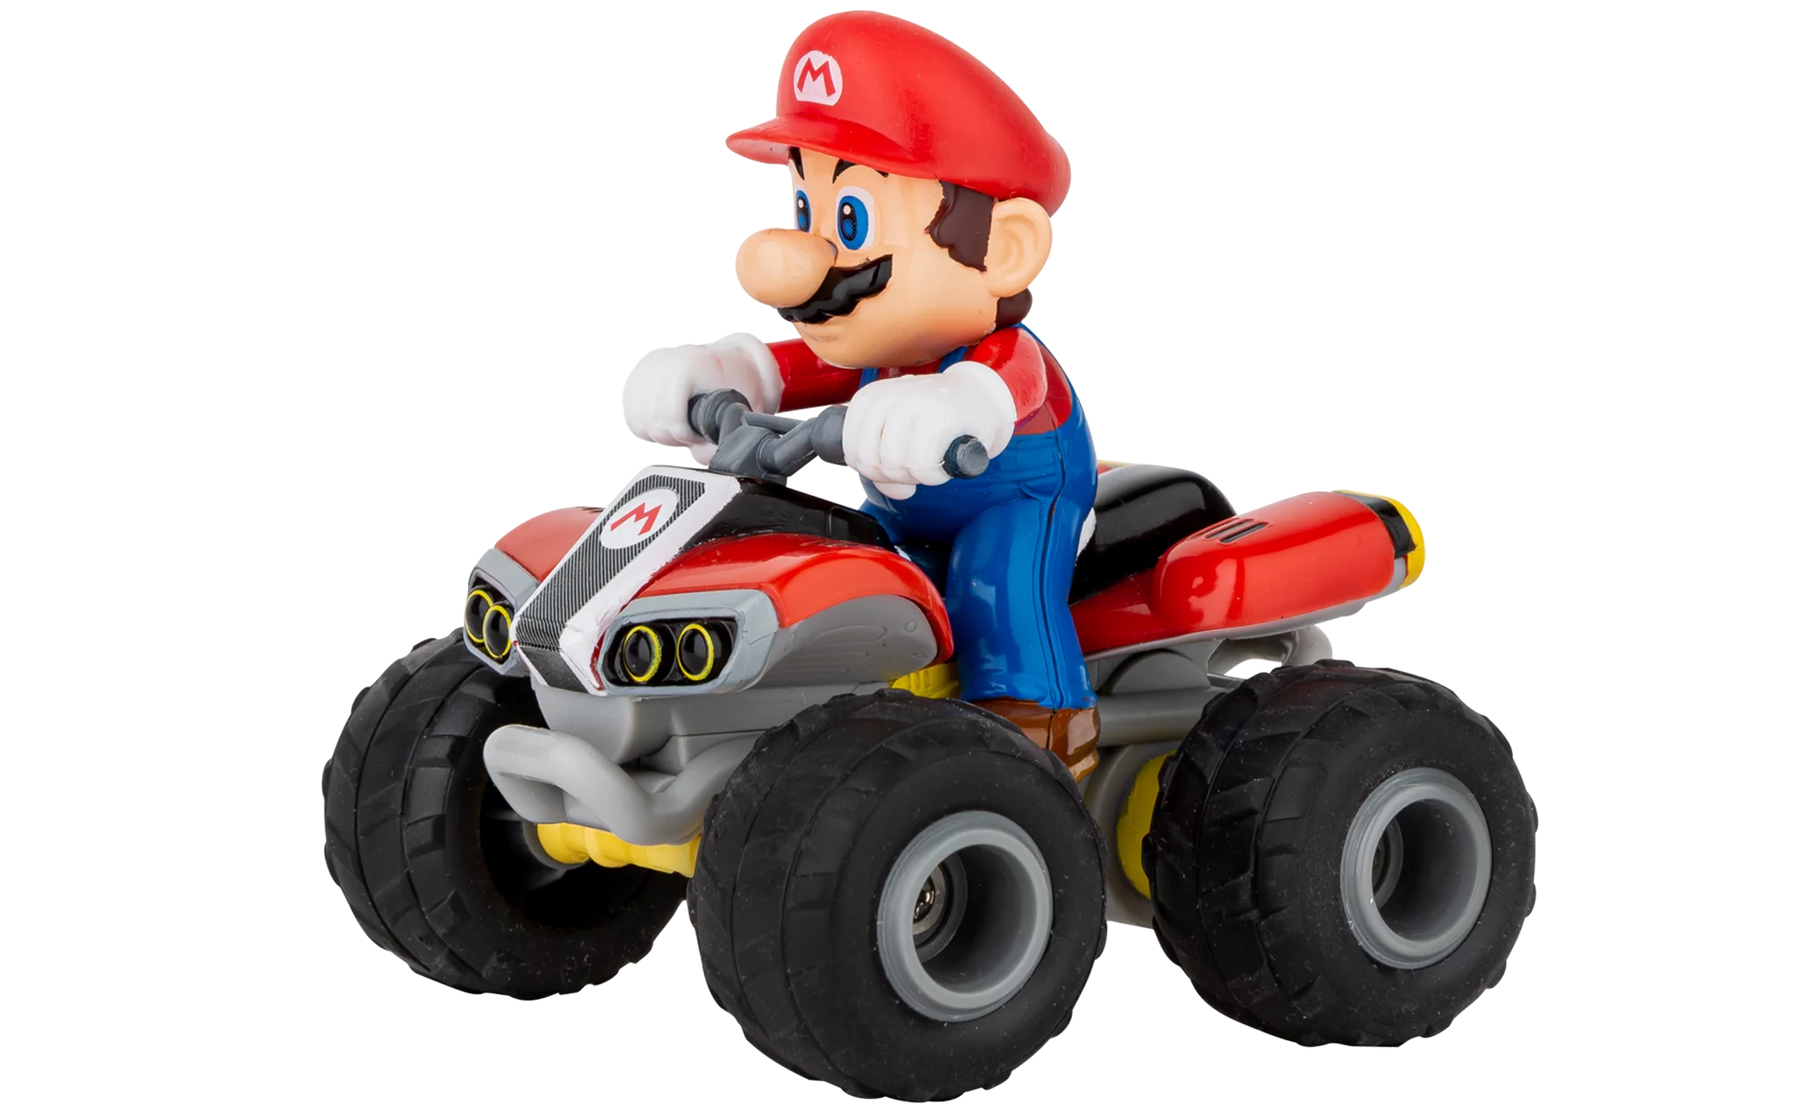
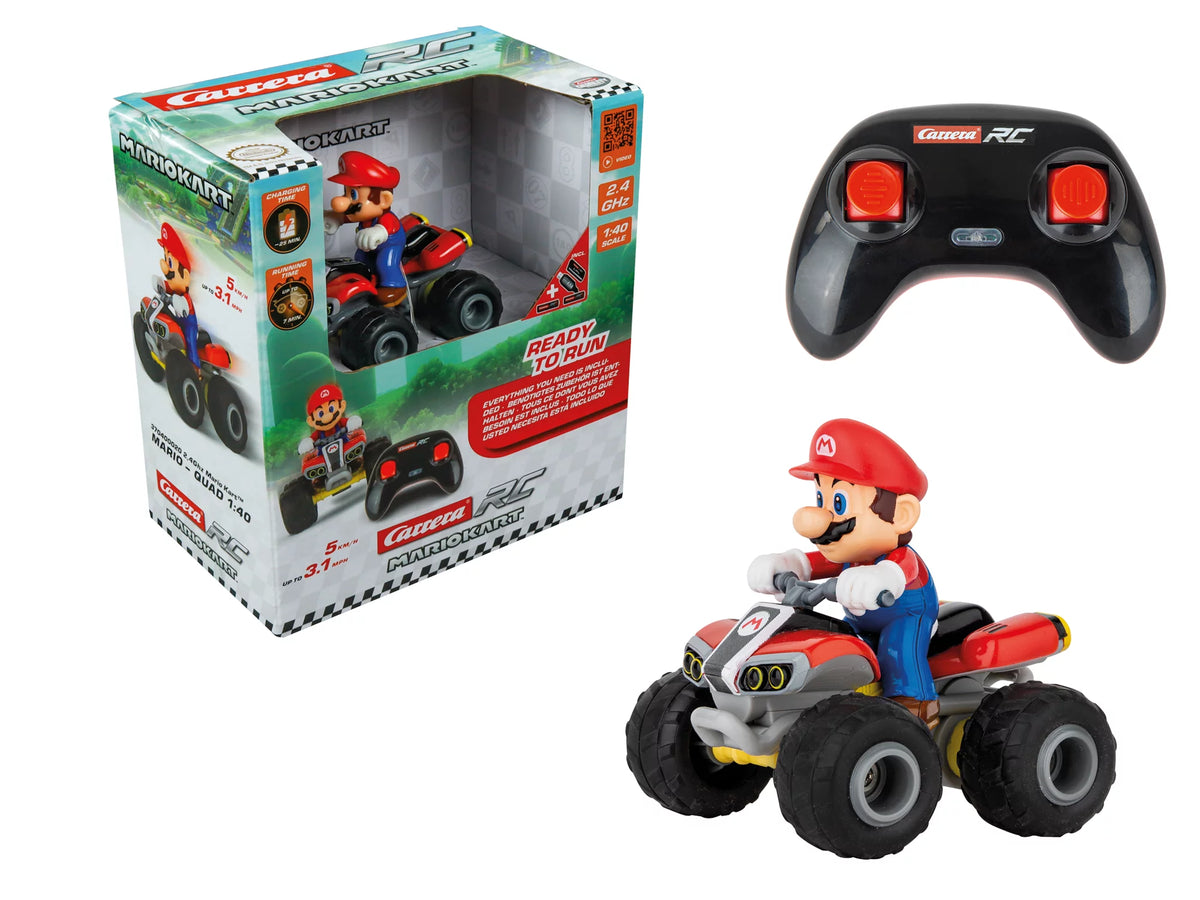
2,4GHz Mario Kart™, Mario - Quad 1:402,4GHz Mario Kart™, Mario - Quad 1:40
6+ 6+
Art. Nr 370400020 2.4 GHz Mario Kart™, Mario - 1:40 Scale ATV
Asking Price€25,99 EUR Regular Price€34,99 EUR
2,4GHz Mario Kart(TM) Mini RC, Mario (Paperbox)2,4GHz Mario Kart(TM) Mini RC, Mario (Paperbox)
6+ 6+
Art. Nr 370430032 2.4 GHz Mario Kart(TM) Mini RC, Mario (Paper Box)
Asking Price€17,99 EUR Regular Price€21,99 EUR
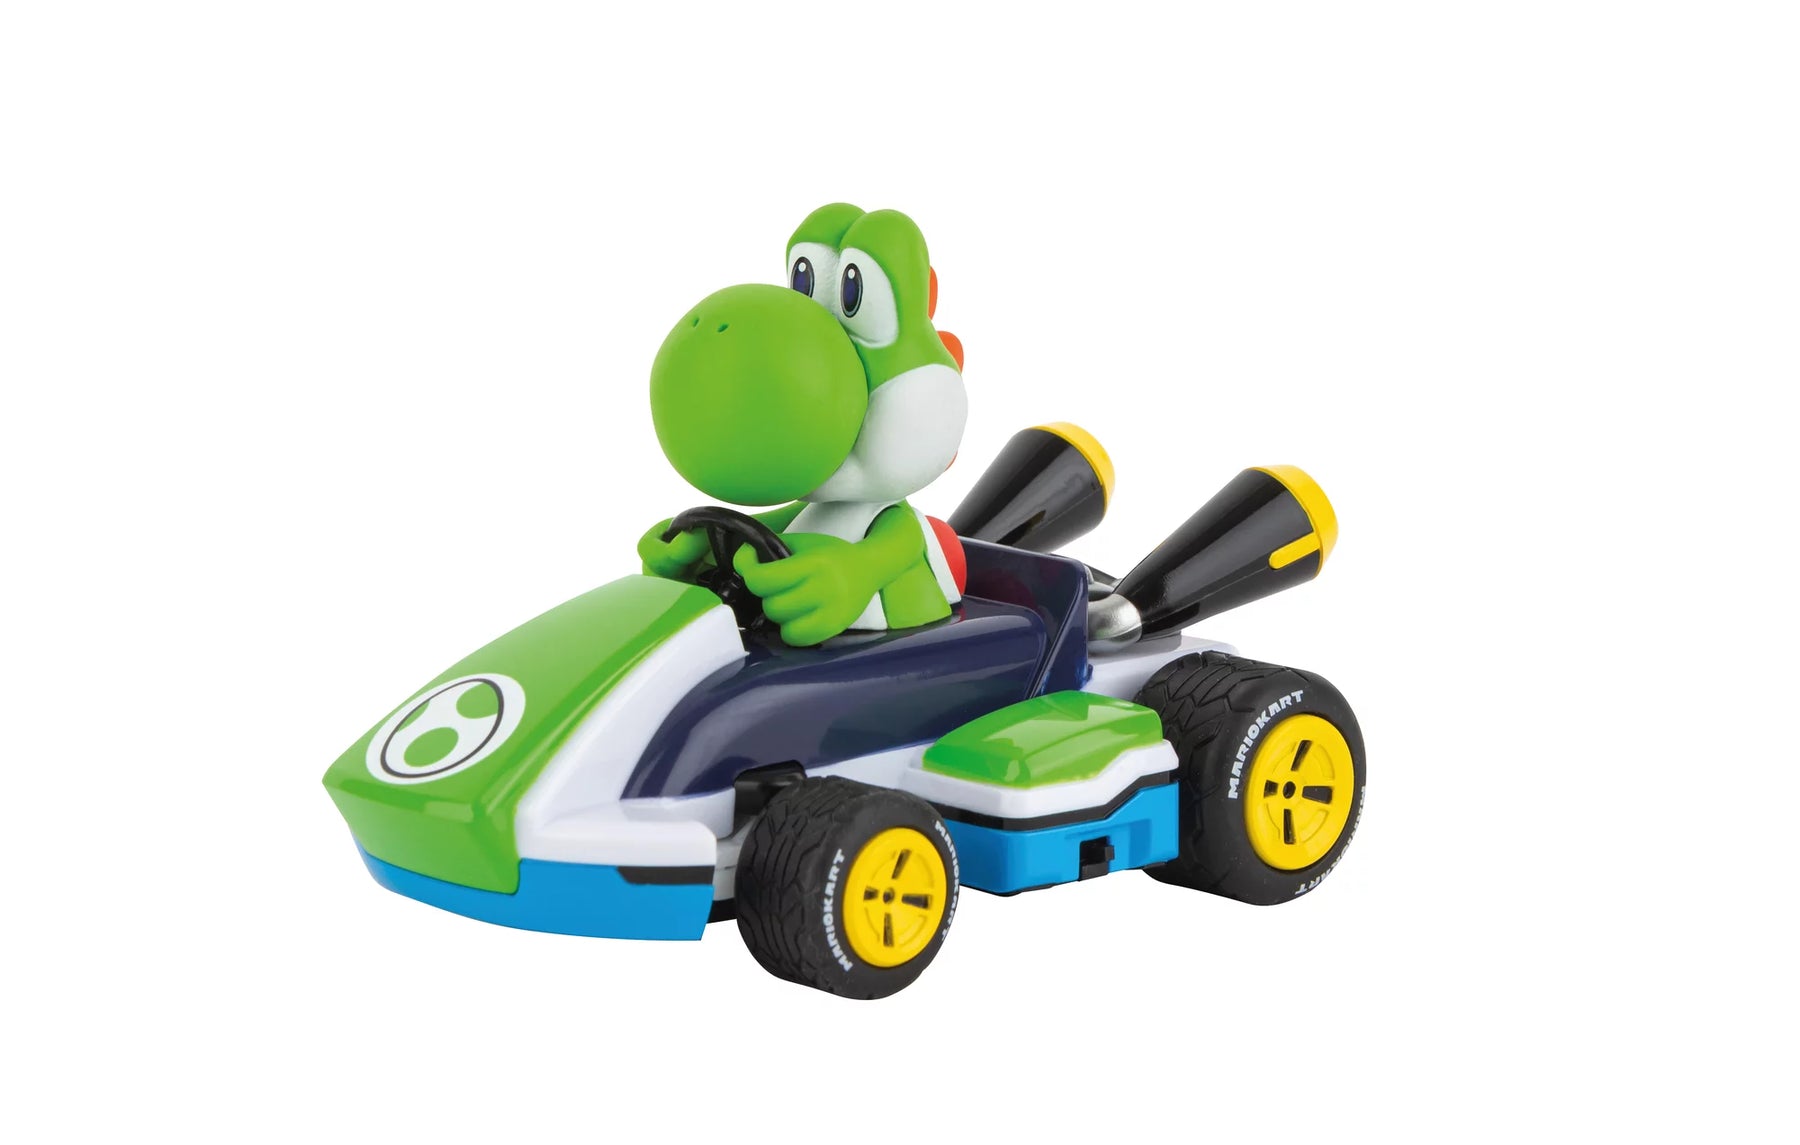
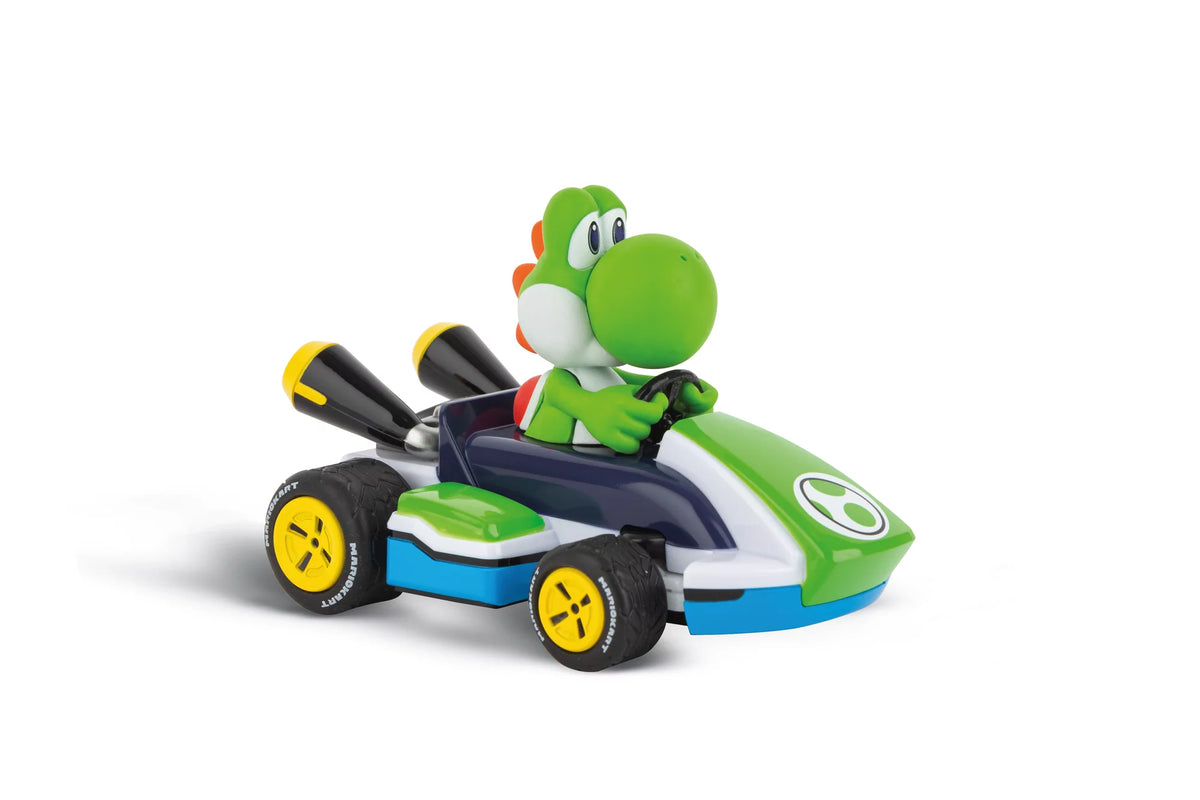
2,4GHz Mario Kart™ Race Kart 1:32, Yoshi2,4GHz Mario Kart™ Race Kart 1:32, Yoshi
6+ 6+
Art. Nr 370320002 2.4 GHz Mario Kart™ Race Kart 1:32, Yoshi
Asking Price€23,99 EUR Regular Price€38,99 EUR

For gaming fans and little adventurerswho love action

Full Mario Power Ahead—Racing Fun withCarreraNintendo!

The digital world's most famous brothers are already in their karts, waiting to hit the racetrack, the streets, and the skies with their friends.

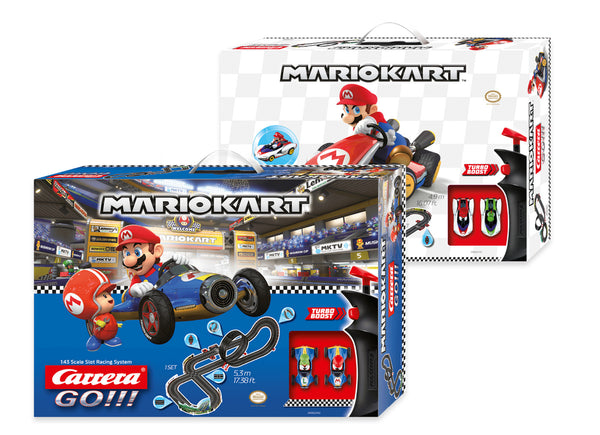
Mario Kart™ Tabletop Racing Set – Racing Fun at Home

Experience the thrill of racing with <tamp>Mario and Luigi in mini form—right on your table! The detailed mini-cars, flexible track pieces, and charming decorations bring the video game experience right into your home—all without a screen. The perfect set for little racers and big fans alike. Just set it up and get ready for thrilling duels!</tamp>

All About Mario: Race Track Sets—Remote-ControlModels

From slot cars to party sets with RC karts: If you're a Mario fan, you'll especially love the special Nintendo-licensed themed items in our lineup!

Super Mario™ is causing a stir on the racetrack
With Carrera, the fast-paced world of Mario, Luigi, and friends is brought from the virtual games on Nintendo consoles to the racetrack: Be there live when they say: “It’s me, Mario!” and race to the finish line at top speed on the tracks with Nintendo Super Mario™ and his friends. Because the beloved plumbers are back with new race cars and are once again hitting the tracks at full throttle. One thing is certain, though: With Mario and his friends, the racetrack becomes a truly special experience. But it’s not just an absolute highlight on the Carrera track: The Super Mario™ crew also shows off its best side in the RC world! From remote-controlled karts to quadcopters and even the Flying Cape, Carrera has it all.

<tamp>Fun and Games with Carrera&#x27;s Nintendo® Mario Kart™ Car Race Track Products</tamp>

Fun and Games with Carrera's Nintendo® Mario Kart™ Car Race Track Products
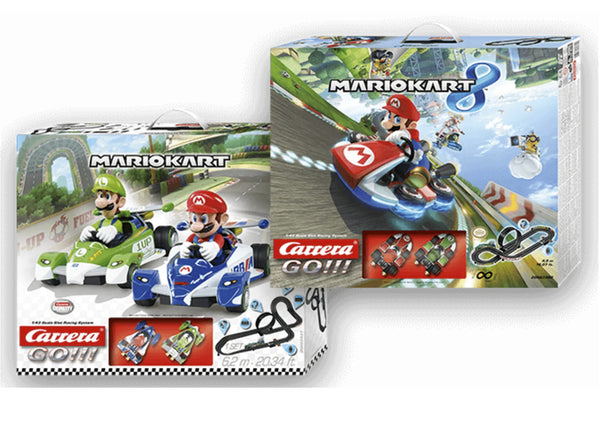
Our affordable prices range from just 29.95 to 77.95 euros

2-player game: Play as a pair using a single game set.

FIRST: Racing fun for the little ones—the racetrack system is especially suited for young racers ages 3 and up. Ideal for preschoolers.

GO!!!: Action elements like loops, steep turns, and flyovers. Track extensions can be added to create custom courses.
An immediate hands-on gaming experience, independent of cameras or screens
A very wide selection of different vehicles featuring various characters and tracks

Mario Kart™ as Slot Cars

Mario Kart™ as Slot Cars

If you want to expand your race track with Mario Karts™, you can, of course, purchase them individually. It’s all about expanding your vehicle selection, swapping out players, and racing against friends, acquaintances, and family on the Carrera GO!!! track with your favorite kart. This way, the team of heroes can race in their karts and go all out. The limited-edition vehicles are crafted with meticulous attention to detail and are already in the starting blocks, ready to hit the racetracks at top speed as Mario, Luigi, and other characters.
The controller decides who completes the tracks the fastest and crosses the finish line as the winner!

Super Mario™ Sets

Super Mario™ Sets

Order, unpack <tamp>, and play at full speed: These complete sets include everything you need to hit the amazing tracks right away. Race cars, track pieces, handheld controllers, and much more are included in one of these starter sets. Plus, the special decorative elements along the track take the Mario Kart™ experience to new heights. These race cars are in for quite an adventure on the track. Who will master the game best? The thrilling showdown will be decided on the blazing-hot tracks.
Even the little ones can race on the Carrera track with Mario, Luigi, and other characters. The battery-powered Carrera FIRST racetrack system offers a complete set, equipped with a racetrack, a handheld controller, and cars designed specifically for children ages 3 and up—perfect for their first foray into the world of motorsports.</tamp>The little racers are sure to love this set with its race track in heavenly blue!
The RC section offers special party sets featuring Mario designs: Complete with 2 karts, balloons, flags, cones, and Carrera RC caps, every celebration will be a one-of-a-kind experience.

Super Mario™ Carrera RC Air Fleet

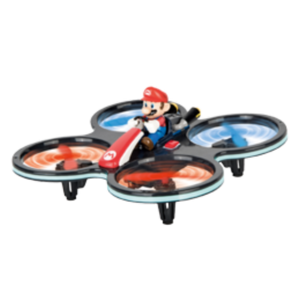
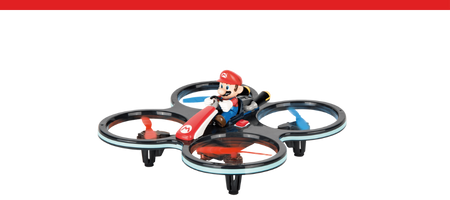
Mario Kart™ takes off: As a quadcopter, he soars through the air with a rotor protection cage and a 6-axis gyro system, ensuring stable flight. As the Flying Cape, Mario is joined in the air by his best friend Yoshi: From now on, the two glide through the living room and kids’ rooms with rotors attached to their backs.

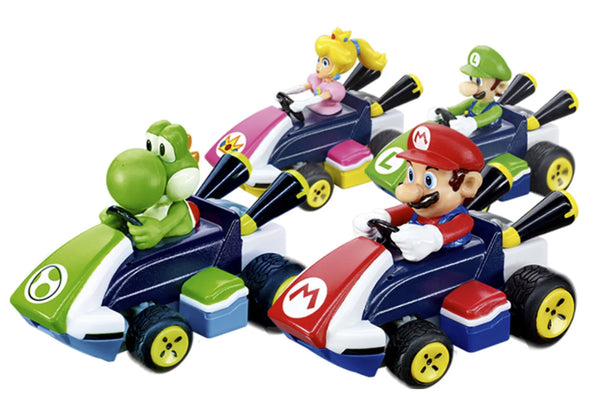
Mario Kart™ Mini RC Cars

Mario Kart™ Mini RC Cars

This is a collector’s dream come true! A total of six speedy mini cars from the Carrera RC Garage are waiting for you! Mario and his friends have been competing for many years now. Whether on the Nintendo or other consoles, most people are no doubt familiar with the fun of playing with Mario and Luigi. For all of you, our new Mini RCs now offer the chance to experience that fun in person. Our new Mini RC series lets you bring the various characters from Mario Kart™ right into your home. Bring your very own Mario, Luigi, or many more to life! Thanks to the karts’ compact size, you’re always flexible! Place your mini race car in the designated slot on your remote control and take it with you wherever you want. Want to have a real Mario Kart™ race? Thanks to 2.4 GHz technology, it’s no problem—up to 16 people can race together. All the race cars are “Ready to Run” and can go on an adventure in the kids’ room for up to 7 minutes right out of the box. Just plug in the handy USB charging cable for 20 minutes before the exciting adventures of the Nintendo heroes continue. You’ve never played Mario Kart™ like this before! So, will Mario win, or will he be dethroned?

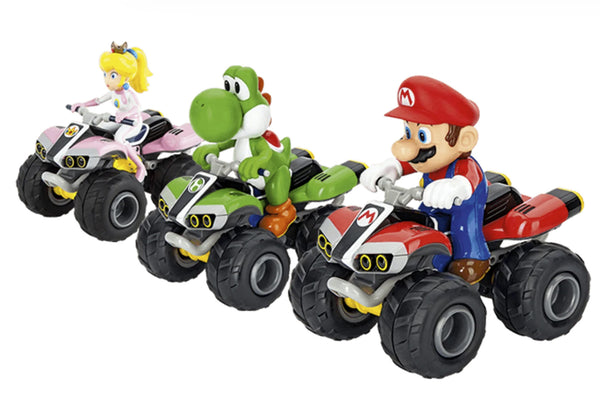
Mario™ Quads - Off-Road Vehicles

Mario™ Quads - Off-Road Vehicles

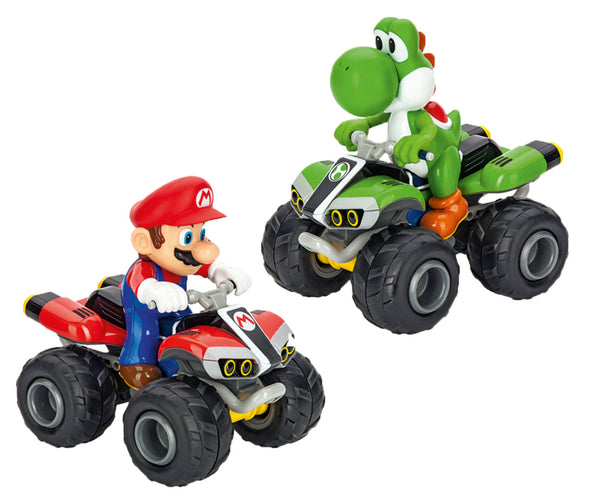
Mario, Yoshi, and Peach really put the pedal to the metal with these off-road vehicles! These full-suspension quads feature large tires and highly detailed figures. 
Are you ready for an adventure? The Carrera RC Nintendo Mario Karts™ 8 are—they’re always “Ready to Run” for new adventures at home or outdoors.

HAVEN'T DECIDED YET?

Fast, faster, Carrera. Start searching for the right remote-controlled vehicle now!

Frequently Asked Questions

Didn't find the answer you were looking for in the FAQ, or would you like to learn more about our RC products? Our customer service team is here to help—quickly, competently, and personally. Whether you have questions about technical details, replacement parts, or tips for use, we're here for you.

24/7 Support

Phone

Monday through Thursday, 9:00 a.m. to 3:00 p.m.; Friday, 9:00 a.m. to 12:00 p.m
RC General Vehicles Boats Aircraft

RC General

Both controllers and replacement parts for controllers (antennas, joysticks, joystick extensions, and battery compartment covers) are available in ouronline store.

Please note that the antennas for the controllers are not included. They can be purchased in theonline store.

No, please use only the original RC Carrera Li-ion batteries. This is the only way to ensure proper operation. You can find all batteries and compatible chargers in our online store.

.

For 2.4 GHz D/P models
, please follow this startup sequence:
1) Turn on the transmitter
. 2) Then turn on the model
. When turning off the equipment after driving or flying, please follow the reverse order.


For 27 MHz models
: Please check whether the transmitter antenna is defective or has not been fully extended. If another RC model is nearby, make sure it is not using the same frequency. If so, please change the frequency.

Vehicles

Check to make sure the antenna on the controller is screwed in as far as it will go. Then pull the antenna out completely. For the antenna on the vehicle, use the transparent antenna tube included in the package (depending on the model).

Open the vehicle chassis and clean the axles of dust and hair. Also, apply a drop of oil (resin- and acid-free grease) to the axles.

If Carrera , while operating the Carrera2.4 GHz DIGITAL-PROPORTIONAL RC car, you notice Carrerathat the car is moving forward or backward on its own, you can bring it to a stop as follows:
1) Turn the car over so that the wheels are in the air.
2) First, turn on the vehicle using the ON/OFF switch. The LED on the top of the vehicle will flash rhythmically. Turn on the controller. The LED on the controller will flash rhythmically. After a few seconds, the LEDs on the car and the controller will remain lit. Pairing is now complete.
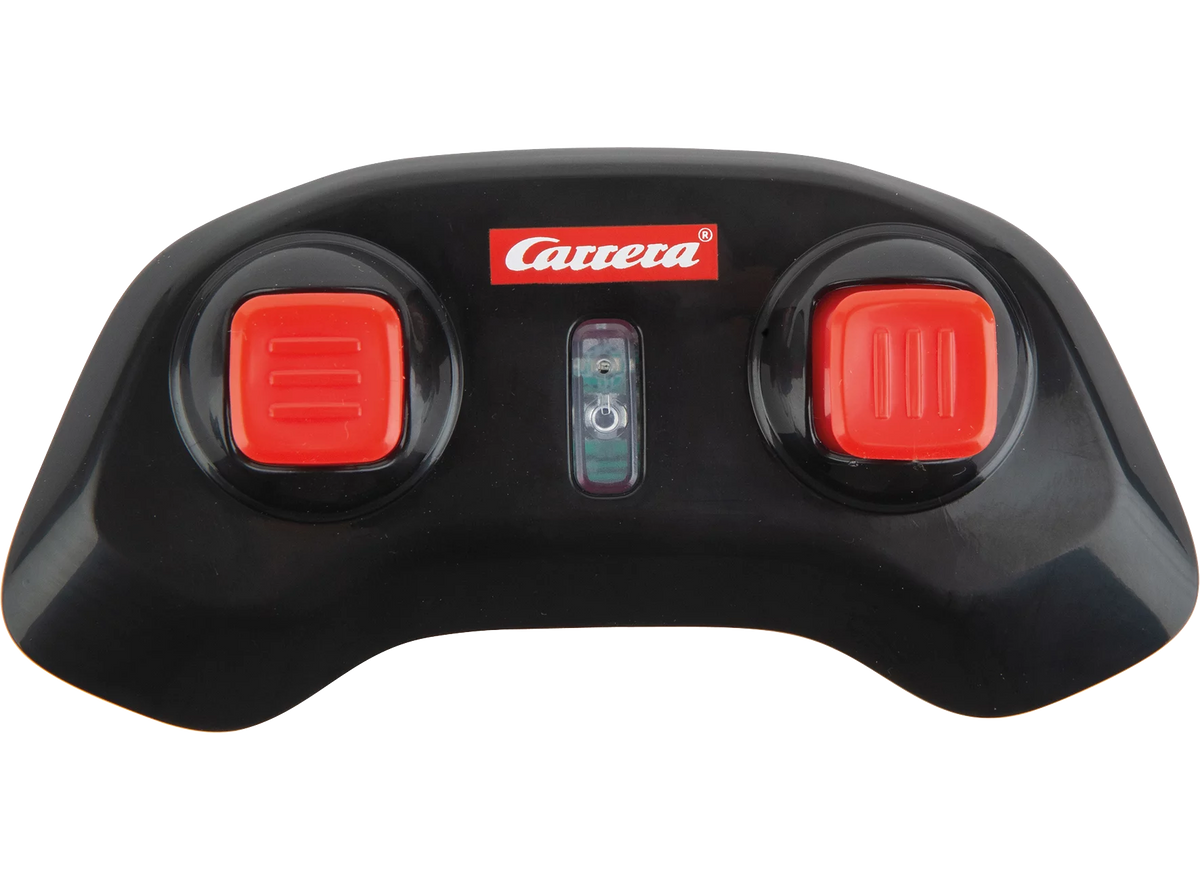
3) Press the button on the upper right side of the controller for about two seconds. Calibration mode is active as soon as the controller LED flashes. (See image)
4) Forward or reverse movement can be stopped using the left joystick.
5) To complete the calibration process, press the button on the upper right side of the controller again for about two seconds—the LED will now remain lit.

If your 2.4 GHz DIGITAL-PROPORTIONAL model pulls to the right or left, follow these steps:
1) Turn the vehicle over so that the wheels are in the air.
2) First,
turn the vehicle on using the ON/OFF switch. The LED on the top of the vehicle will flash rhythmically. Then turn on the controller. The LED on the controller will flash rhythmically. After a few seconds, the LEDs on the vehicle and the controller will remain lit. Pairing is complete.
3) Press the button on the upper right side of the controller for about 2 seconds. Calibration mode is active as soon as the controller LED flashes. (See image)
4) You can adjust the straight-line stability using the right joystick.
5) To finish the adjustment process, press the button on the upper right side of the controller again for about two seconds—the LED will then remain lit.

Yes, it is recommended Carrera that you clean the CarreraRC car after driving it to ensure it runs smoothly. Please be sure not to use any harsh solvents.

For 2.4 GHz Digital Proportional models,:
Carrera the Carrera RC vehicle and the controller are factory-paired. If you Carrera experience communication problems between the Carrera RC vehicle and the controller at the beginning Carrera, please perform a new pairing. Pressing the binding button on the underside of the chassis will Carrerarebind the CarreraRC car and the controller. The binding button must be held down for at least 3 seconds. Please note that both the controller and the CarreraRC car must be turned on via their ON/OFF switches during this process Carrera .
For 27 MHz models :
: Make sure that no one else in your driving area is using the same frequency. To avoid this and ensure that the CarreraRC vehicle can be controlled by the controller, make sure that the same frequency (A/B/C) is set on both the vehicle and the controller.The vehicle’s frequency switch is located in the battery compartment; the frequency switch on the controller is located on the top of the controller. Using different channels allows you to drive 3 vehicles at the same time.
The controller antenna should be fully extended. Then turn Carrera on the Carrera RC vehicle using the ON/OFF switch. The CarreraRC vehicle has two speed settings: You can also use the ON/OFF switch to switch to training or indoor mode.
For 2.4 GHz Servo Tronic models:
, turn on the vehicle first; the LED on the top of the vehicle will then flash rhythmically. You can then turn on the controller. Here, too, the LED will flash rhythmically for a few seconds. Once the vehicle and the controller are paired, the status LEDs on both the vehicle and the controller will remain lit.
Adjusting the Steering: If Carrera, while operating the CarreraRC car, you notice Carrerathat the car is pulling to the right or left, you can correct its trajectory using the adjustment switch located on the underside of the car.

Follow these steps to Carreraproperly pair your Red Fibre® CarreraProfi® vehicle Carrera(370183002/370183001) with the controller:
1) First, turn on the vehicle
. 2) Then, turn on the controller. When the LEDs on the vehicle and the controller are lit steadily, the pairing process is complete.

You can find all replacement parts and accessories for the various Profi RC models in our online store by entering the part number or name of your model in the search field. All compatible replacement parts are displayed on the vehicle’s product detail page.

You can quickly and easily identify the individual parts using the exploded view, which is available exclusively for Profi models.

To Carrera start up your Carreraprofessional RC vehicle, first turn it on using the ON/OFF switch. The LED on the vehicle will flash rhythmically. Next, turn on the controller. After a few seconds, the LEDs on the vehicle and the controller will remain lit. Pairing is complete.
The ON/OFF switch is located on the left side of the vehicle, right next to the battery compartment.

There is a sticker on the back of the controller and on the vehicle near the drive axle that shows the correct frequency.

Boats

Let the water drain off and dry your boat thoroughly after use. Use regular tap water to clean your boat. The contacts on the water sensors should be treated regularly with vinegar cleaner to prevent corrosion. Make sure the vinegar cleaner does not come into contact with the propeller or rudder. This could cause permanent damage.

Here’s how to drain your boat properly:

Falshöft Coast Guard Boat (301001/301005)

After each trip, please open the two drain plugs at the bow and stern and drain any accumulated condensation if necessary. Please make sure to reinsert the drain plugs into their designated openings before each trip.

Ferrari Boat Arno XI (300005)

There is a drain plug at the stern. Open it after every trip to drain any condensation. Please make sure to reinsert the drain plug into the designated opening before every trip.

Power Wave (300001)

You’ll find the drain button on the underside of the boat, between the propeller and the sensor. Press it down with a blunt object until the condensation has drained out of the boat. Since the drain button is spring-loaded, it will automatically return to its original position as soon as you stop pressing it.

Please note that, for safety reasons, the connection can only be made in the water. When starting up, turn on the controller first, then the boat. After your trip, follow the reverse order—turn off the boat first, then the controller.

Our boats are designed for use in fresh water with normal to moderate waves.
If your boat does come into contact with dirty or salty water, it must be thoroughly rinsed with regular tap water afterward.

If the battery in your boat or vehicle has been connected properly and the charging process is proceeding normally, the red LED will remain lit. When the battery is fully charged, the red LED will turn green. The battery can then be removed and installed in the vehicle or boat.

Aircraft

If your micro quadcopter (502002) does not take off even though the battery is fully charged, please check whether the 4 rotor blades are arranged correctly. The letters are stamped on the top of the rotor blade. It is important to position the A/D rotor blades and the B/C rotor blades correctly.

Before your first flight, please make sure to check whether model aircraft are subject to mandatory insurance requirements in your country. For more information, contact the German Model Aircraft Association. Here’s what you’re not allowed to do with your model aircraft:

  • Fly near airports without permission (minimum distance: 1.5 km)
  • Fly over crowds of people, military installations, hospitals, power plants, or correctional facilities—please make sure you always maintain direct visual contact with the aircraft.
  • Flying in windy or inclement weather, or under the influence of drugs or alcohol, is prohibited.

Please follow these steps to properly pair the controller with your helicopter:
1. Turn on the helicopter.
2. Turn on the controller.
Exception: For the Sky Hunter (501001) and Red Eagle (501002), follow this procedure:
1. Turn on the helicopter
. 2
. Press the right control stick on the controller and then turn it on.

Applies to the following helicopters:
Thunder Storm (501004),
Helicopter (501007),
Green Chopper (501003),
Orange Sply (501005),
Green Vecto (501008),
Red Buzzer (500001), and
Micro Helicopter (502001)
. Proper trim is essential for stable flight performance. Adjusting the trim requires a bit of patience and finesse.

Please note the following instructions:
Carefully move the throttle lever on the controller upward and let the helicopter climb to a height of approximately 0.3 to 0.8 meters.

If the helicopter spins in place to the left or right while hovering—without moving the tail (yaw) lever—please proceed as follows: If the helicopter rotates on its own—either quickly or slowly—to the left around its own axis, gradually push the lower right trimmer for tail (circular rotation) on the controller to the right. If the helicopter turns to the right, gradually push the tail trimmer (circle rotation) to the left.

If the helicopter is flying forward or backward while hovering—without moving the forward/backward stick—please proceed as follows: If the helicopter moves forward on its own, either quickly or slowly, gradually push the upper-right forward/backward trimmer on the controller downward. If the helicopter moves backward, gradually push the forward/backward trimmer upward.

Applies to the following helicopters:
Sky Hunter (501001),
Spider Fox (501006)
. Proper trim is essential for stable flight behavior of the helicopter. Adjusting the trim requires a bit of patience and a feel for it.

Please note the following instructions:
Carefully move the throttle lever on the controller upward and let the helicopter climb to a height of approximately 0.3 to 0.8 meters.

If the helicopter drifts to the left or right while hovering without any movement of the left/right roll lever, please proceed as follows: If the helicopter moves sideways to the left on its own—either quickly or slowly—gradually push the lower right trim control for right/left roll on the controller to the right. If the helicopter moves to the right, gradually push the right/left roll trim control to the left.

If the helicopter spins in place to the left or right while hovering, without moving the tail (circle rotation) control stick, please proceed as follows: If the helicopter spins on its own—either quickly or slowly—to the left around its own axis, gradually push the lower left tail (circle rotation) trimmer on the controller to the right. If the helicopter spins to the right, gradually push the tail (circle rotation) trimmer to the left.

If the helicopter flies forward or backward while hovering without any movement of the Forward/Backward control stick, please proceed as follows: If the helicopter moves forward on its own, either quickly or slowly, gradually push the upper-right Forward/Backward trimmer on the controller downward. If the helicopter moves backward, push the forward/backward trim control up in small increments.

Sign up for the newsletter now and <tamp> 10,00 € get a coupon!</tamp>