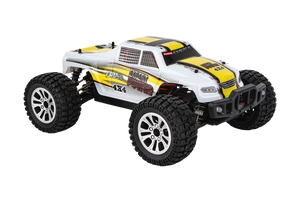

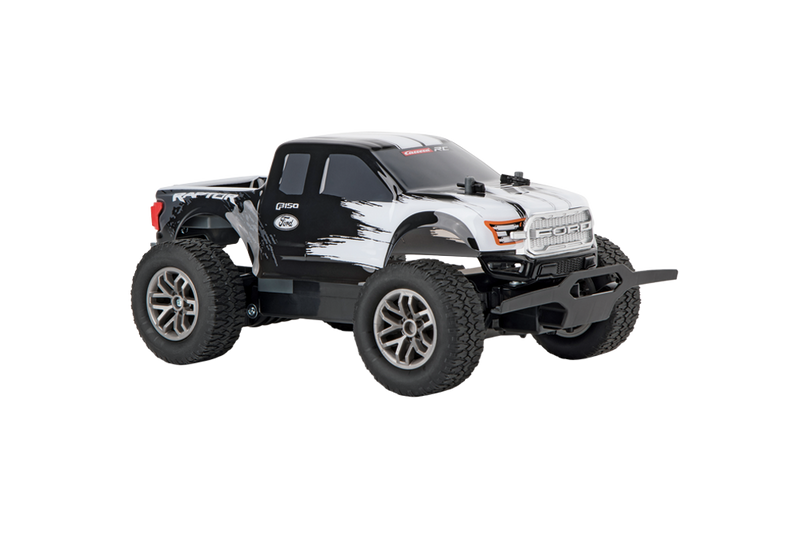
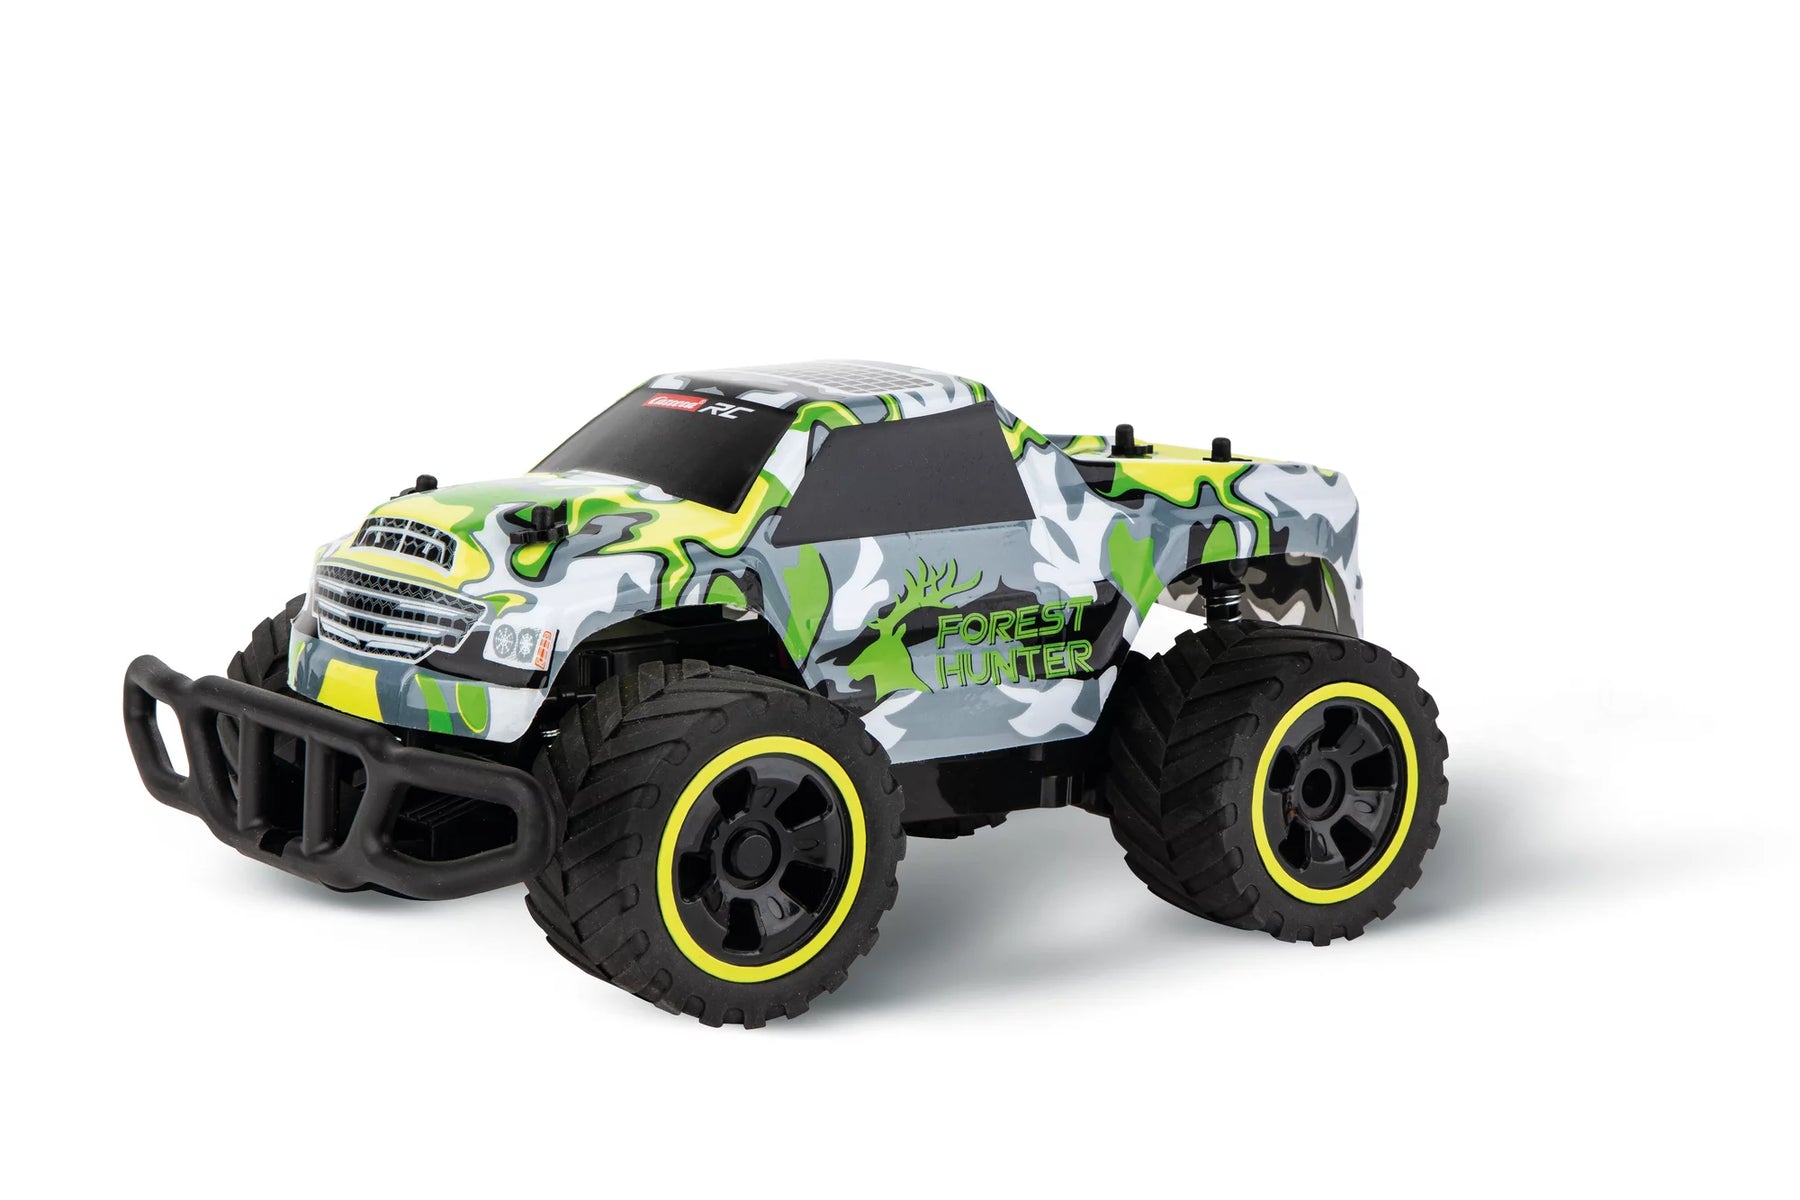
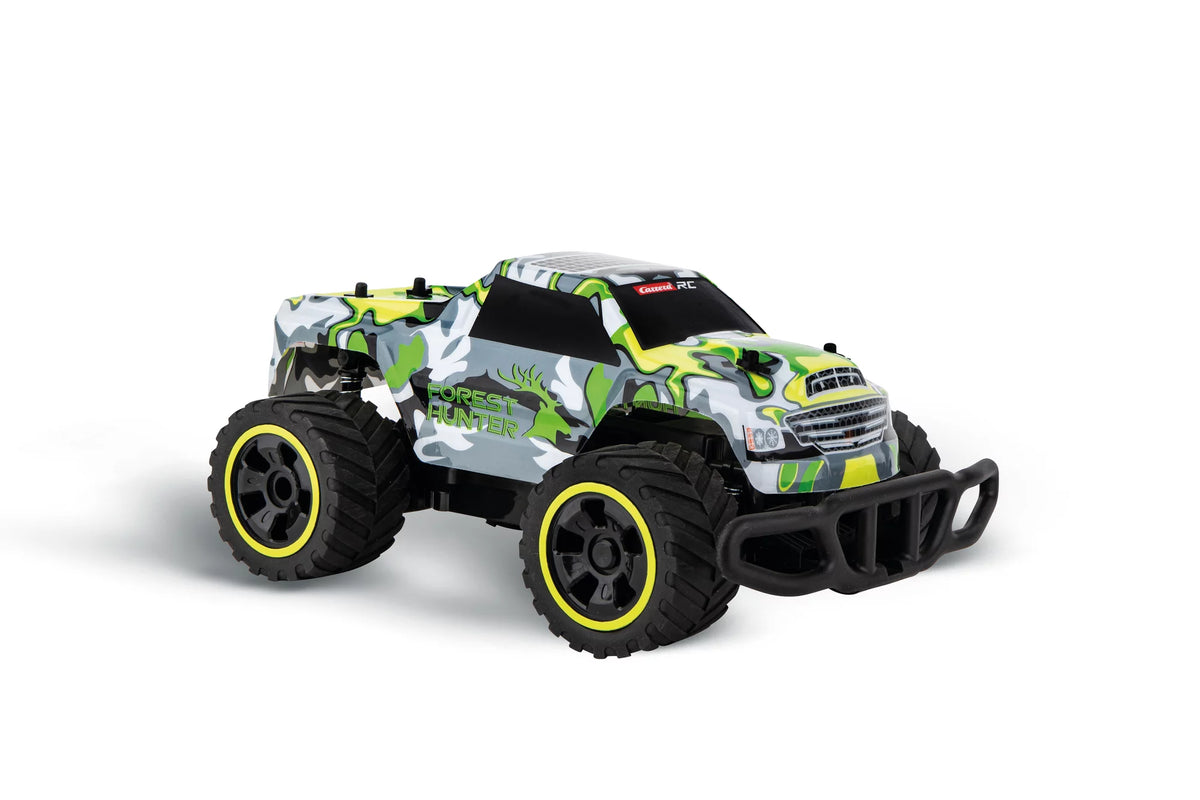
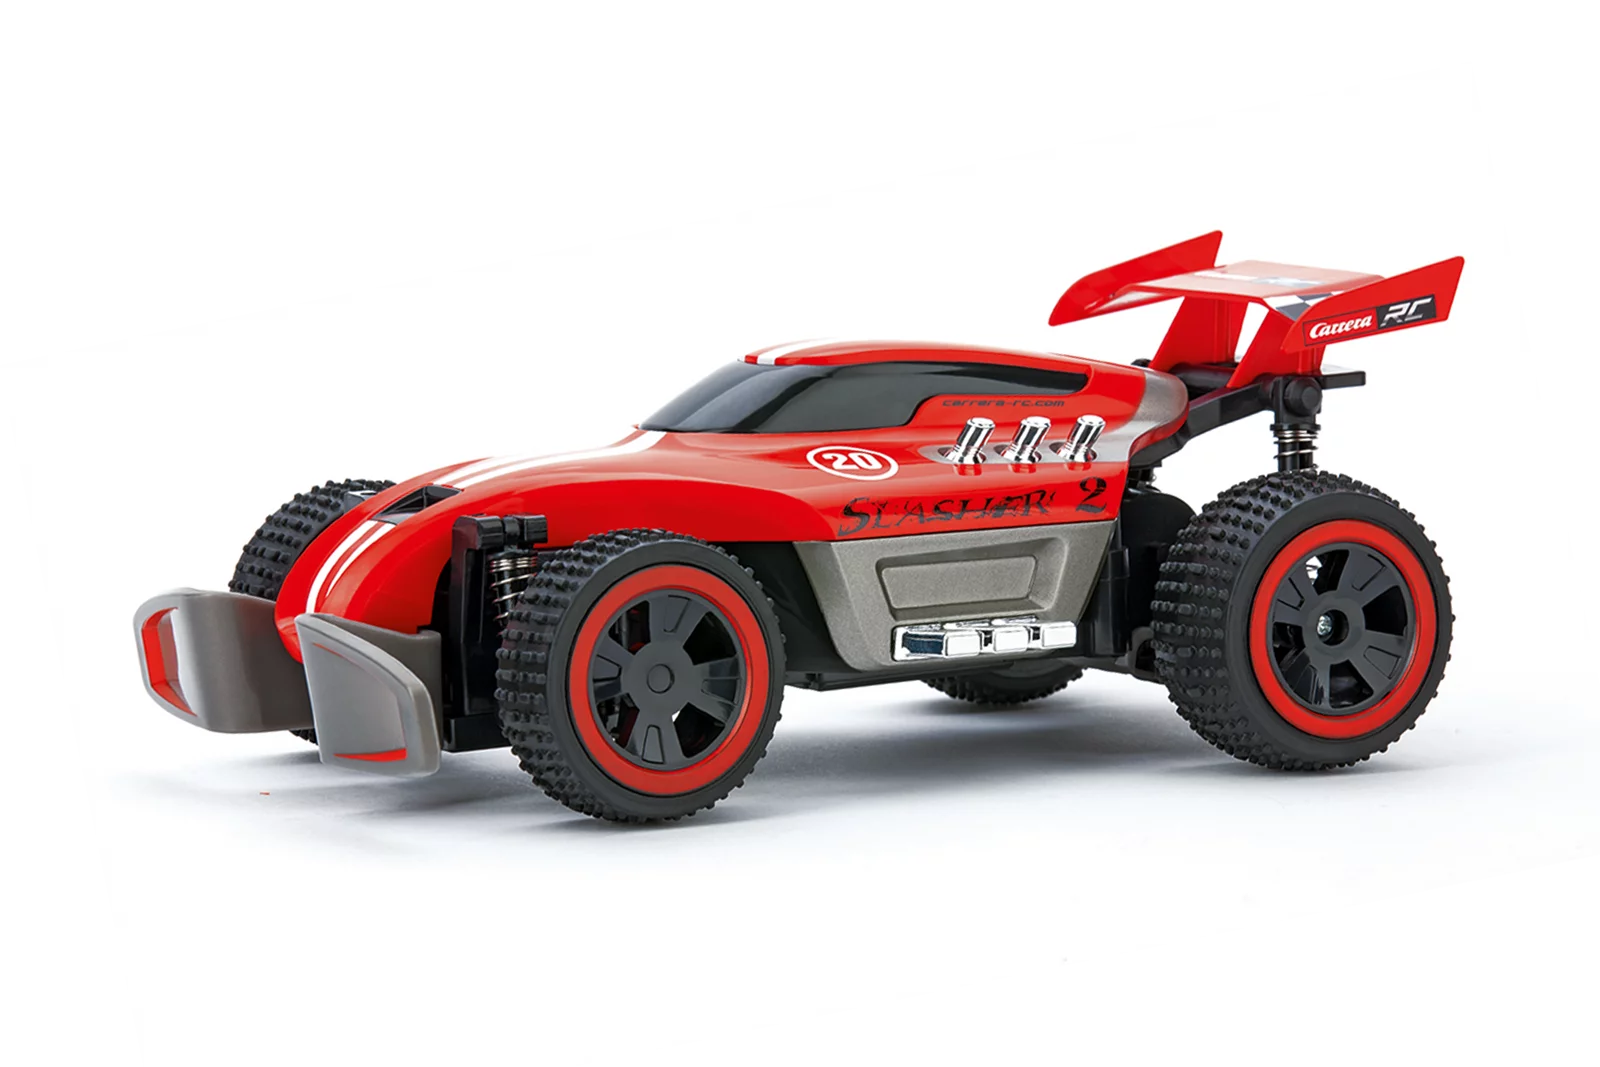
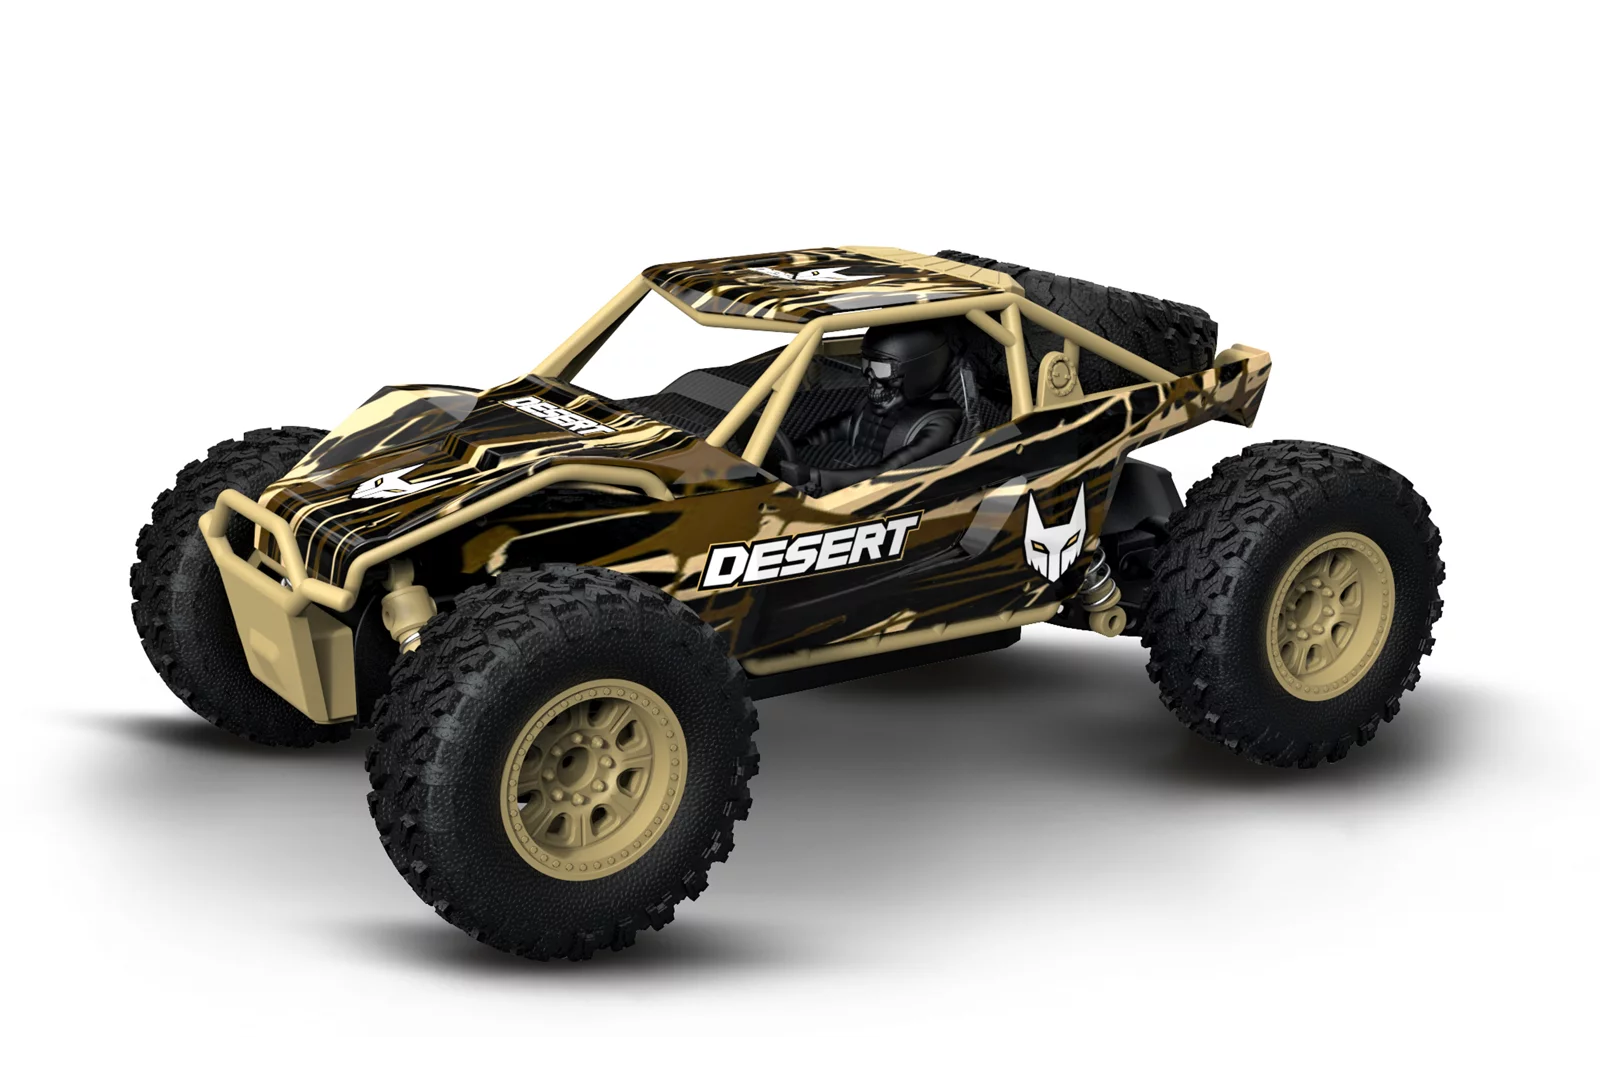
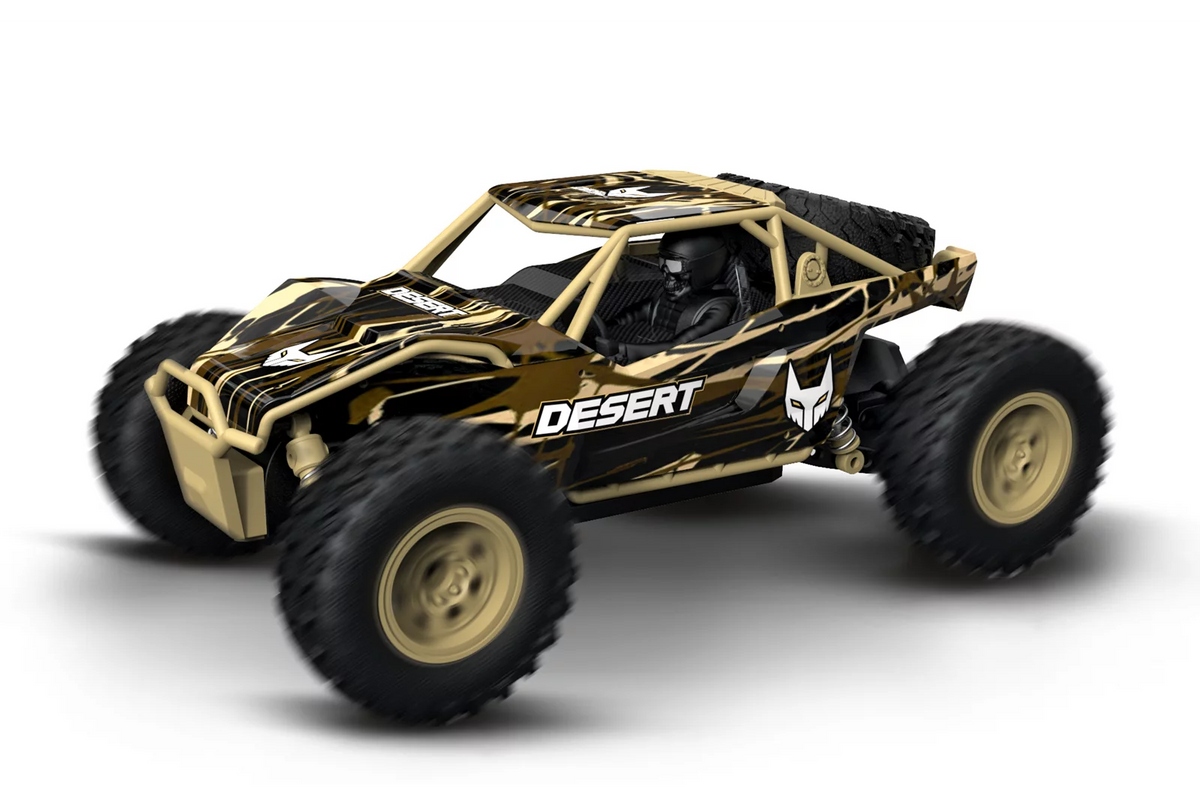
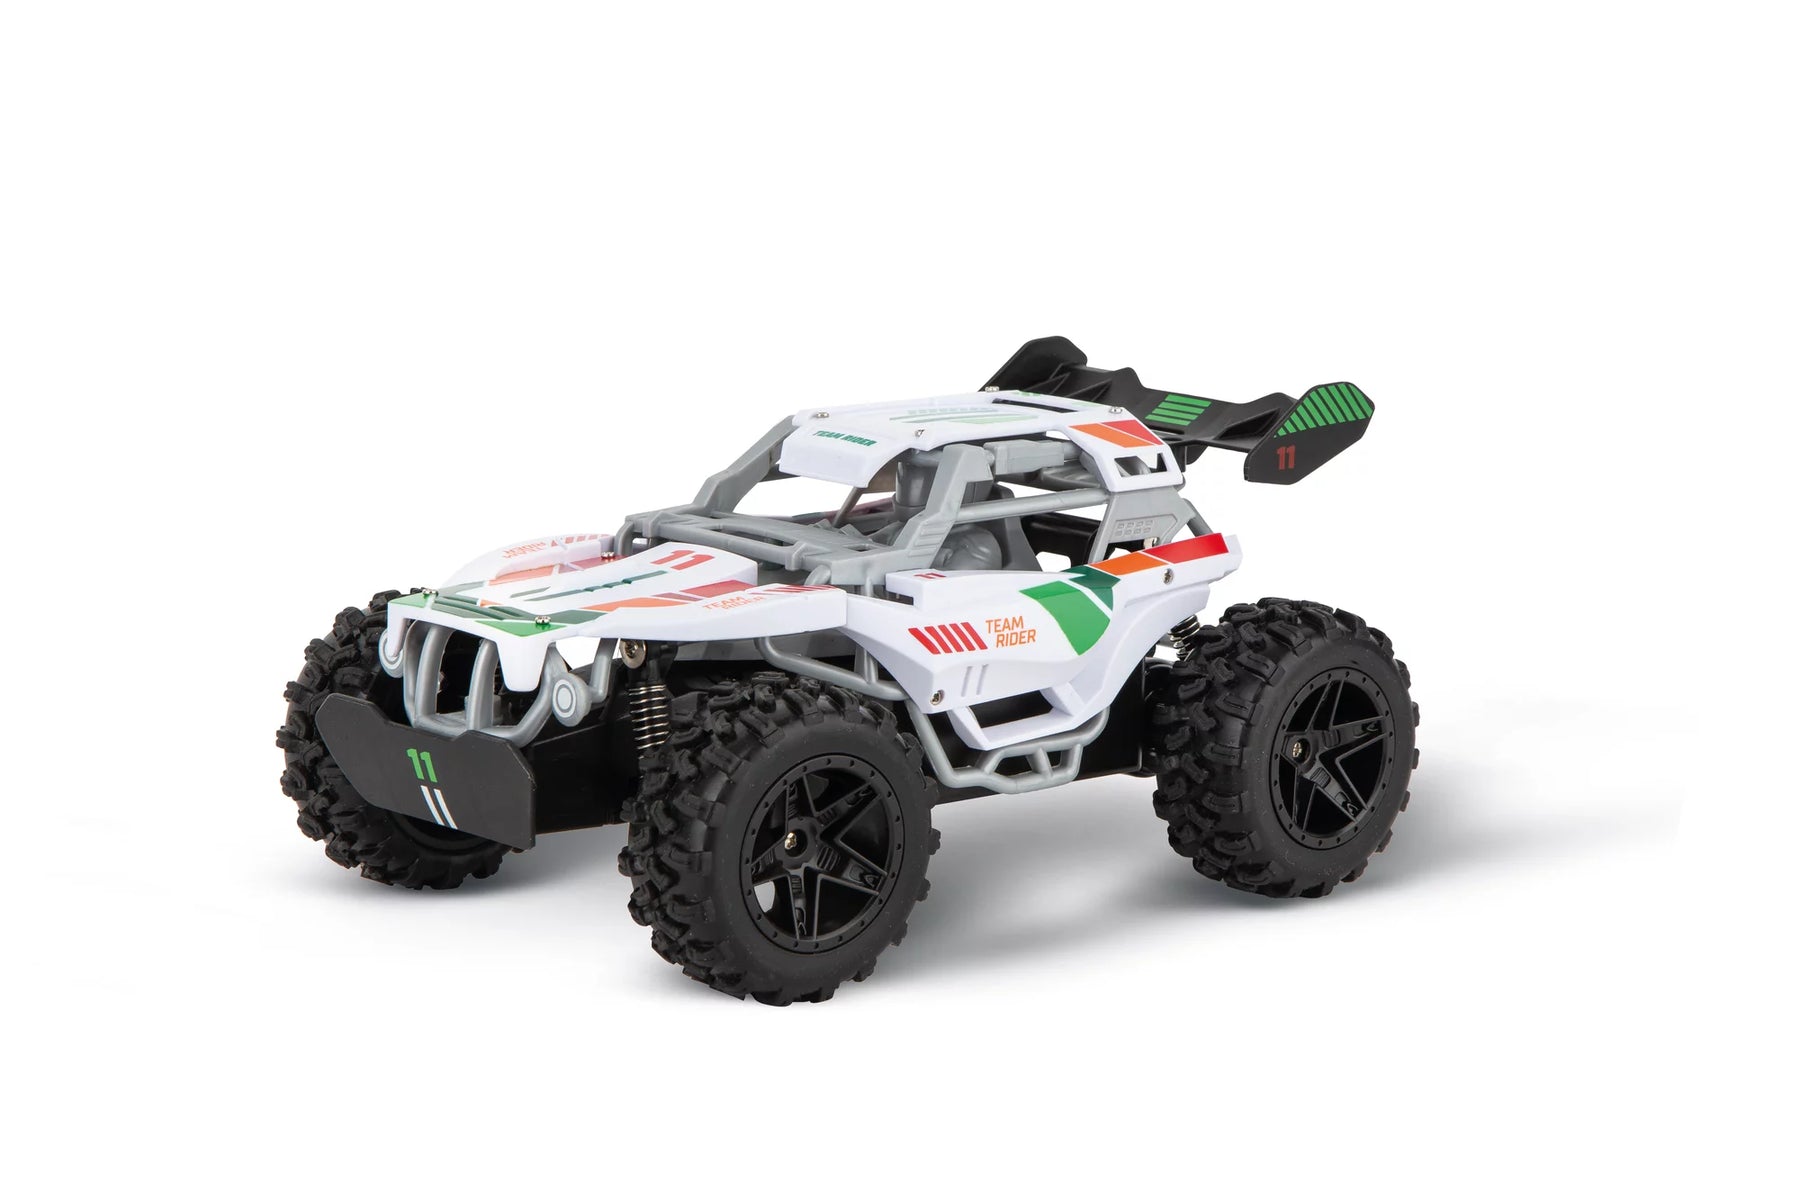
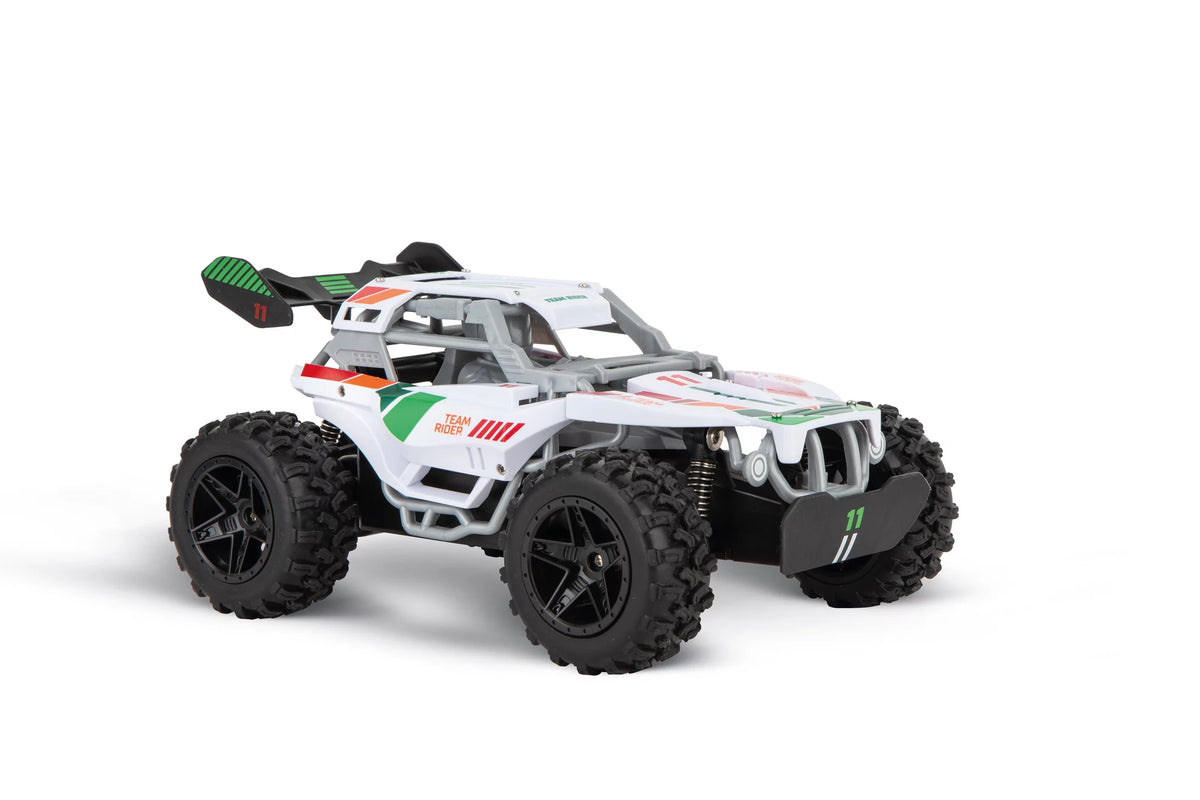
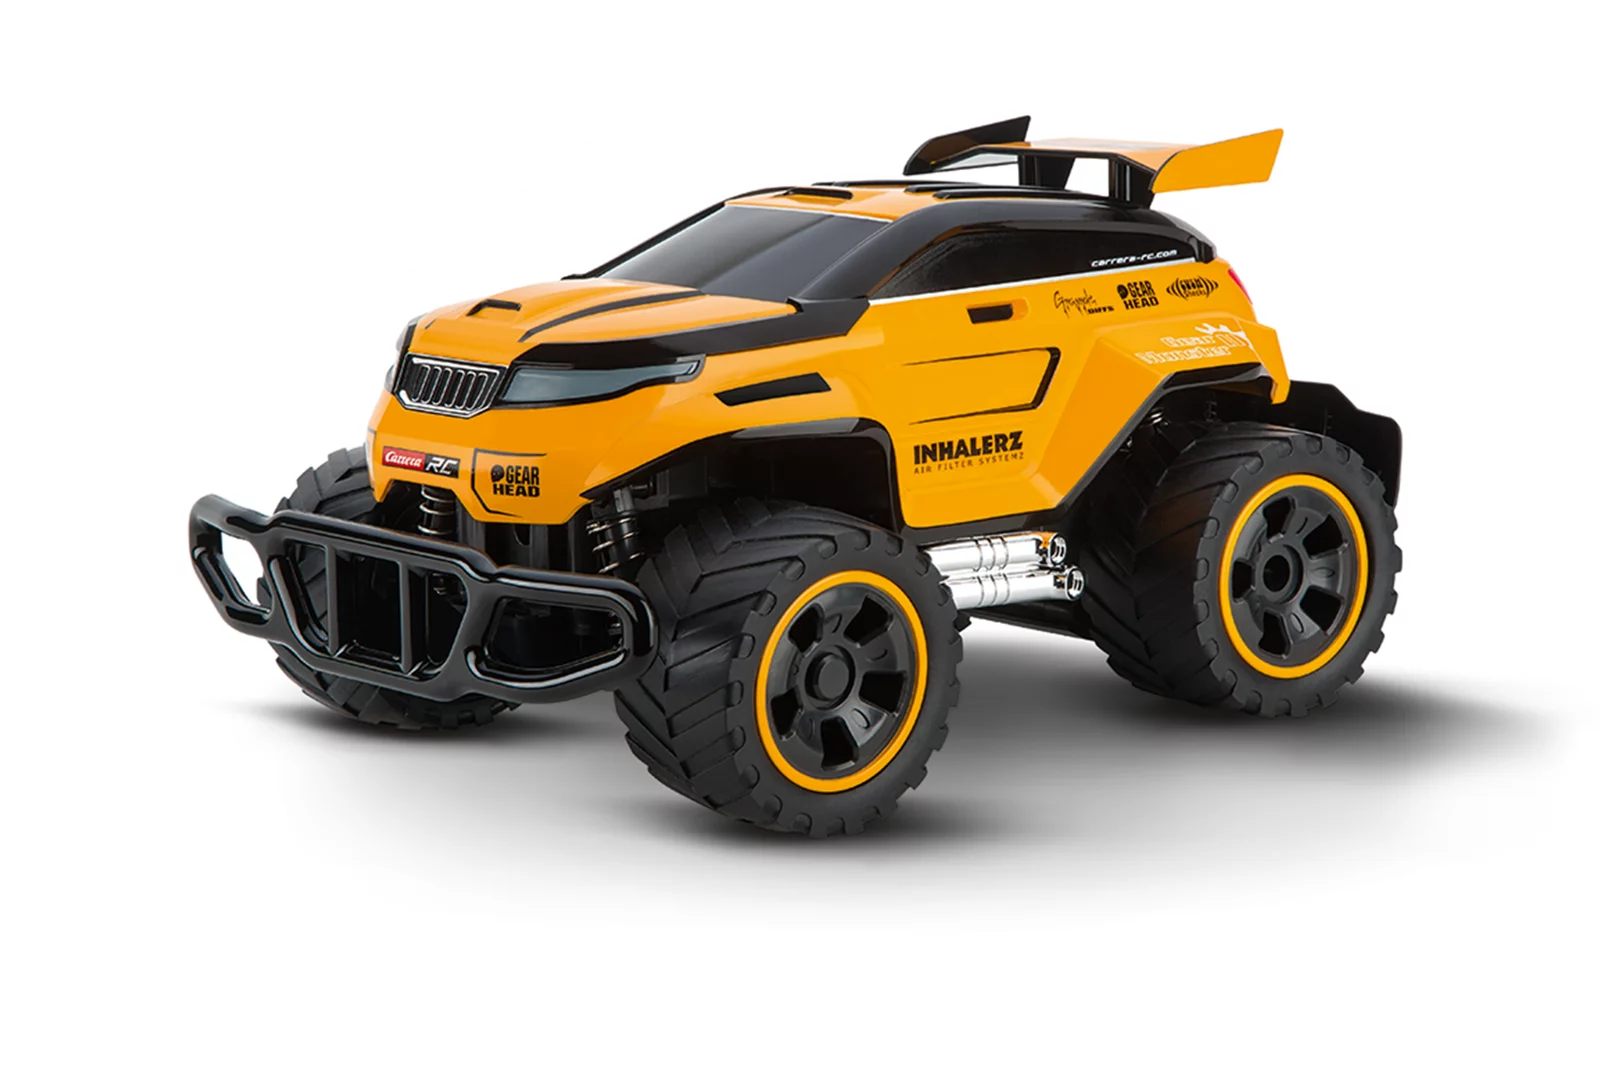

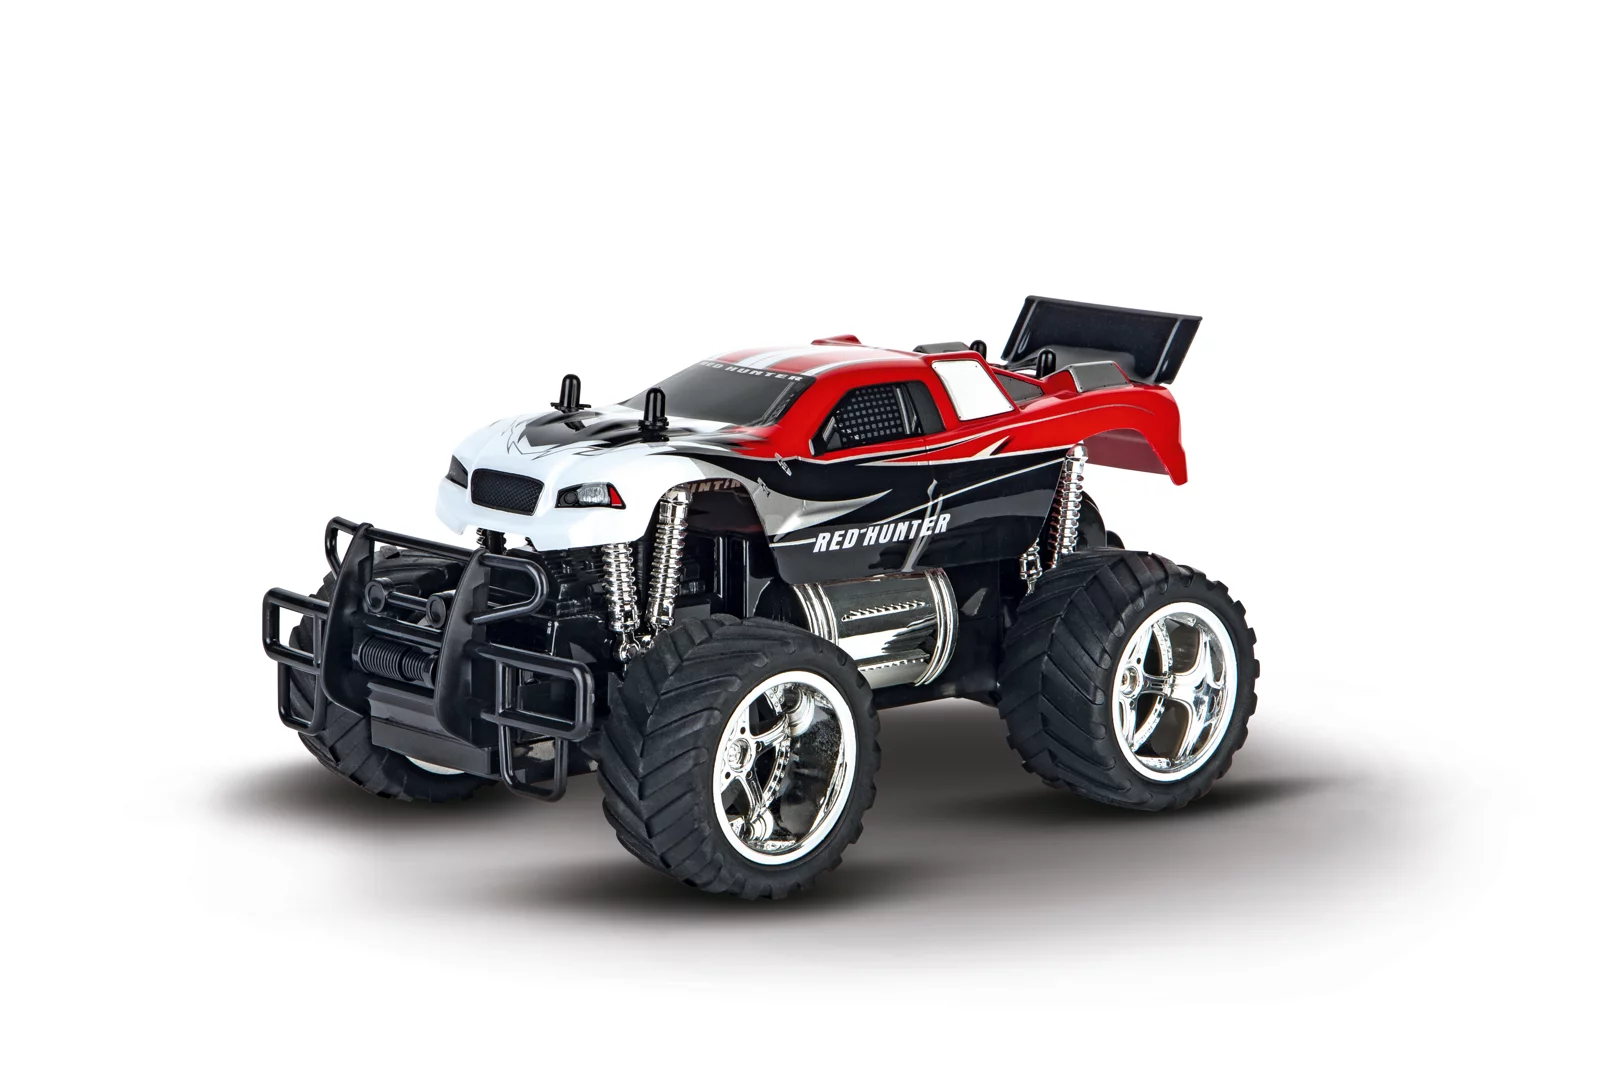
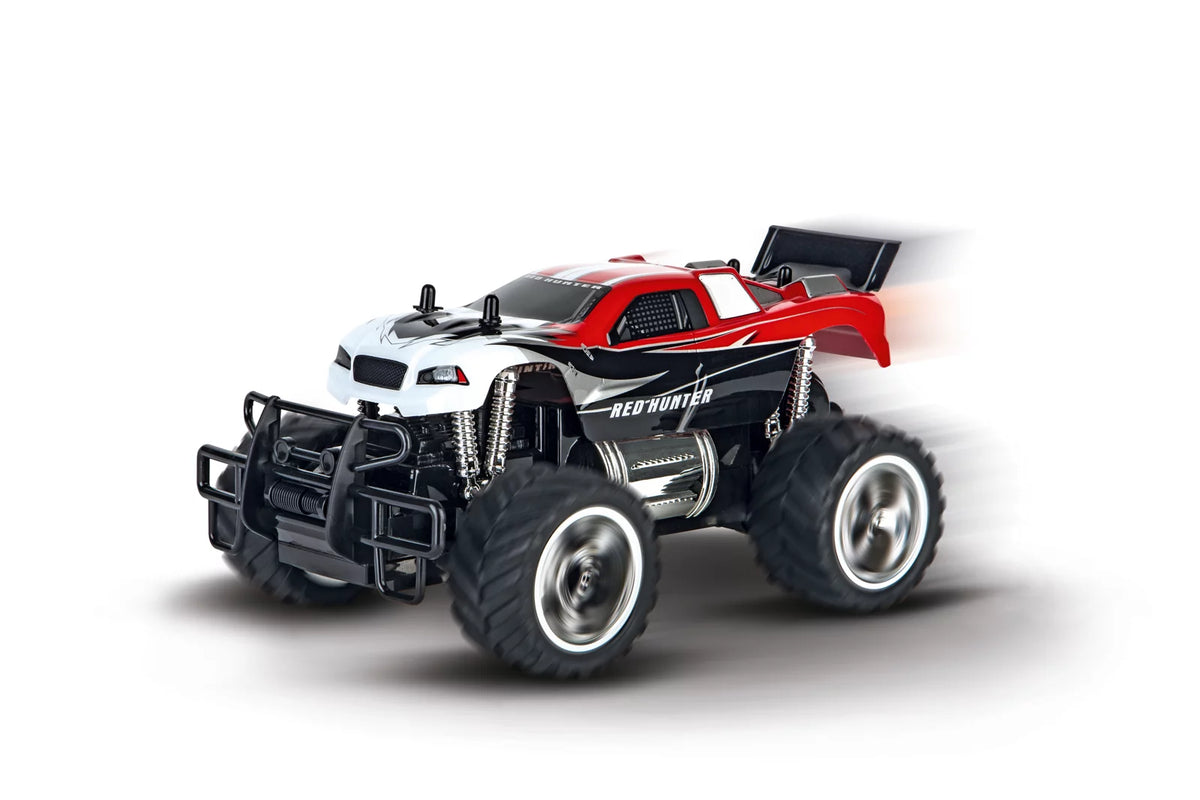
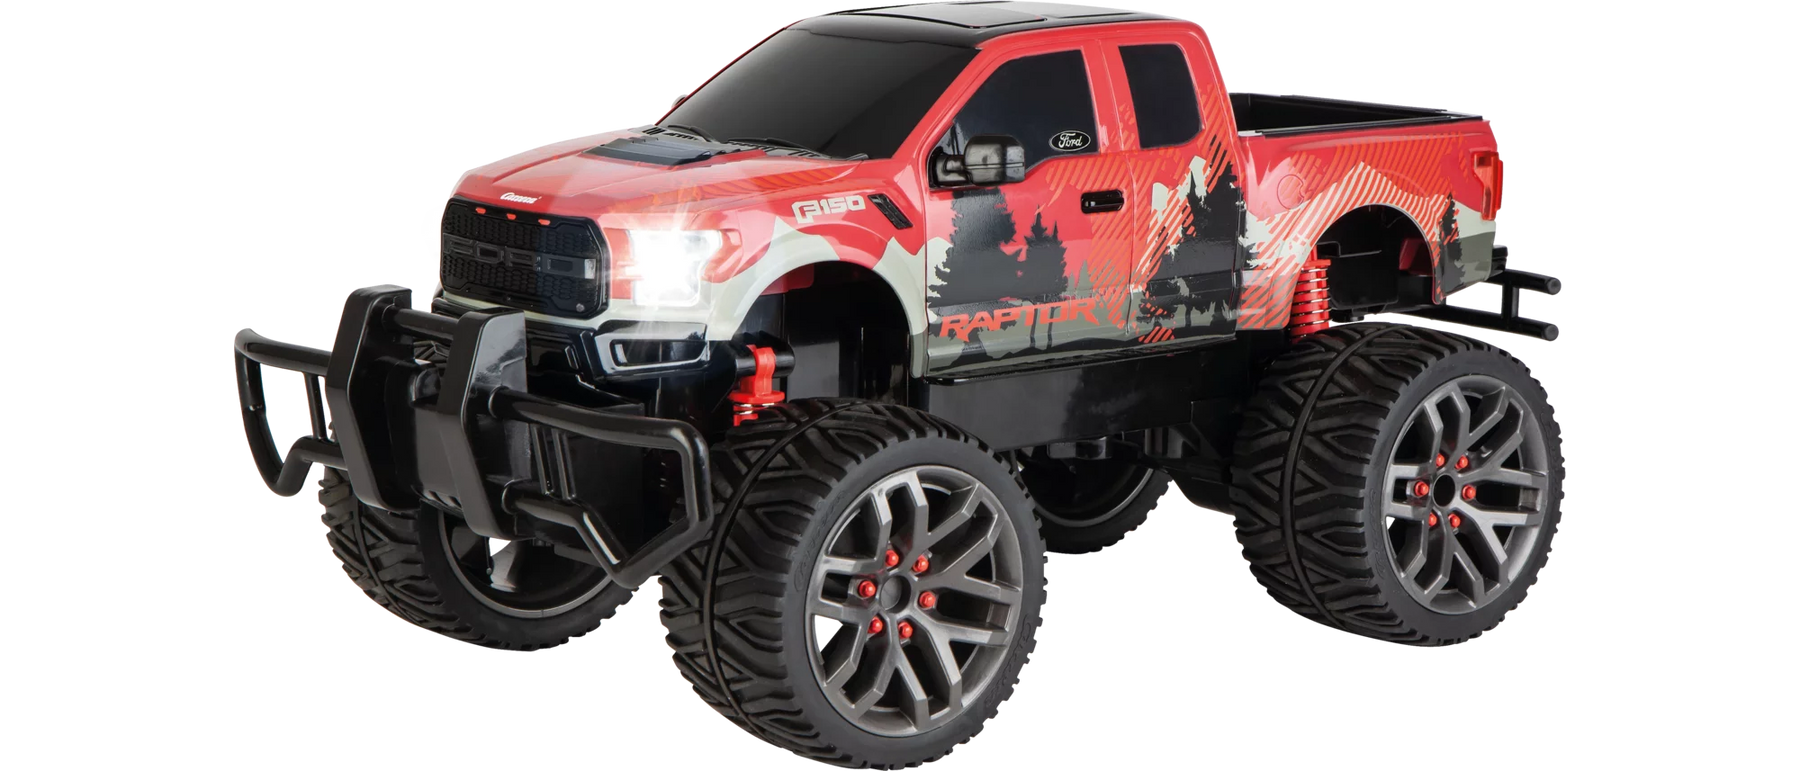
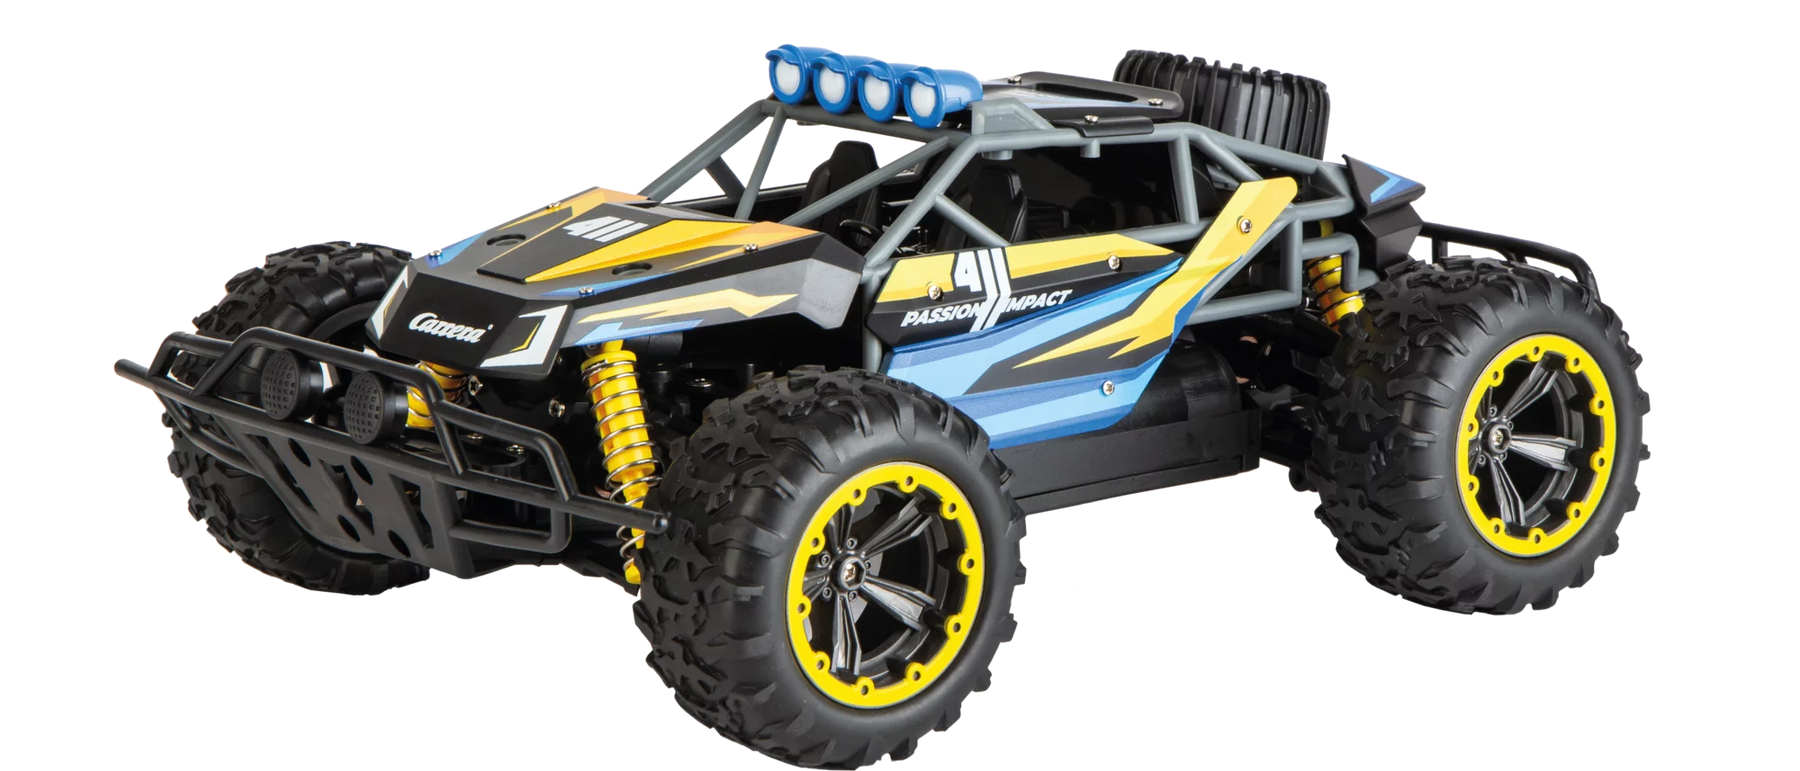
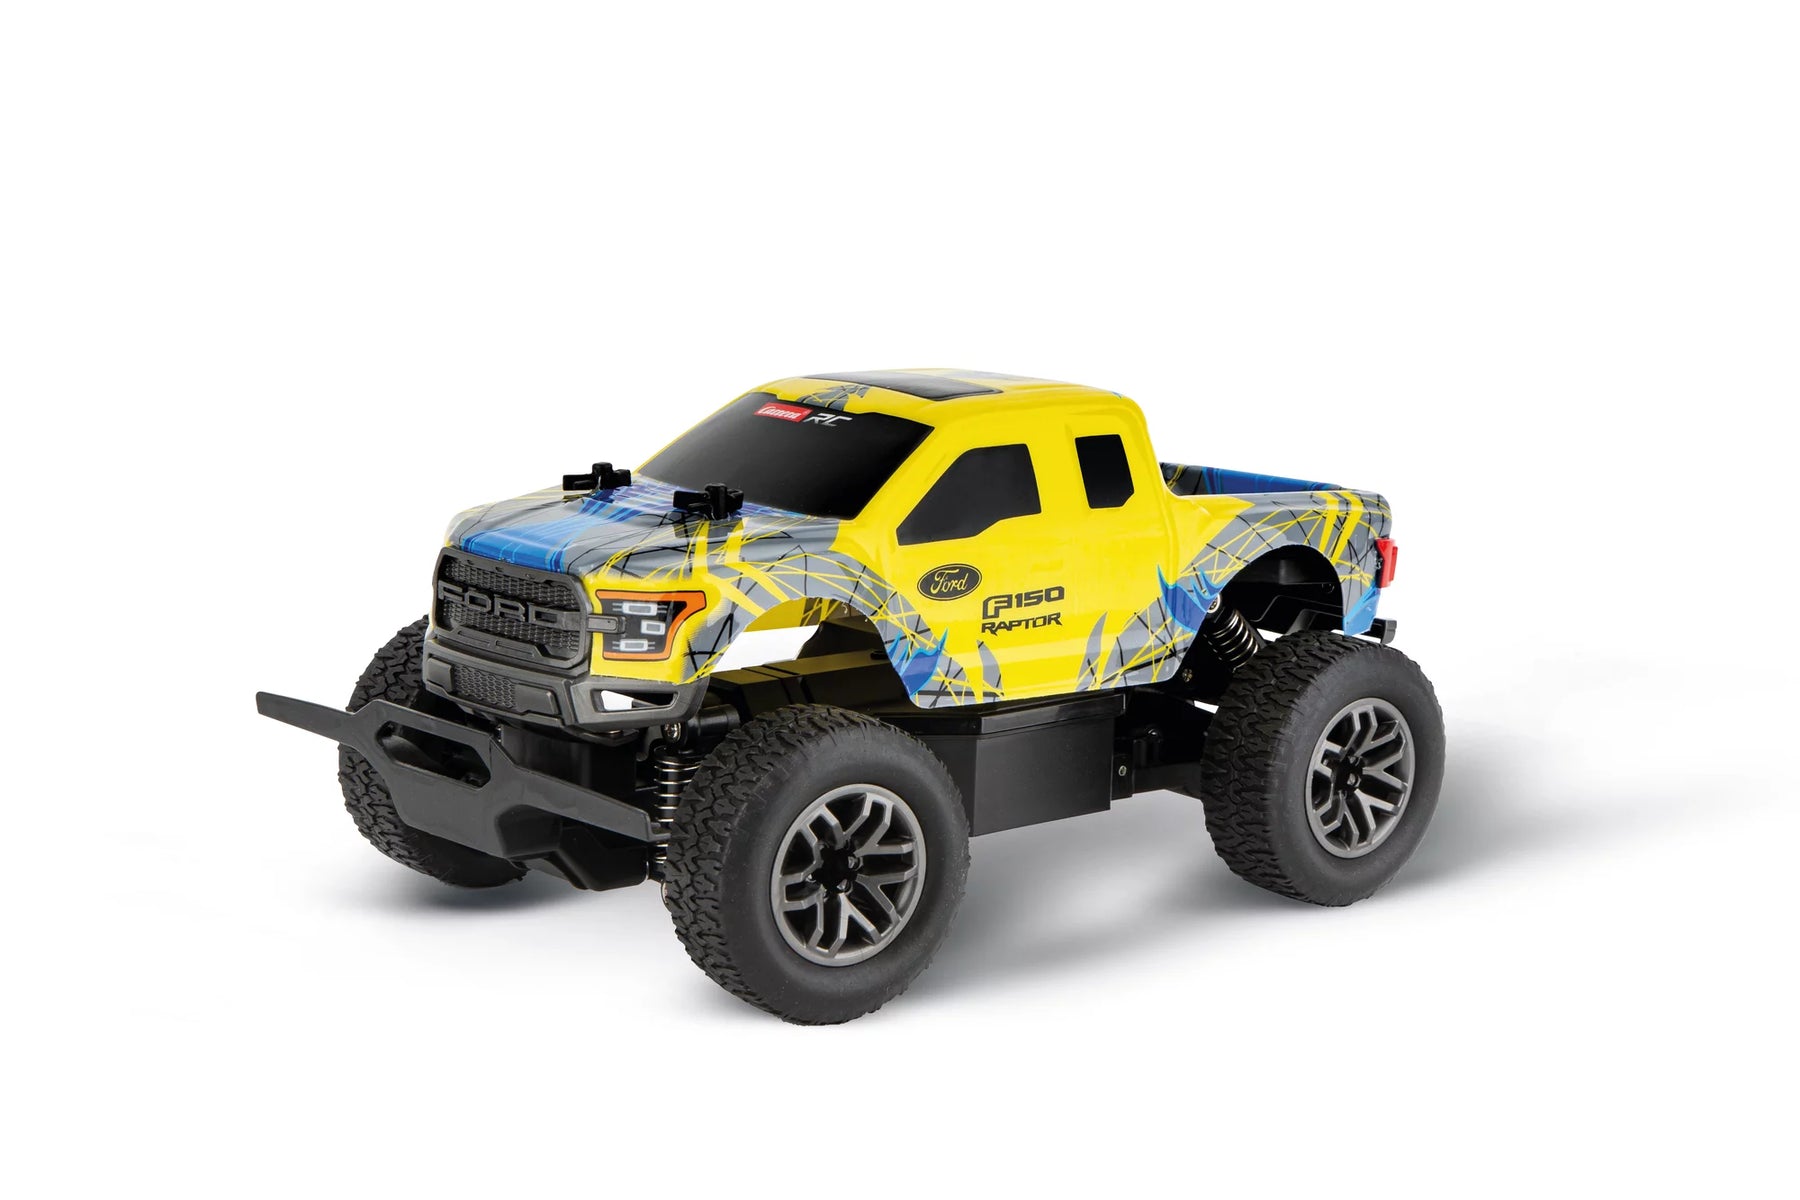
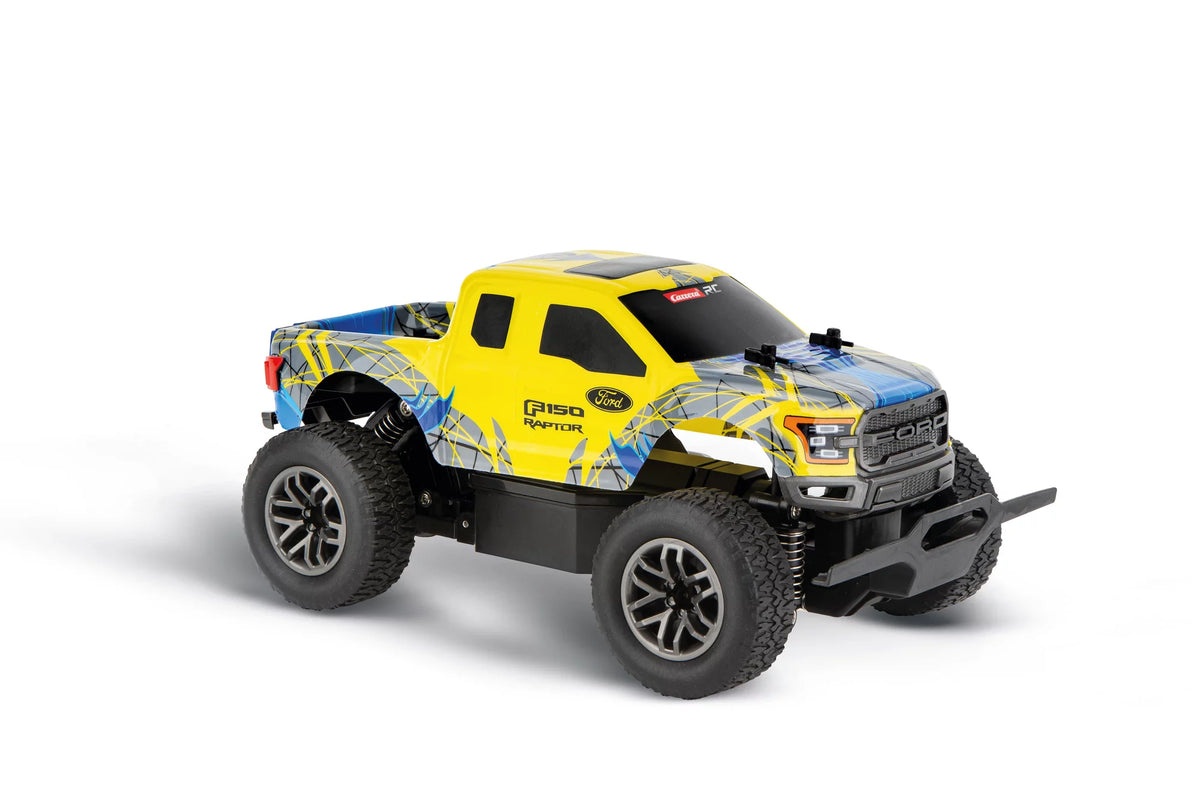
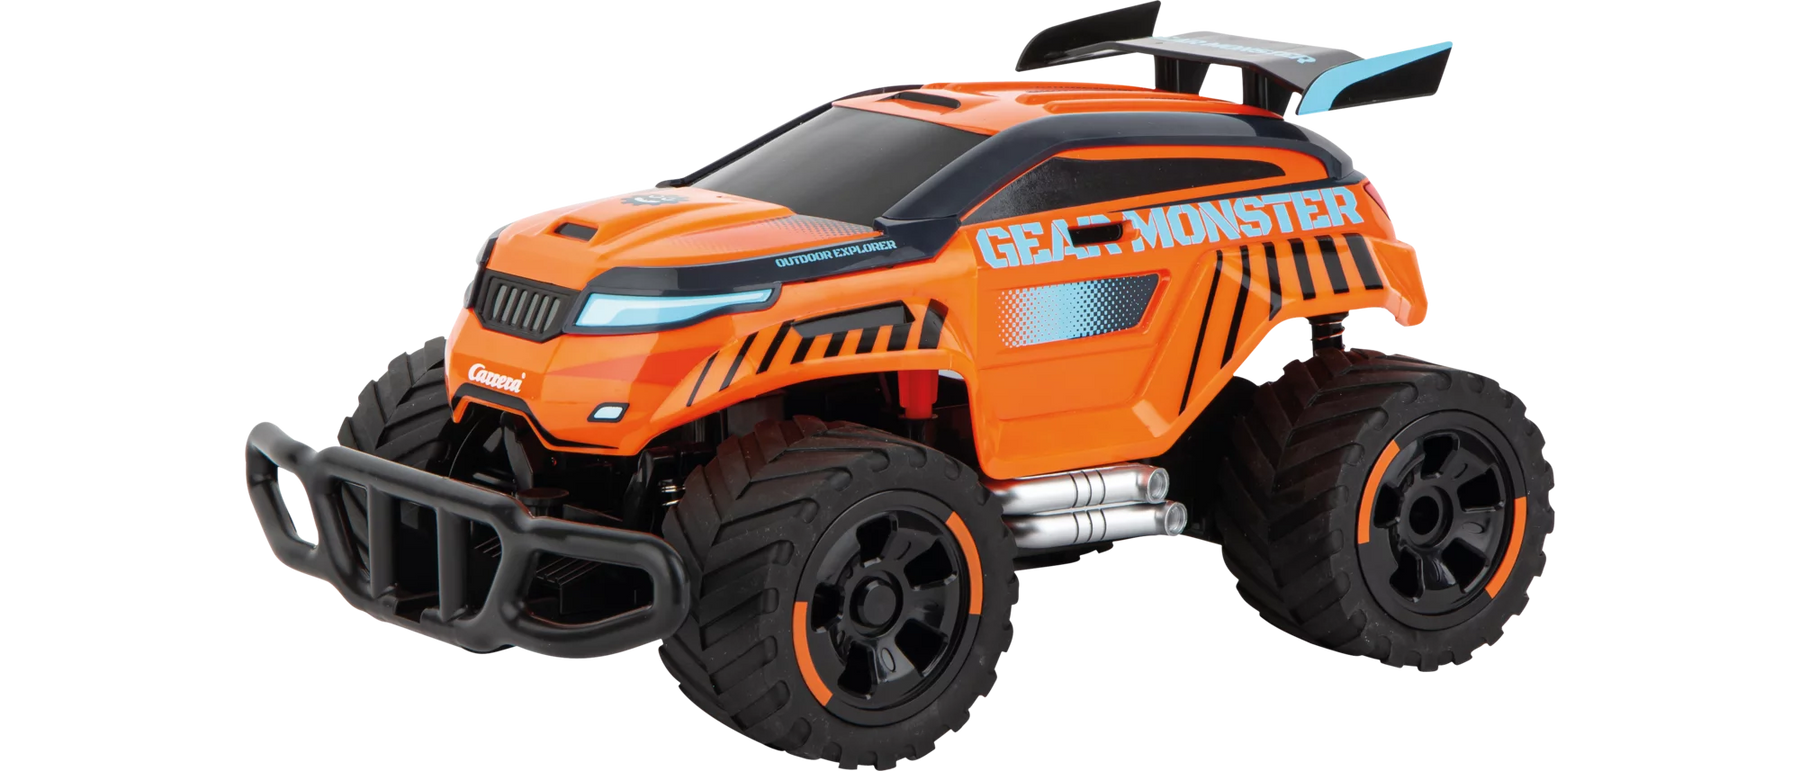
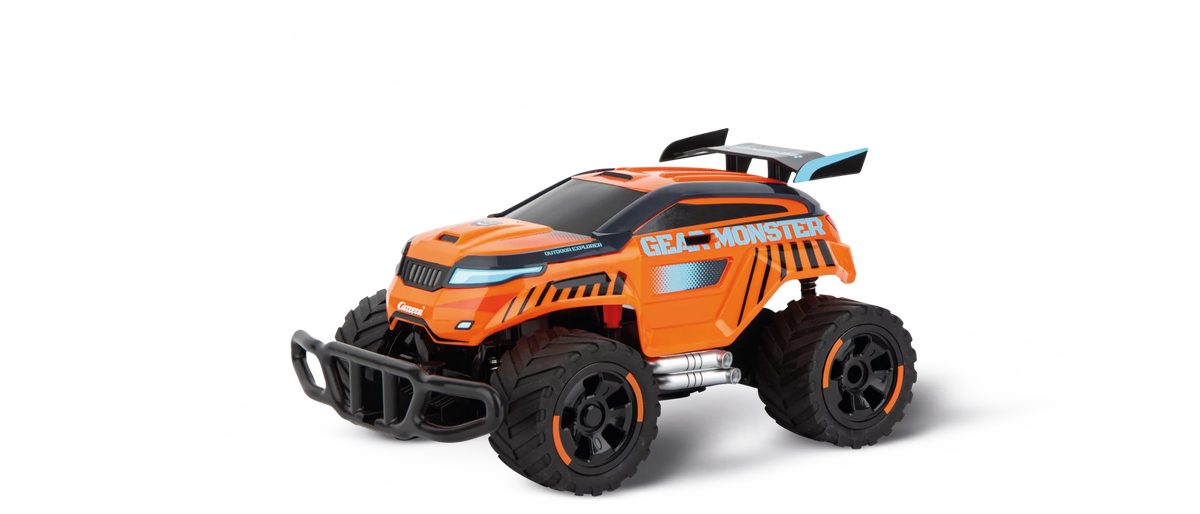
Carrera RC Offroad: Remote-controlled off-road vehicles for action on any terrain
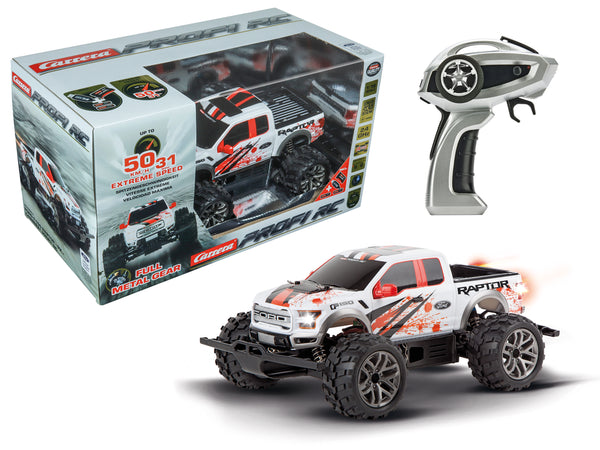
Off-road fun everywhere: garden, forest path or gravel track

Ruggedand off-road capable: built for tough terrain