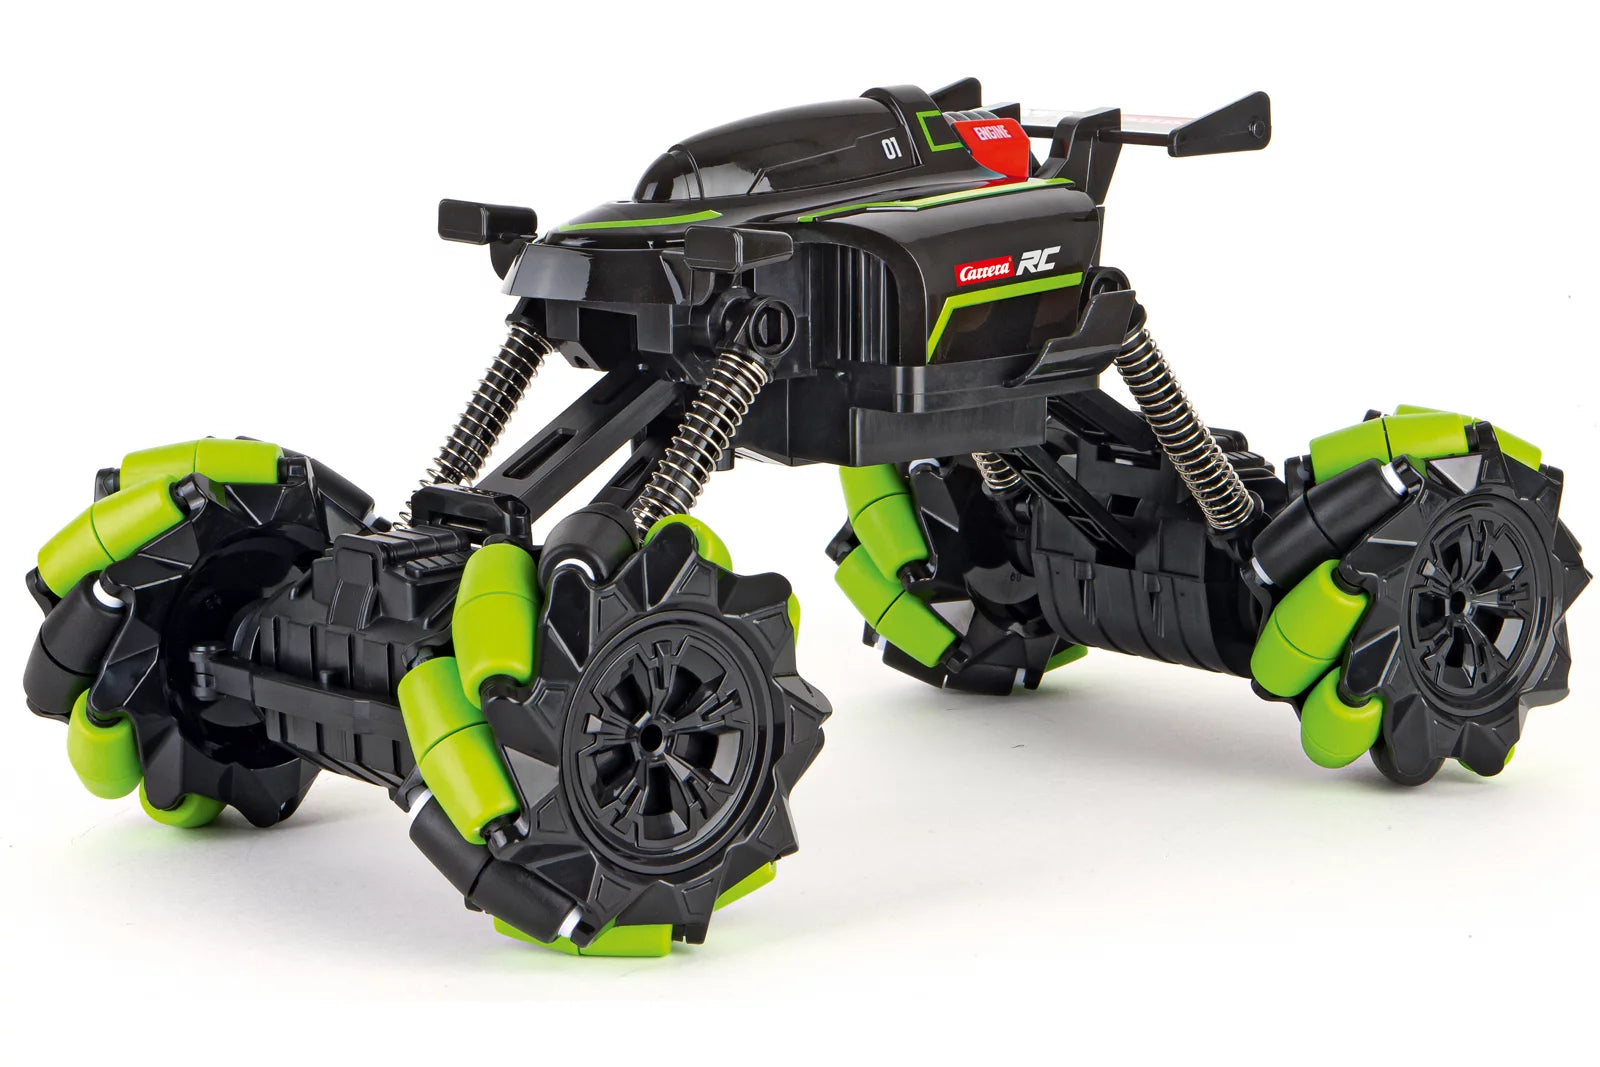
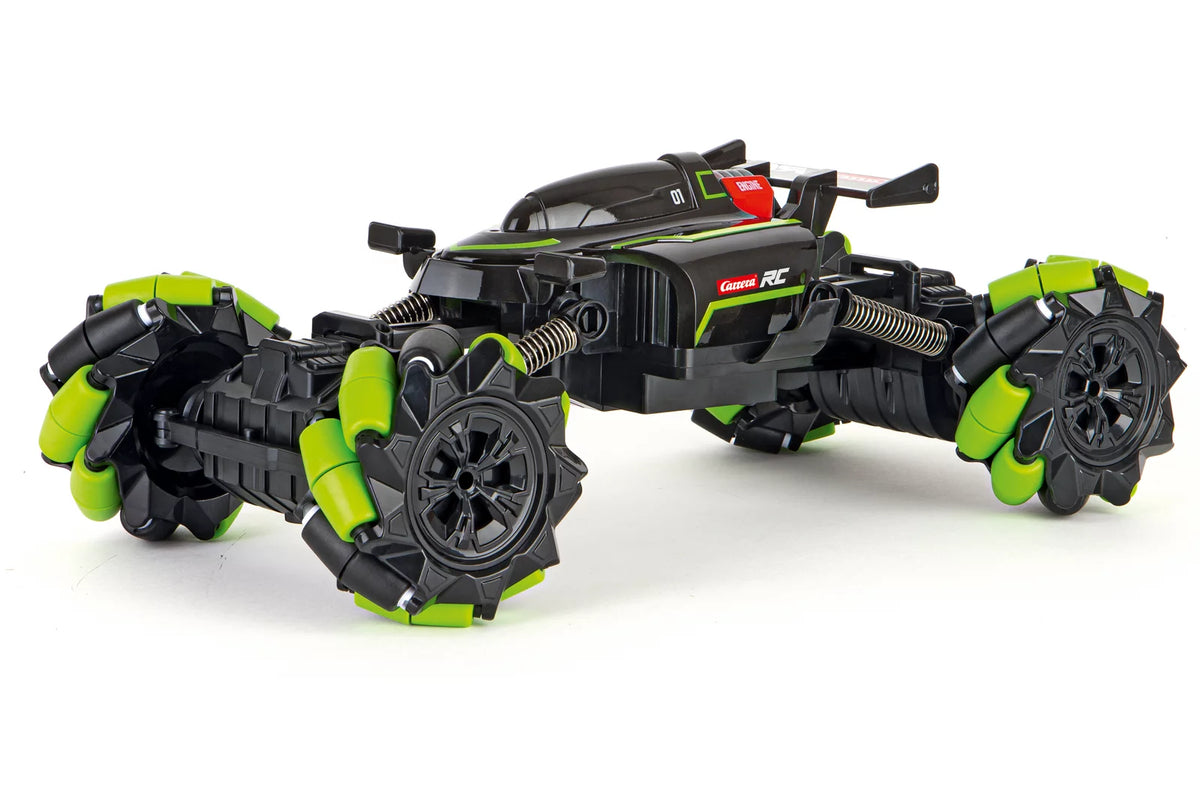
More action for indoors, outdoors and on the go

Shopping cart
Your shopping cart is empty


Didn't find the right answer in the FAQ or would you like to find out more about our RC products? Our customer service team is on hand to help and advise you - quickly, competently and personally. Whether it's technical details, spare parts or tips on use: we're here for you.
Controllers as well as spare parts for controllers (antennas, joysticks, joystick extensions and battery compartment covers) are available in our online store available.
Please note that the antennas are not included with the controllers. These can be purchased in the online store be purchased.
No, please only use the original Carrera RC Li-Ion batteries. This is the only way to guarantee perfect operation. You can find all batteries and matching chargers in our online store.
At 2.4 GHz D/P models Please note the order of commissioning:
1) switch on the transmitter
2) Then switch on the model.
If you switch off after the trip or after the flight, please keep the reverse order.
With 27 MHz models Please check whether the transmitter antenna is faulty or may not be completely pulled out. If there is another RC model nearby, get lost whether the same frequency is not used. In this case, please change the frequency.
Check whether the antenna on the controller is firmly screwed to the stop. Then pull out the antenna completely. Use the transparent antenna tube included in the packaging (depending on the model) for the antenna on the vehicle.
Open the vehicle chassis and clean the axes of dust and hair. Also put a drop of oil (resin and acid-free fat) on the axes.
If, when operating the Carrera RC 2.4 GHz DIGITAL-PROPORTIONAL vehicle, it turns out that the car is moving forwards or backwards on its own, it can be brought to a standstill as follows:
1) Turn the vehicle around so that the wheels are in the air.
2) First switch the vehicle on using the ON/OFF switch. The LED on the top of the vehicle flashes rhythmically. Switch on the controller. The LED on the controller flashes rhythmically. After a few seconds, the LEDs on the vehicle and on the controller light up permanently. The binding is now complete.
3) Press the button on the top right-hand side of the controller for approx. two seconds. The adjustment mode is active as soon as the controller LED flashes. (See image)
4) The forward or reverse movement can be brought to a standstill with the left joystick.
5) To complete the adjustment process, press the button on the top right-hand side of the controller again for approx. two seconds - the LED now lights up permanently.
Proceed as follows if your 2.4 GHz DIGITAL-PROPORTIONAL model pulls to the right or left:
1) Turn the vehicle around so that the wheels are in the air.
2) First switch the vehicle on using the ON/OFF switch. The LED on the top of the vehicle flashes rhythmically. Then switch on the controller. The LED on the controller flashes rhythmically. After a few seconds, the LEDs on the vehicle and on the controller light up permanently. The binding is complete.
3) Press the button on the top right-hand side of the controller for approx. 2 seconds. The adjustment mode is active as soon as the controller LED flashes. (See picture)
4) The straight run can be adjusted with the right joystick.
5) To complete the adjustment process, press the button on the top right-hand side of the controller again for approx. two seconds - the LED then lights up permanently.
Yes, it is recommended to clean the Carrera RC vehicle after the ride to ensure smooth operation. Please ensure that you do not use any harsh solvents.
For 2.4 GHz Digital Proportional models:
The Carrera RC vehicle and the controller are bound at the factory. If there are problems with communication between the Carrera RC vehicle and the controller at the beginning, please carry out a new binding. Press the bind button on the underside of the chassis to rebind the Carrera RC vehicle and the controller. The bind button must be pressed for at least 3 seconds. Please note that both the controller and the Carrera RC vehicle must be switched on at the ON/OFF switch.
For 27 MHz models:
Make sure that nobody in your driving area is using the same frequency. To avoid this and so that the Carrera RC vehicle can be addressed by the controller, make sure that the same frequency (A/B/C) is set on the vehicle and on the controller. The frequency switch of the vehicle is located in the battery compartment, the frequency switch on the controller is located on its top side. Using different channels makes it possible to drive 3 vehicles at the same time.
The controller antenna should be pulled out completely. Then switch on the Carrera RC vehicle using the ON/OFF switch. The Carrera RC vehicle has two speeds: The ON/OFF switch can also be used to switch to training or indoor mode.
For 2.4 GHz Servo Tronic models:
First switch on the vehicle, then the LED on the top of the vehicle flashes rhythmically. You can then switch on the controller. Here too, the LED flashes rhythmically for a few seconds. As soon as the vehicle and the controller are bound, the status LEDs on the vehicle and controller light up continuously.
Adjusting the steering: If the Carrera RC vehicle pulls to the right or left during operation, the track can be corrected using the adjustment switch on the underside of the vehicle.
Proceed as follows to bind your vehicle Red Fibre® Carrera® Profi® (370183002/370183001) correctly with the controller:
1) First switch on the vehicle
2) Then switch on the controller. When the LEDs on the vehicle and the controller light up constantly, the binding process is complete.
All spare parts and accessories for the various professional RC models can be found in our online shop by entering the article number or names of your model in the search field. All suitable spare parts are displayed on the article detail page of the vehicle.
With the help of the exploded drawing, the individual parts can be identified quickly and easily, whereby the exploded drawing is only available for professional models.
To put your Carrera Profi RC vehicle into operation, first switch the vehicle on using the ON/OFF switch. The LED on the vehicle flashes rhythmically. Then switch on the controller. After a few seconds, the LEDs on the vehicle and the controller will light up permanently. Binding is complete.
The ON/OFF switch is located on the left-hand side of the vehicle, directly next to the battery compartment.
On the back of the controller and on the vehicle in the area of the drive axle there is a sticker, whereupon the correct frequency is printed.
Let the water drain and dry your boat thoroughly after use. Use normal tap water to clean your boat. The contacts of the water sensors should be treated regularly with vinegar cleaners to prevent corrosions. Note that the vinegar cleaner does not come into contact with the propeller and rudder. This could lead to permanent damage.
So you really empty your boat:
Coastal wax boat Falshöft (301001/301005)
After each trip, please open the two emptying plugs on the bow and rear and empty the condensation that arises. Please make sure that you put the emptying plugs back into the openings provided before each trip.
Ferrari Boot Arno XI (300005)
There is a emptying plug at the rear. Open it after every trip to empty the condensation. Please make sure that you give the emptying plug back into the intended opening before each trip.
Power Wave (300001)
On the underside of the boat you will find the emptying button between the propeller and sensor. Press it into it with a blunt object until the condensation water has escaped from the boat. Since the emptying button is sprung, it is automatically brought into the original position as soon as you no longer push it in.
Please note that for safety reasons, the bond is only possible in the water. When commissioning, first switch on the controller and then the boat. After the trip, the reverse order must be observed - first switch off the boat and then the controller.
Our boats are suitable for operation with normal to moderate waves in fresh water.
If your boat still comes into contact with dirty or salty water, it must then be cleaned thoroughly with normal tap water.
If the battery of your boat or vehicle has been properly connected and the charging process takes place normally, the red LED lamp shines constant. When the battery is fully charged, the red LED lamp switches to green. The battery can be removed and installed in the vehicle or boat.
If your micro quadrocopter (502002) does not take off despite fully charged battery, please check whether the arrangement of the 4 rotor blades is correct. The letters are stamped on the top of the rotor leaf. The correct positioning of the A/D-rotor blades and the B/C-rotor blades is important.
Please make sure before the first flight whether there is a legal insurance obligation for flight models in your country. You can get more information from the German Model Air Association. You shouldn't do this with your flight model:- Flying near airfields (minimum distance 1.5 km)- about human accumulation, military objects, hospitals, power plants or adhesion- please note that you always hold direct viewing contact with the aircraft.
Please keep the following order to properly bind the controller with your helicopter:
1. Switch on the helicopter.
2. Switch on the controller.
Exception: At the Sky Hunter (501001) and Red Eagle (501002), this process must be observed:
1. Switch on the helicopter
2. Press the controller onto the right joystick and then switch it on.
Concerns the following helicopters:
Thunder Storm (501004)
Helicopter (501007)
Green Chopper (501003)
Orange Sply (501005)
Green Vecto (501008)
Red Buzzer (500001)
Micro Helikopter (502001)
The correct trim is the basic requirement for stable flight behavior of the helicopter. The coordination needs some patience and feeling.
Please note the following information:
Carefully move the gas lever up on the controller and let the helicopter rise up about 0.3 to 0.8 meters.
If the helicopter turns to the left or right to the left or right, please proceed as follows: The helicopter turns quickly or slowly around his own axis, press the lower right trimmer for rear (circular rotation) by itself. When the helicopter turns to the right, press the trimmer Heck (circular rotation) gradually to the left.
If the helicopter flies in the floating flight, without movement of the lever for the front/back or back, please proceed as follows: the helicopter moves quickly or slowly to the top, press the upper right trimmer down on the controller step by step. When the helicopter moves backwards, press the trimmer upwards for the front/back.
Concerns the following helicopters:
Sky Hunter (501001)
Spider Fox (501006)
The correct trim is the basic requirement for stable flight behavior of the helicopter. The coordination needs some patience and feeling.
Please note the following information:
Carefully move the gas lever up on the controller and let the helicopter rise up about 0.3 to 0.8 meters.
If the helicopter flies to the left or right without movement for the lever for right/left-wing inclination, please proceed as follows: the helicopter moves quickly or slowly to the left, press the lower right trimmer for right/left-hand tendency to the right. When the helicopter moves to the right, press the trimmer on the right/ left tendency step by step.
If the helicopter turns to the left or right to the left or right, please proceed as follows: The helicopter turns quickly or slowly around his own axis to the left, press the lower left trimmer for rear (circular rotation). When the helicopter turns to the right, press the trimmer Heck (circular rotation) gradually to the left.
If the helicopter flies in the floating flight, without moving the lever for the front/back and back, please proceed as follows: the helicopter moves quickly or slowly to the front, press the upper right trimmer down on the controller step by step. When the helicopter moves backwards, press the trimmer upwards for the front/back.


