














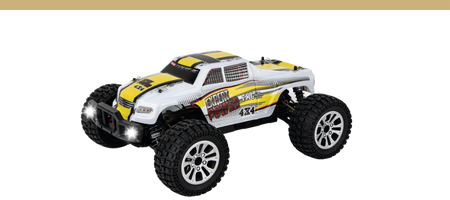
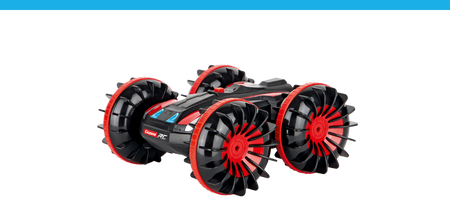



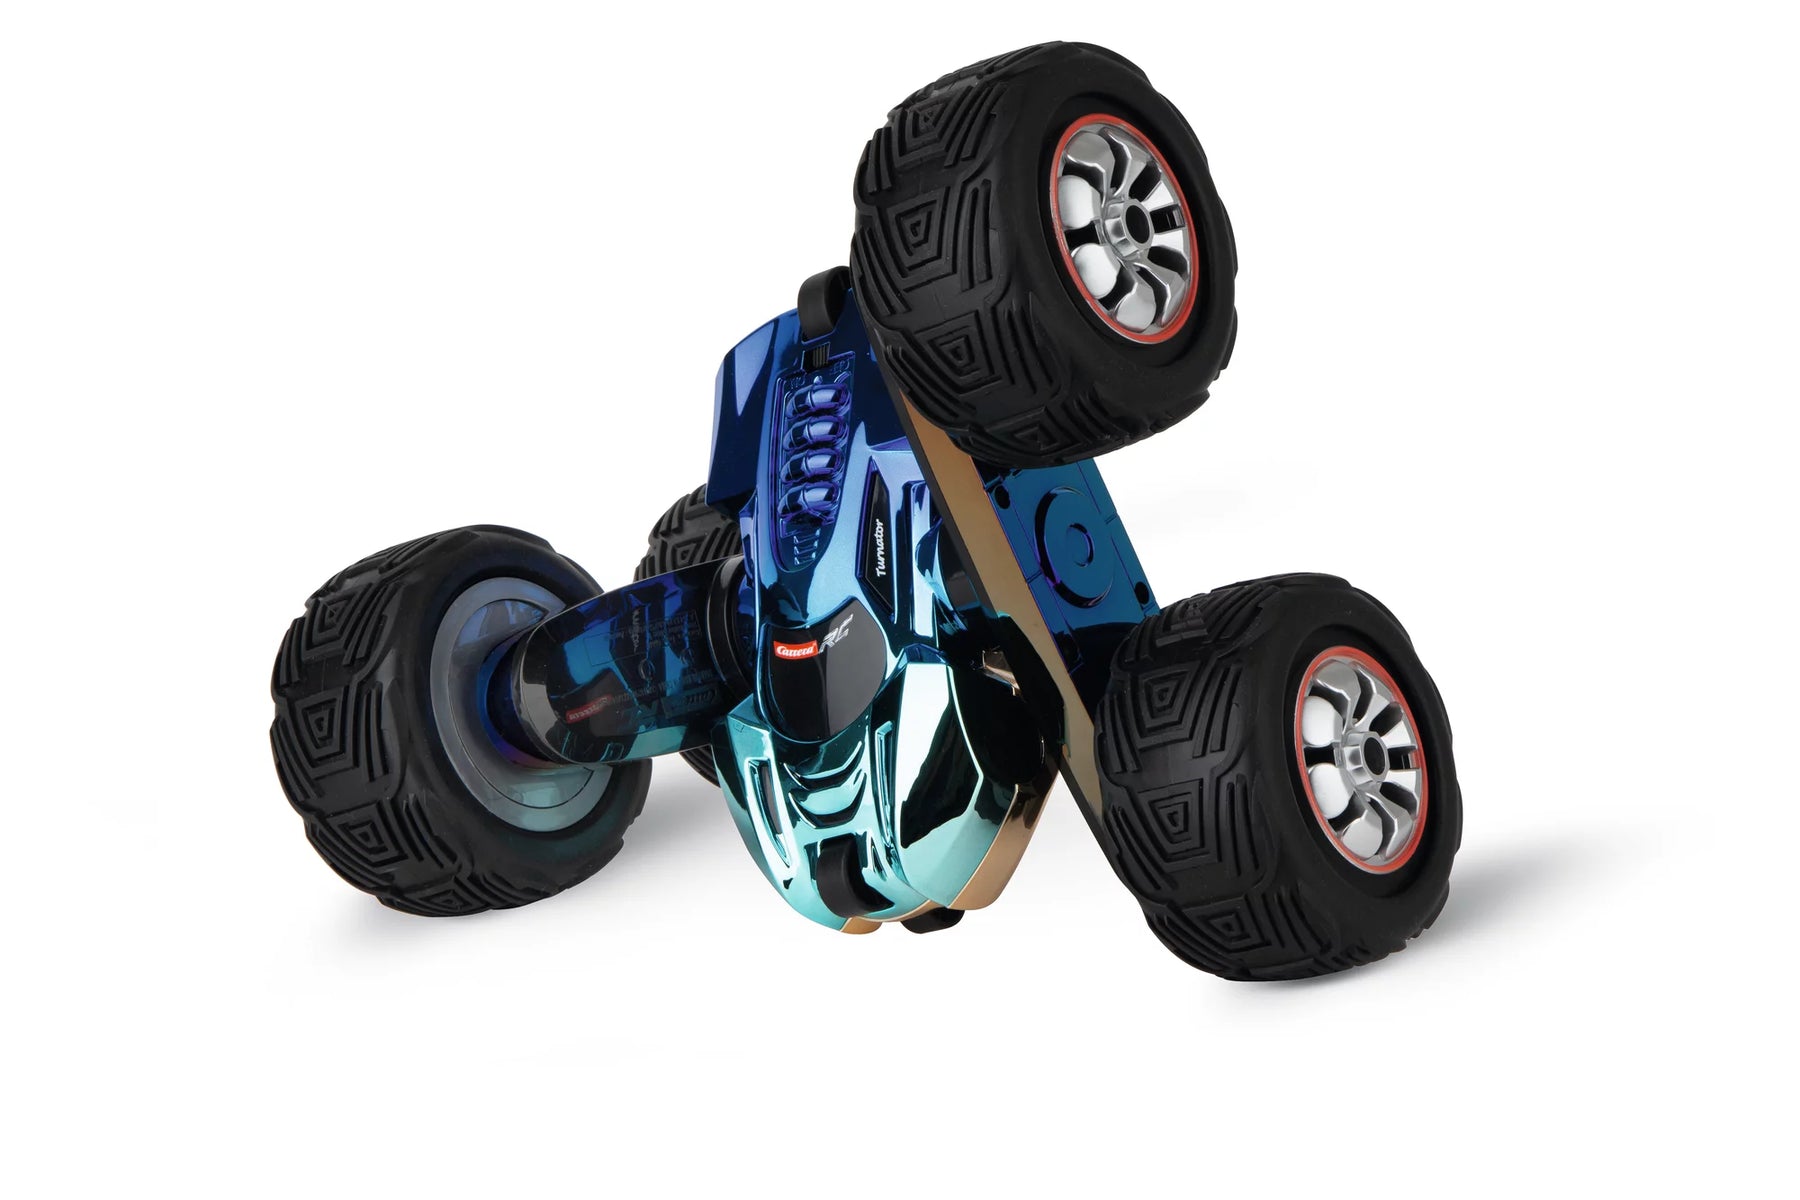
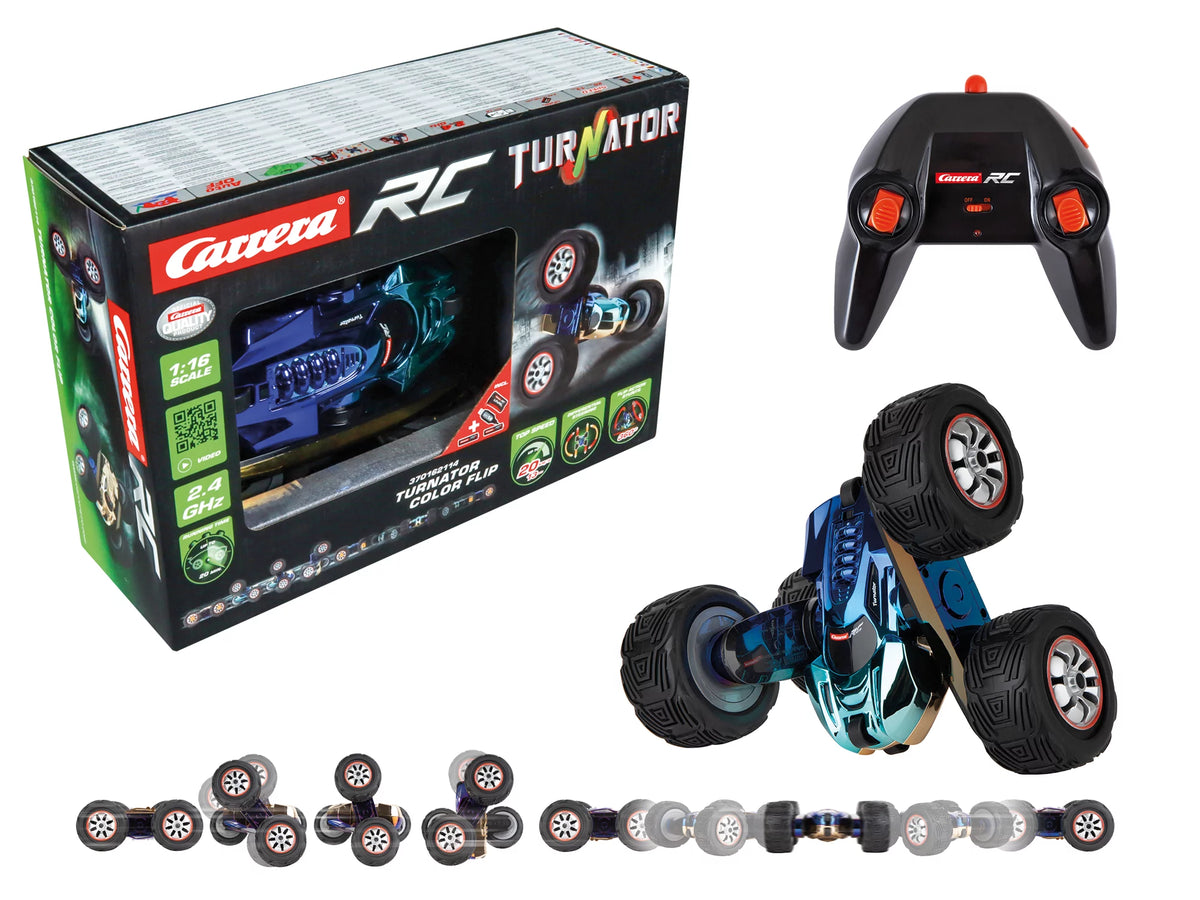
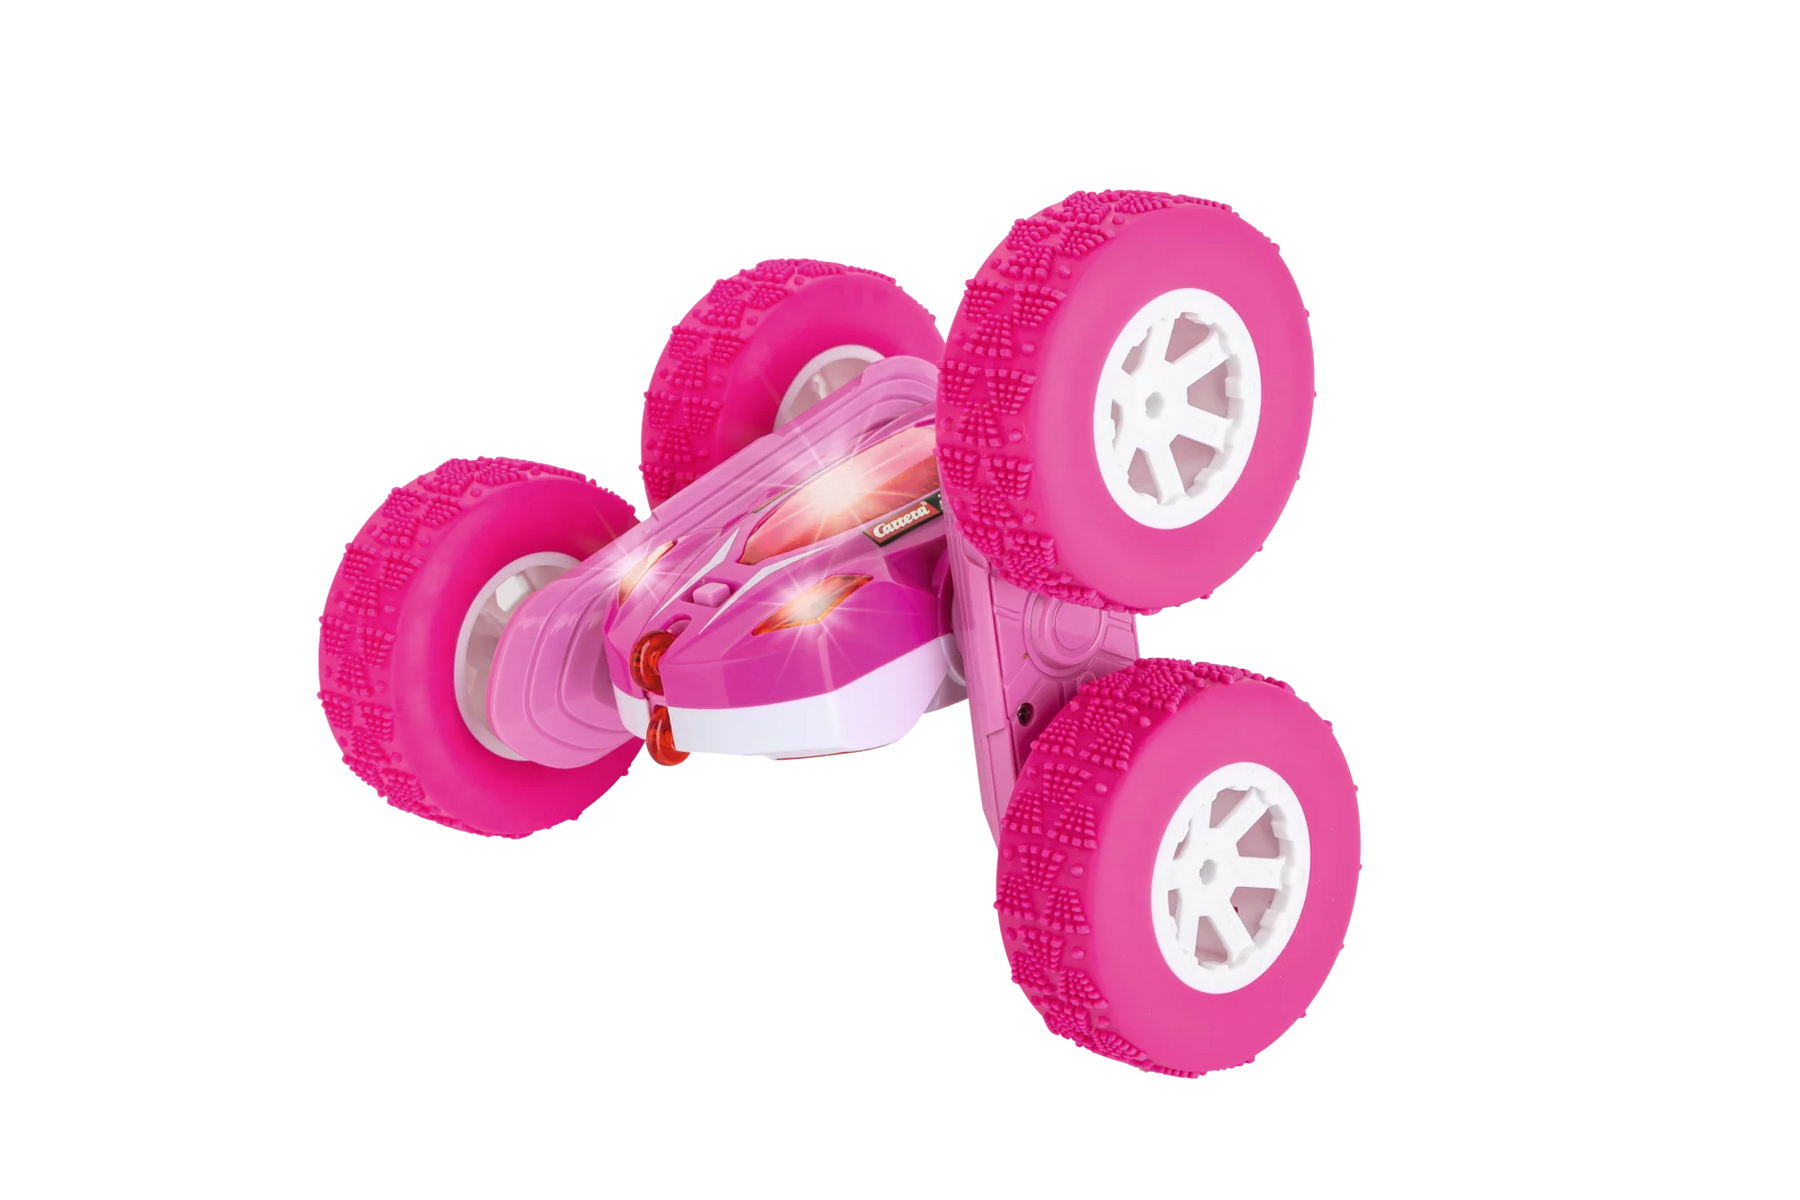
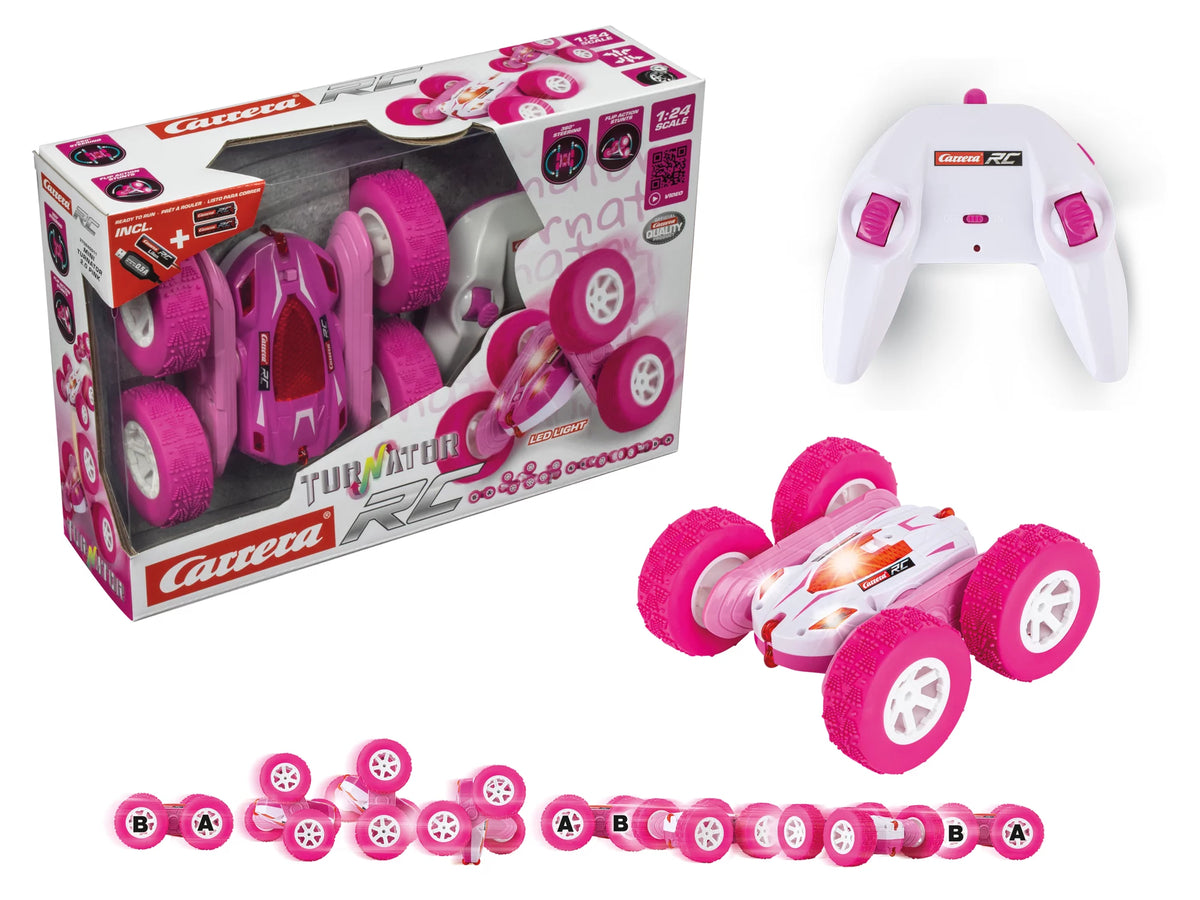
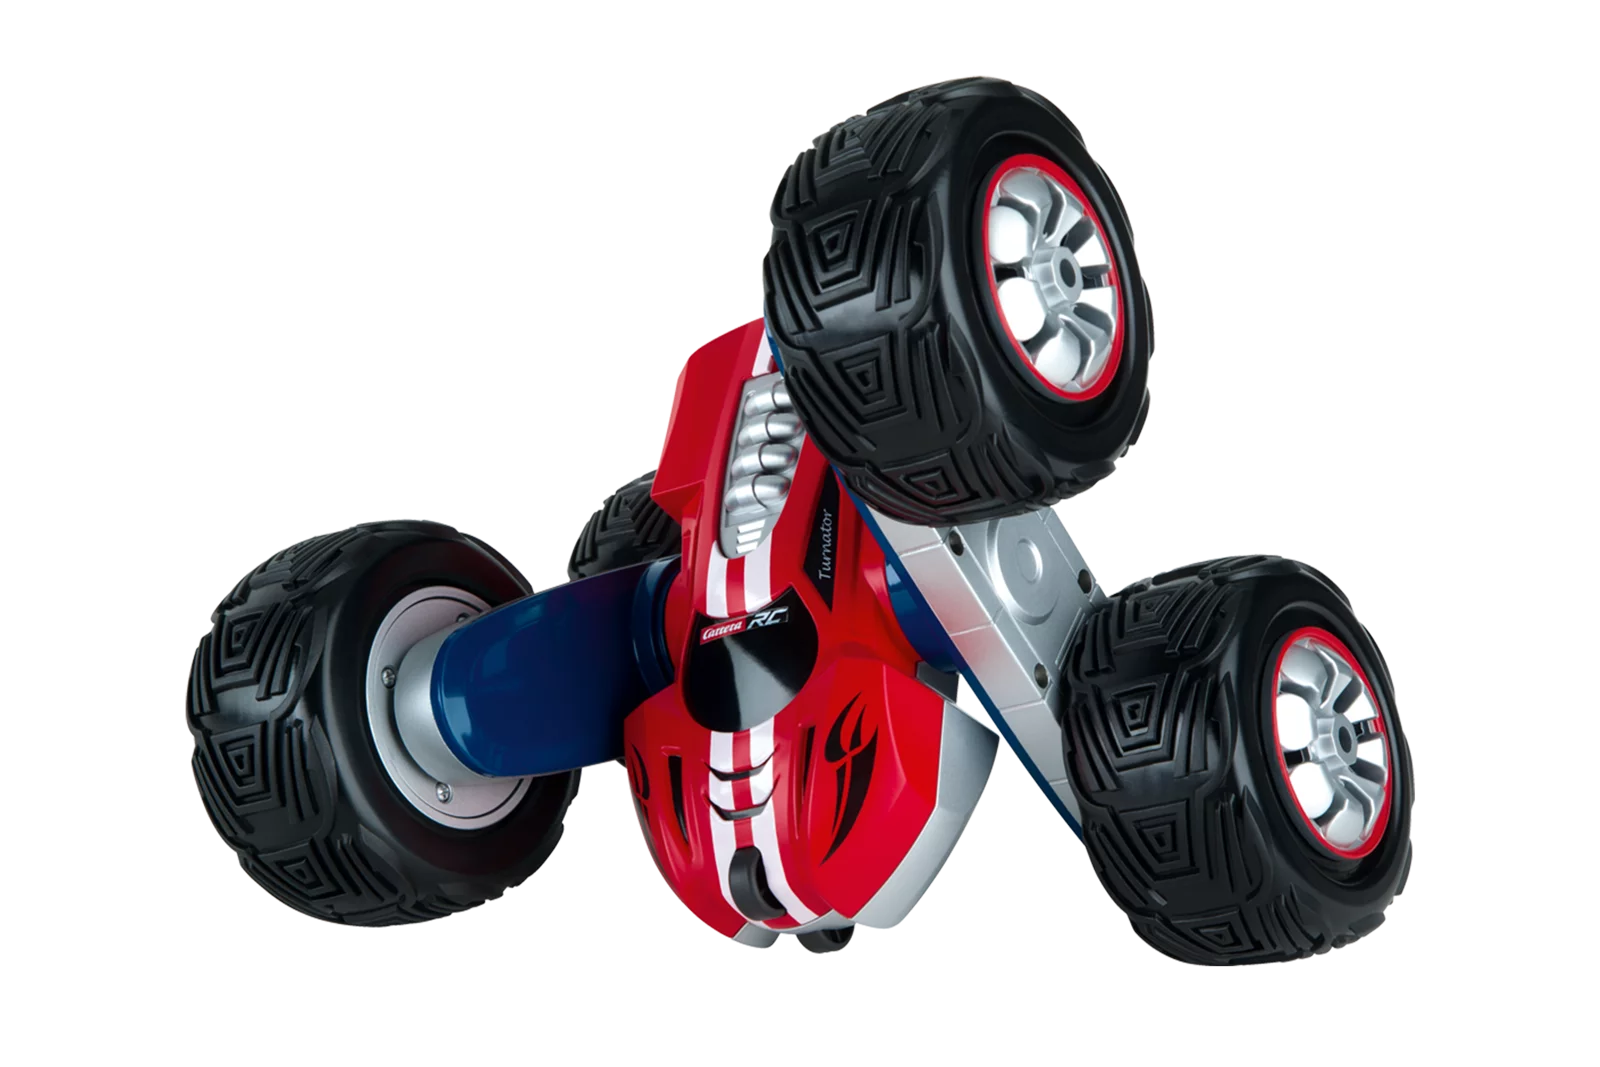
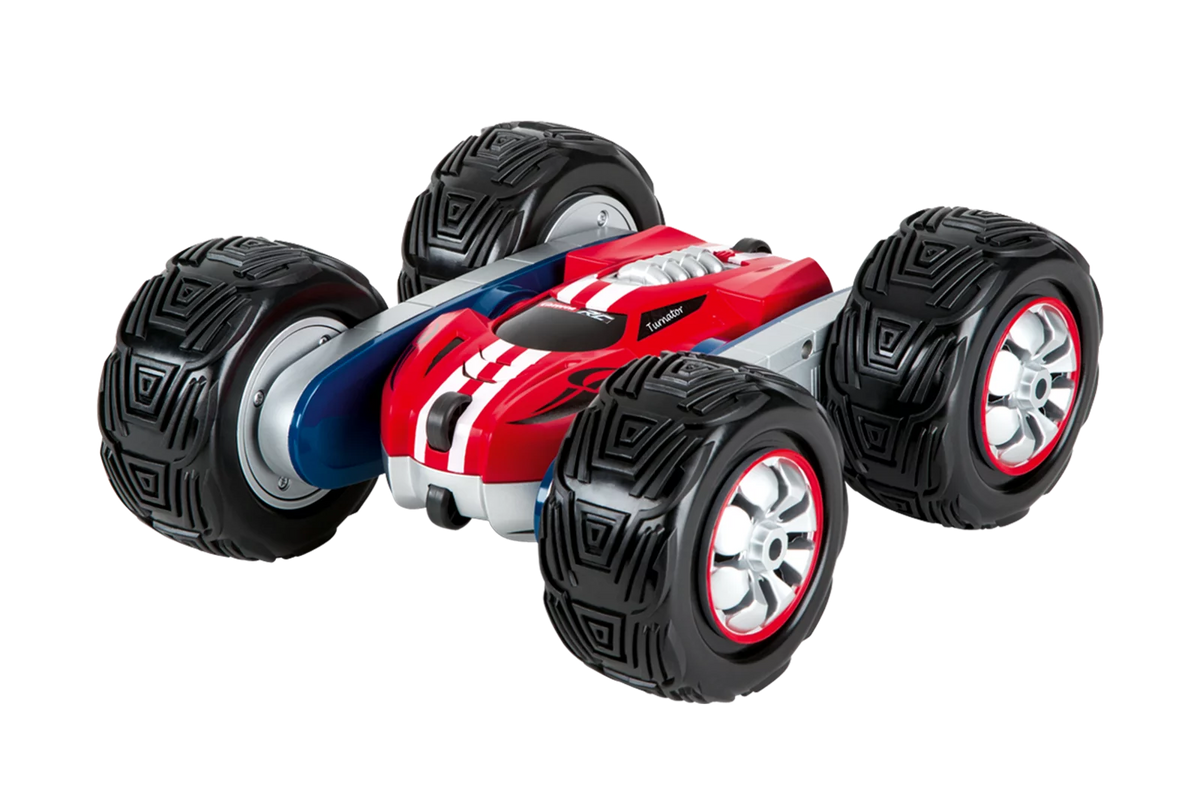
<tc>Carrera</tc> <tc>Turnator</tc>: Remote-controlled RC stunt car for 360° action

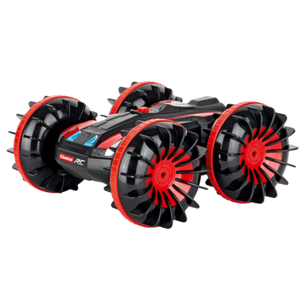
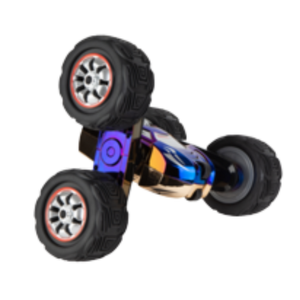
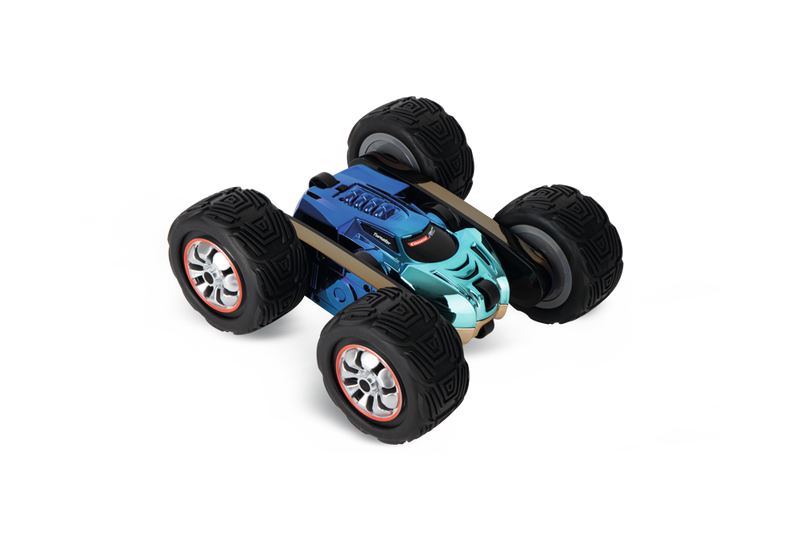
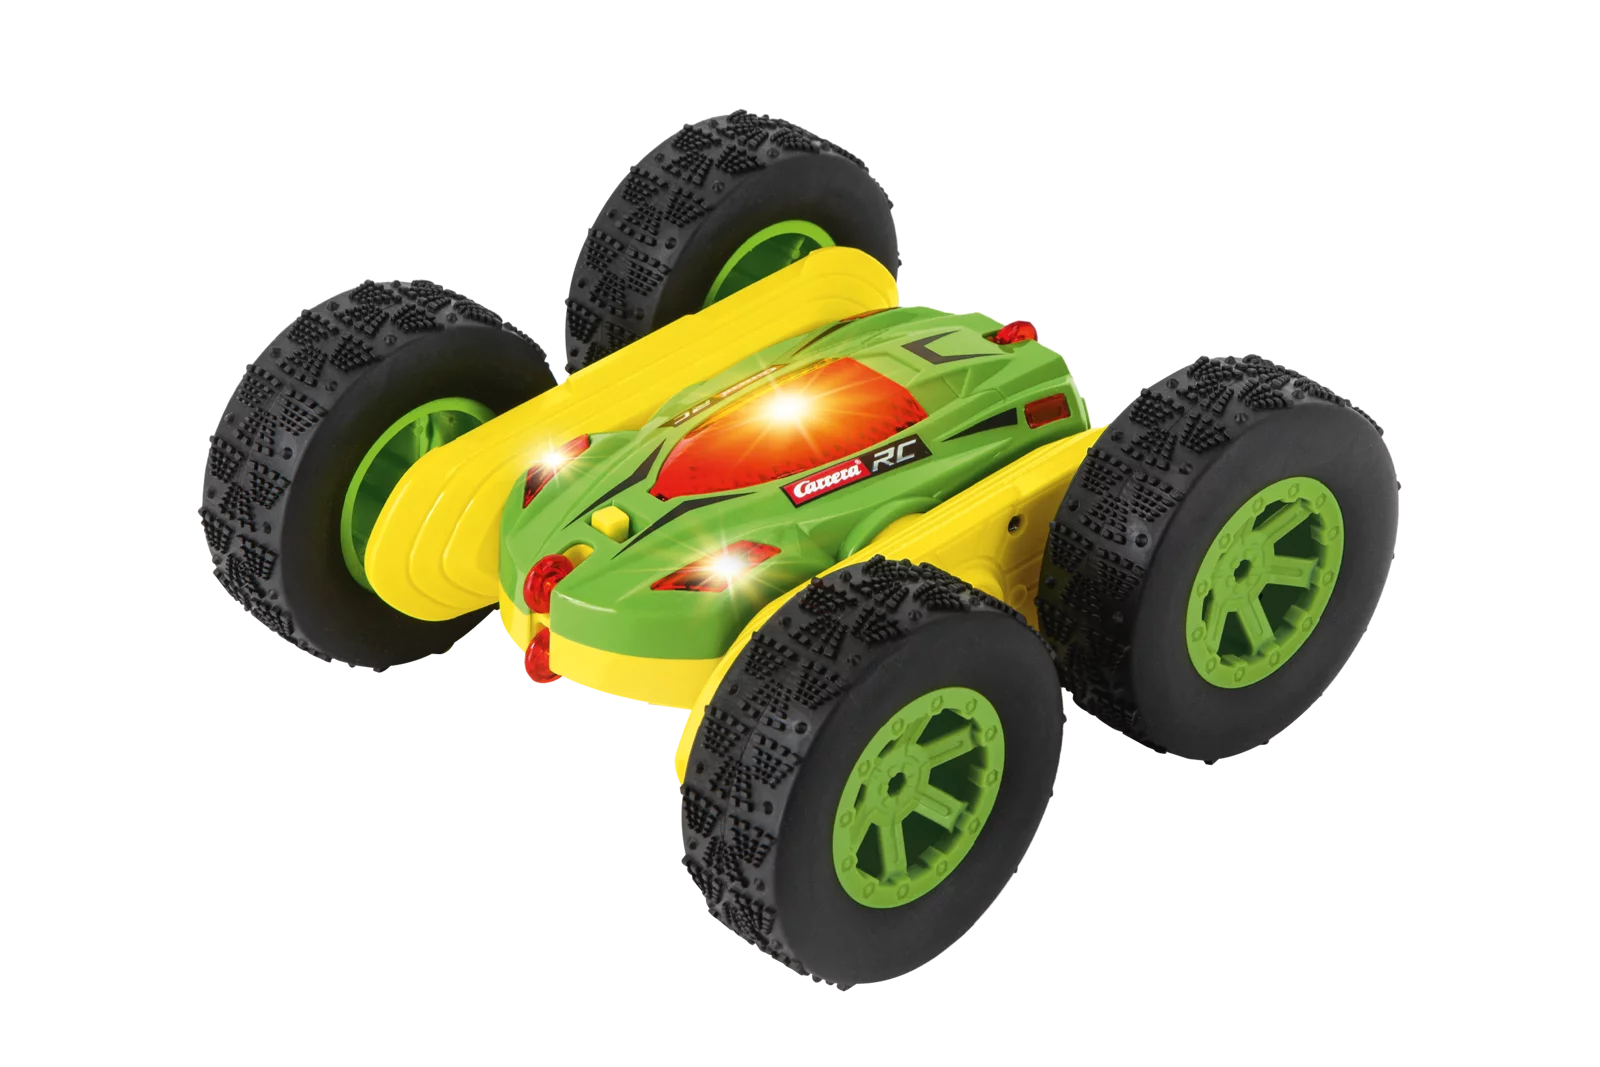
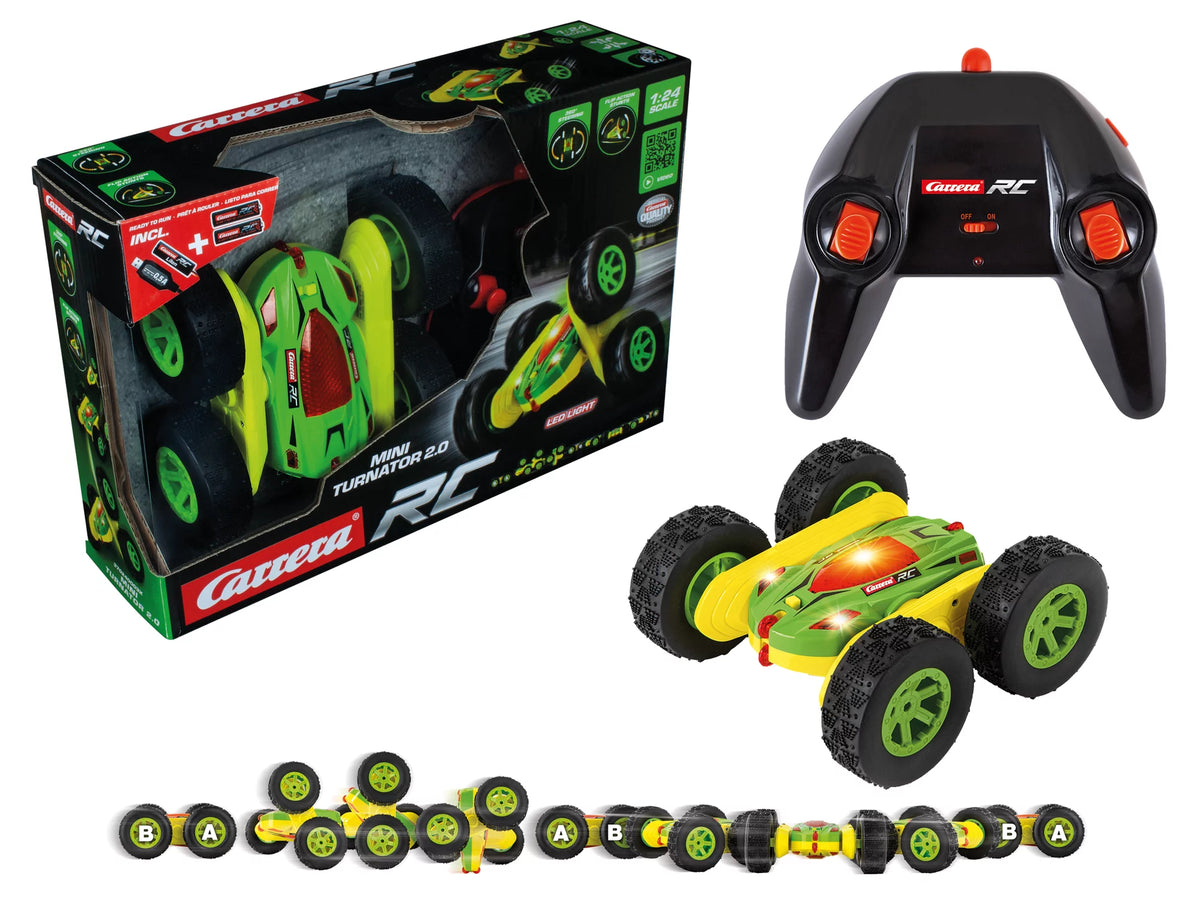
The <tc>Carrera</tc> <tc>Turnator</tc> is a remote-Controlled RC Stunt Car, which is for spectacular 360° spins, quick changes of direction, and impressive flips was developed. As a flip-over vehicle, it delivers action-packed rides and a driving experience that stands out significantly from classic RC cars. Thanks to the practical Ready to Run Thanks to its design, it&#x27;s <tc>Turnator</tc> ready to go right away—just unpack it, turn it on, and get started. Ideal for anyone looking for stunts, action, and maximum riding fun.

Erfahre mehr über die Carrera Turnator Familie
Sort by:
Sort by:
Save: 38% Bestseller
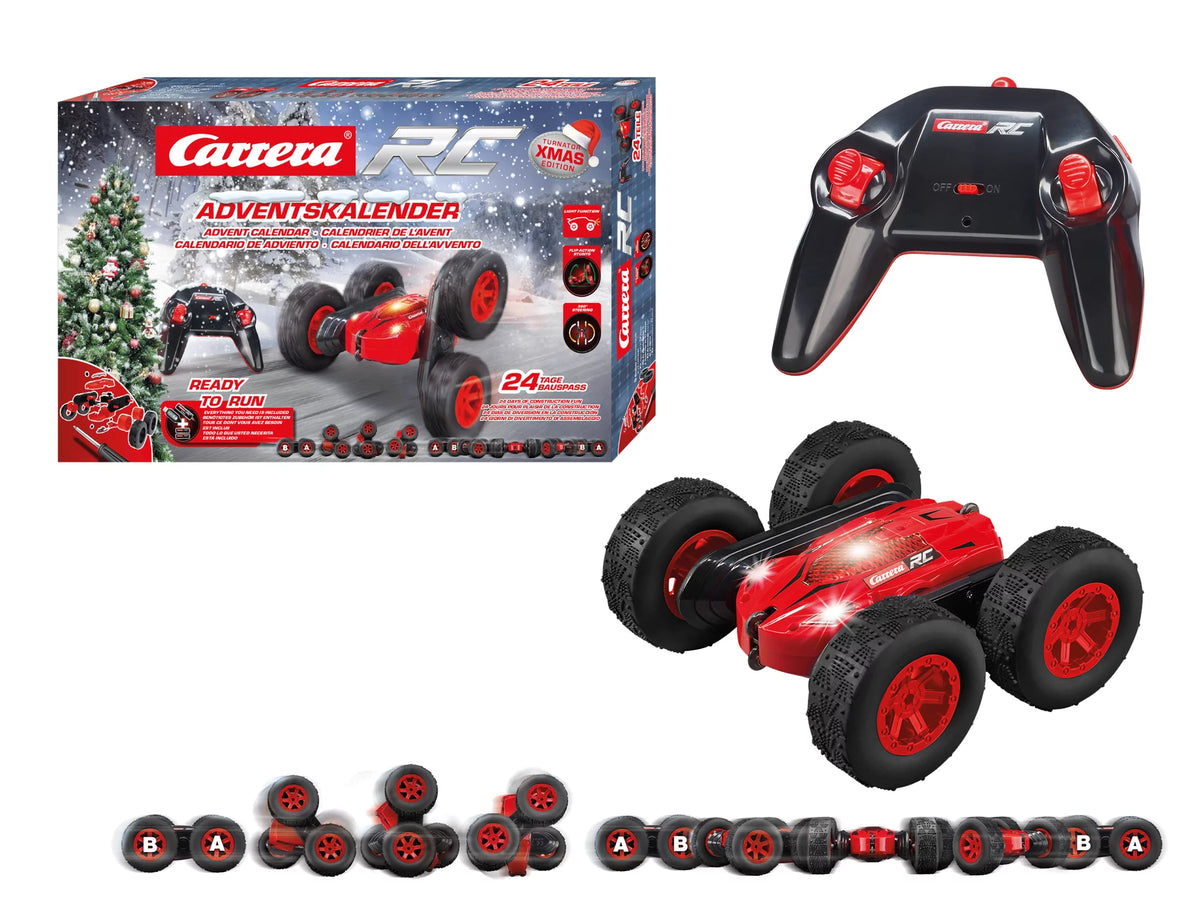
2,4 GHz - X-mas Turnator - Advent calendar2,4 GHz - X-mas Turnator - Advent calendar
12+ 12+
Item No. 370240009 2.4 GHz - Christmas - Turnator Advent Calendar
Sale price€17,99 EUR Regular Price€28,99 EUR
2,4GHz Turnator Color Flip2,4GHz Turnator Color Flip
6+ 6+
Item No. 370162114 2.4 GHz Turnator Color Flip
Sale price€70,99 EUR
2,4GHz Mini Turnator Pink2,4GHz Mini Turnator Pink
6+ 6+
Item No. 370240011 2.4 GHz Mini Turnator Pink
Sale price€29,99 EUR
2,4GHz Mini Turnator 2.02,4GHz Mini Turnator 2.0
6+ 6+
Item No. 370240003X 2,4GHz Mini Turnator 2.0
Sale price€29,99 EUR
Save: 41%
2,4GHz Turnator - Glow in the Dark2,4GHz Turnator - Glow in the Dark
6+ 6+
Item No. 370162105X 2.4 GHz - Turnator Glow-in-the-Dark
Sale price€53,99 EUR Regular Price€90,99 EUR
Save: 35% Sold Out
2,4GHz Turnator2,4GHz Turnator
6+ 6+
Item No. 370162052X 2.4 GHz Turnator
Sale price€56,99 EUR Regular Price€87,49 EUR
Sold Out

What is the , <tc>Carrera</tc> <tc>Turnator</tc> and who is it suitable for?

RC stunt car for 360° spins and spectacular flips

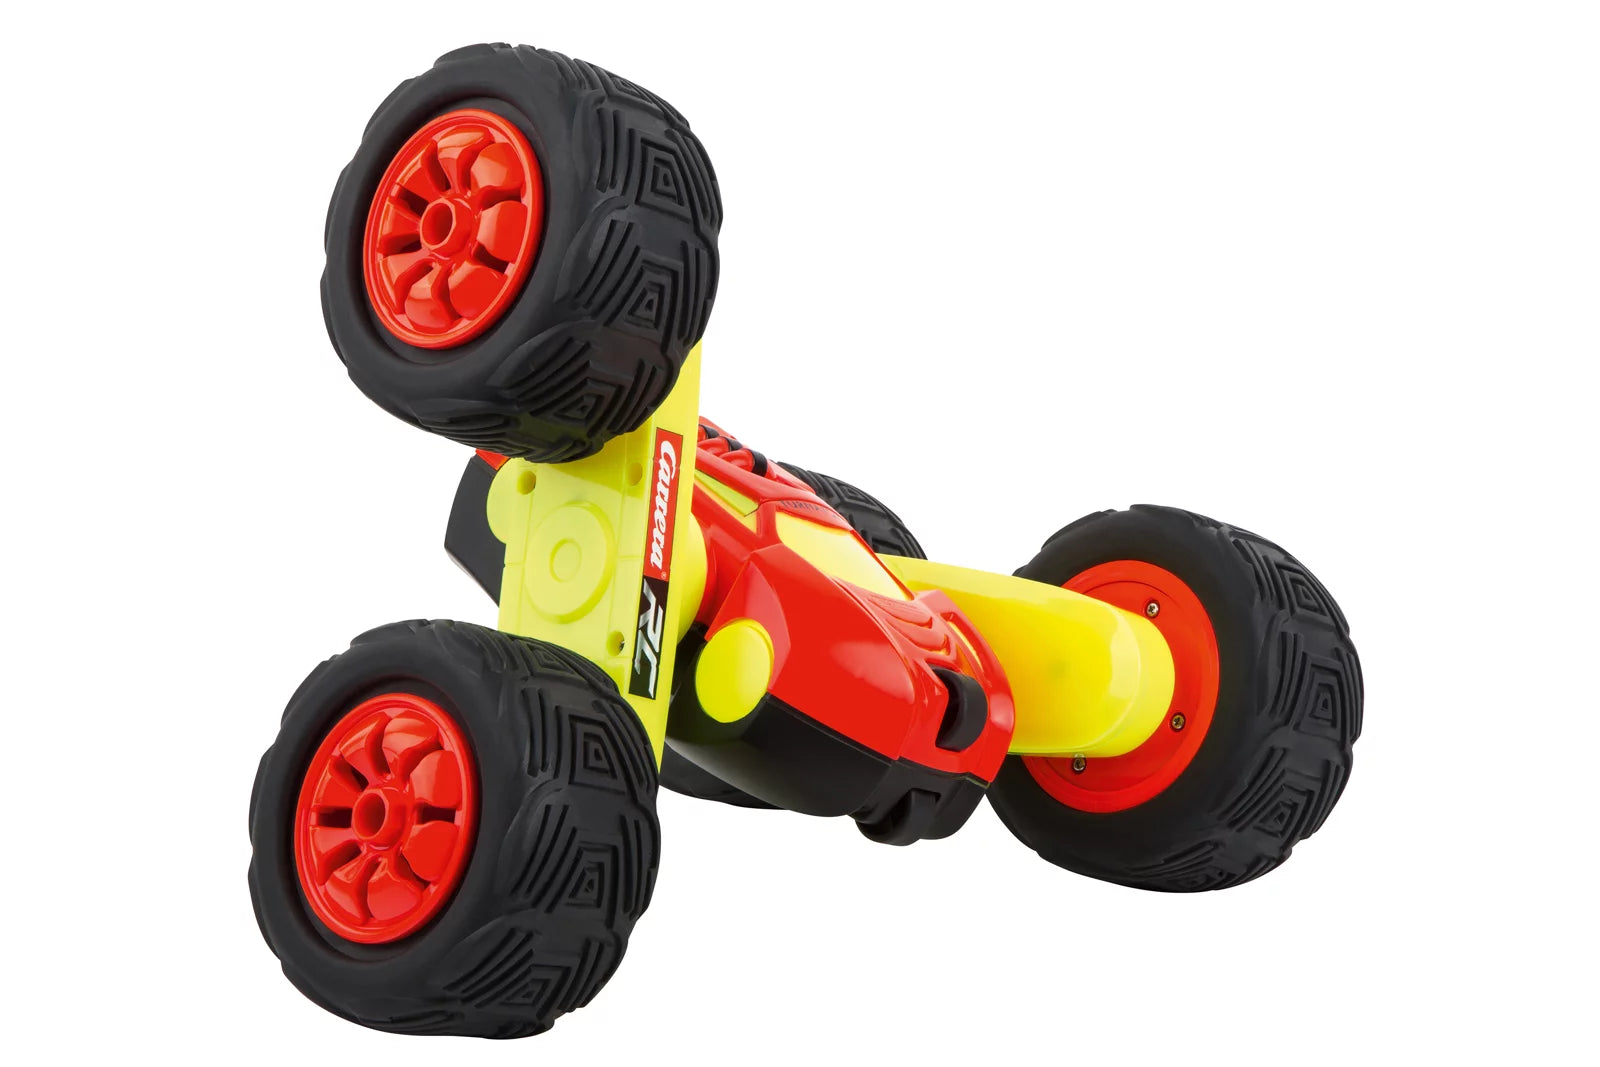
The Carrera Turnator is a remote-controlled RC car developed specifically for stunts . Instead of just driving straight ahead, it lets you perform dynamic 360° spins, quick changes of direction, and flips — ideal for anyone who loves action, tricks, and movement. This makes the Turnator perfect for drivers looking for more than classic RC racing and a stunt vehicle with an extra dose of fun.

Ready-to-Run: Ready to go right away, no assembly required

As a ready-to-run model, the Carrera Turnator is ready to go in no time: unpack it, switch it on and drive off. You can get started with your first stunts straight away, without lengthy setup or complicated preparation.

Carrera Turnator: Remote-controlled stunt RC car for maximum action

Carrera RC Turnator Action Stunt ferngesteuertes Fahrzeug Kinder spielen im Wohnzimmer

Stunts Instead of the Standard: More Action Than with Classic RC Cars

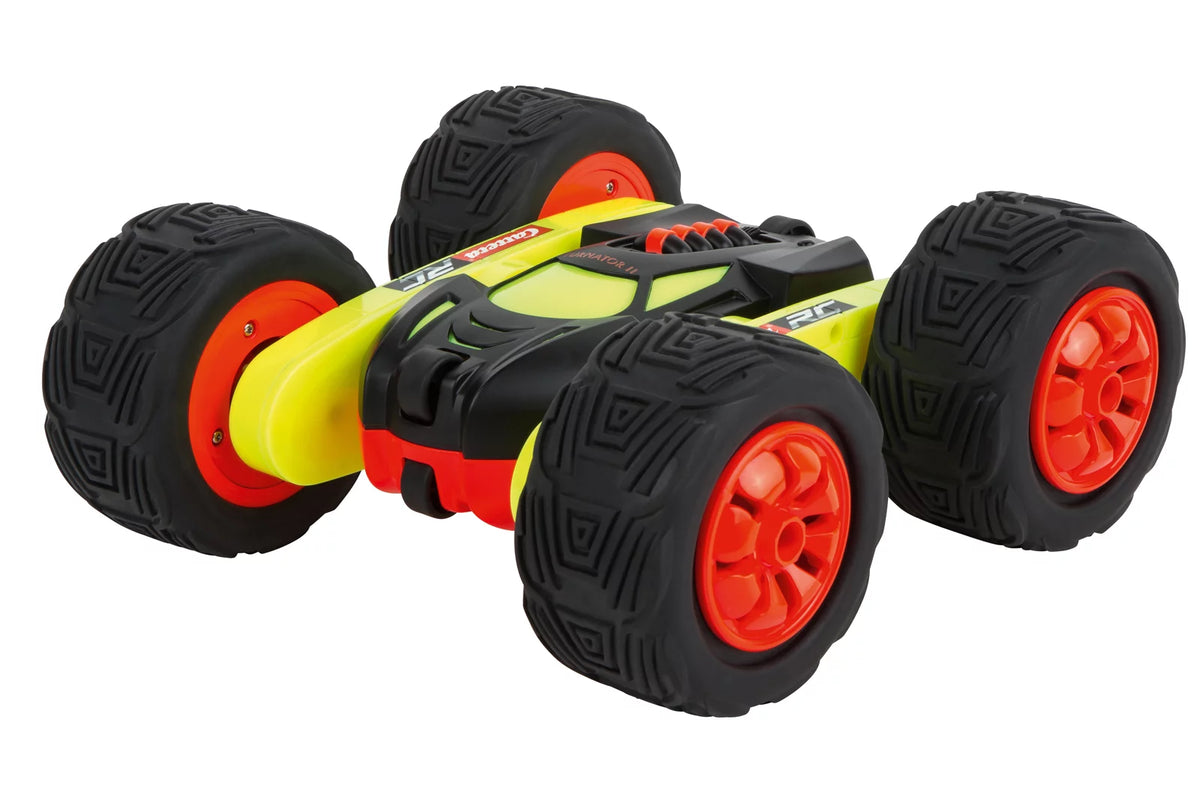
The Turnator is ideal if you’re looking for an RC car that doesn’t just drive but can also perform tricks. With 360° spins and flips, it offers a completely different driving experience from conventional remote-controlled cars. This makes the Turnator especially suitable for anyone who wants to practice stunts, try out new moves, and work action sessions into everyday life. You can also find more models in our category remote-controlled cars.

Carrera RC ferngesteuerte Autos Ersatzteile Reifen, Stoßdämpfer, Spoiler

Accessories and Replacement Parts for Your Stunt RC Car

To keep your Turnator ready to go for the long term, you can find suitable accessories and spare parts in the section Accessories & Spare Parts. This lets you expand your setup and be fully prepared for every action session —whether indoors or outdoors.

Carrera RC Turnator Set 2,4GHz Mini Turnator 2.0

360° Control and Mastery: Executing Tricks with Precision


A stunt vehicle is only fun if it can be driven with control. That’s where the Carrera Turnator excels: it’s designed for quick maneuvers and lets you perform 360° spins and flips with precision. This means you can combine stunts deliberately instead of triggering them at random—perfect for improving your skills step by step. If you’re looking for even more performance later, take a look at Carrera Expert RC & Carrera Profi RC.

HAVEN’T DECIDED YET?

Fast, faster, Carrera. Find the right remote-controlled vehicle now!

Frequently asked questions

Didn't find the answer you're looking for in the FAQ, or would you like to learn more about our RC products? Our customer service team is here to help—quickly, knowledgeably, and personally. Whether you have questions about technical details, spare parts, or usage tips, we're here for you.

Support around the clock

Phone

Monday to Thursday 09:00 to 15:00, Friday 09:00 to 12:00
RC general Vehicles Boats Aircraft

RC general

Controllers and controller spare parts (antennas, joysticks, joystick extensions, and battery compartment covers) are available in our online shop .

Please note that antennas are not included with the controllers. They can be purchased in our online shop .

No, please use only the original Carrera RC Li-ion rechargeable batteries. This is the only way to ensure proper operation. You can find all rechargeable batteries and compatible chargers in our online shop.

For 2,4 GHz D/P models
Please follow this start-up sequence:
1) Switch on the transmitter
2) Then switch on the model
When switching off after driving or flying, please follow the sequence in reverse.


For 27 MHz models
Please check whether the transmitter antenna is faulty or not fully extended. If there is another RC model nearby, make sure it is not using the same frequency. If it is, please switch frequencies.

Vehicles

Check that the antenna on the controller is screwed in tightly as far as it will go. Then fully extend the antenna. Use the transparent antenna tube included in the packaging for the vehicle antenna (depending on the model). 

Open the vehicle chassis and clean dust and hair from the axles. Also apply one drop of oil (resin-free and acid-free lubricant) to the axles.

If, during operation, you find that the Carrera RC 2,4 GHz digital proportional vehicle moves forward or backward on its own, you can bring it to a stop as follows:
1) Turn the vehicle over so that the wheels are in the air.
2) First, switch on the vehicle using the ON/OFF switch. The LED on top of the vehicle flashes rhythmically. Switch on the controller. The LED on the controller flashes rhythmically. After a few seconds, the LEDs on the vehicle and controller stay lit continuously. Pairing is now complete.
3) Press the button on the upper right side of the controller for about two seconds. Adjustment mode is active as soon as the controller LED flashes. (See image)
4) Forward or backward movement can be brought to a stop using the left joystick.
5) To complete the adjustment, press the button on the upper right side of the controller again for about two seconds—the LED will now stay lit continuously.

Proceed as follows if your 2,4 GHz DIGITAL PROPORTIONAL model pulls to the right or left:
1) Turn the vehicle over so that the wheels are in the air.
2) First, switch on the vehicle using the ON/OFF switch. The LED on top of the vehicle flashes rhythmically. Then switch on the controller. The LED on the controller flashes rhythmically. After a few seconds, the LEDs on the vehicle and controller stay lit. Binding is complete.
3) Press the button on the upper right side of the controller for about 2 seconds. Adjustment mode is active as soon as the controller LED flashes. (See image)
4) Adjust the straight-line tracking using the right joystick.
5) To complete the adjustment, press the button on the upper right side of the controller again for about two seconds—the LED will then stay lit.

Yes, it is recommended that you clean the Carrera RC vehicle after driving to ensure smooth operation. Please make sure not to use any harsh solvents.

For 2,4 GHz Digital Proportional models:
The Carrera RC vehicle and controller are bound at the factory. If there are communication problems between the Carrera RC vehicle and the controller at first, please bind them again. Pressing the bind button on the underside of the chassis will bind the Carrera RC vehicle and controller again. The bind button must be held down for at least 3 seconds. Please note that both the controller and the Carrera RC vehicle must be switched on using the ON/OFF switch.
For 27 MHz models:
Make sure no one else in your driving area is using the same frequency. To avoid this and ensure that the Carrera RC vehicle can be controlled by the controller, make sure the same frequency (A/B/C) is set on both the vehicle and the controller. The vehicle’s frequency switch is located in the battery compartment; the controller’s frequency switch is on its top. Using different channels allows you to drive 3 vehicles at the same time.
The controller antenna should be fully extended. Then switch on the Carrera RC vehicle using the ON/OFF switch. The Carrera RC vehicle has two speeds. The ON/OFF switch can also be used to switch to training or indoor mode.
For 2,4 GHz Servo Tronic models:
First switch on the vehicle. The LED on top of the vehicle will then flash rhythmically. Next, you can switch on the controller. Its LED will also flash rhythmically for a few seconds. Once the vehicle and controller are paired, the status LEDs on both the vehicle and controller will remain lit.
Adjusting the steering: If you find that the Carrera RC vehicle pulls to the right or left while in use, you can correct its course using the adjustment switch on the underside of the vehicle.

Follow these steps to correctly pair your Red Fibre® Carrera® Profi® (370183002/370183001) vehicle with the controller:
1) First, switch on the vehicle
2) Then switch on the controller. Once the LEDs on the vehicle and controller remain steadily lit, pairing is complete.

You can find all spare parts and accessories for the various Profi RC models in our online store by entering your model’s item number or name in the search field. All compatible spare parts are listed on the vehicle’s product details page.

The exploded-view diagram makes it quick and easy to identify individual parts. Exploded-view diagrams are available for Profi models only.

To operate your Carrera Profi RC vehicle, first switch it on using the ON/OFF switch. The LED on the vehicle will flash rhythmically. Then switch on the controller. After a few seconds, the LEDs on the vehicle and controller will remain lit. Pairing is complete.
The ON/OFF switch is on the left side of the vehicle, right next to the battery compartment.

A sticker showing the correct frequency is located on the back of the controller and on the vehicle near the drive axle.

Boats

Let the water drain off and dry your boat thoroughly after use. Clean your boat with ordinary tap water. The water sensor contacts should be treated regularly with vinegar cleaner to prevent corrosion. Make sure the vinegar cleaner does not come into contact with the propeller or rudder. This could cause permanent damage.

How to drain your boat properly:

Falshöft Coast Guard Boat (301001/301005)

After each use, please open the two drain plugs at the bow and stern and drain any condensation that has formed. Make sure to put the drain plugs back into their designated openings before each use.

Ferrari Arno XI Boat (300005)

There is a drain plug at the stern. Open it after each use to drain the condensation. Make sure to put the drain plug back into its designated opening before each use.

Power Wave (300001)

On the underside of the boat, you will find the drain button between the propeller and the sensor. Press it in with a blunt object until the condensation has drained out of the boat. The drain button is spring-loaded and will automatically return to its original position when you stop pressing it.

Please note that, for safety reasons, pairing is only possible in water. When starting up, switch on the controller first, then the boat. After use, follow the reverse order: switch off the boat first, then the controller.

Our boats are suitable for use in fresh water with normal to moderate waves.
If your boat does come into contact with dirty or salt water, it must be thoroughly cleaned afterward with ordinary tap water.

When your boat or vehicle’s battery is connected correctly and charging normally, the red LED light stays on. When the battery is fully charged, the red LED light turns green. The battery can then be removed and installed in the vehicle or boat.

Aircraft

If your Micro Quadrocopter (502002) won’t take off even though the battery is fully charged, please check that the 4 rotor blades are arranged correctly. The letters are marked on top of the rotor blades. Make sure the A/D rotor blades and the B/C rotor blades are in the correct positions.

Before your first flight, please check whether model aircraft are subject to a legal insurance requirement in your country. For more information, contact the German Model Flying Association. You must not use your model aircraft to:

  • Fly near airfields without permission (minimum distance: 1,5 km)
  • Fly over crowds, military facilities, hospitals, power plants or correctional facilities. Please ensure that you always keep the aircraft in direct line of sight.
  • Flying in windy or bad weather, or under the influence of drugs or alcohol, is prohibited.

Please follow these steps in order to bind the controller to your helicopter correctly:
1. Switch on the helicopter.
2. Switch on the controller.
Exception: For the Sky Hunter (501001) and Red Eagle (501002), follow these steps:
1. Switch on the helicopter
2. Press the right control stick on the controller, then switch it on.

Applies to the following helicopters:
Thunder Storm (501004)
Helicopter (501007)
Green Chopper (501003)
Orange Sply (501005)
Green Vecto (501008)
Red Buzzer (500001)
Micro Helicopter (502001)
The correct trim is essential for stable helicopter flight. Adjusting it takes a little patience and a feel for the controls.

Please observe the following instructions:
Carefully move the throttle stick on the controller upward and let the helicopter rise to a height of approximately 0,3 to 0,8 meters.

If the helicopter, while hovering and without moving the yaw stick, rotates in place to the left or right, proceed as follows: If the helicopter turns on its own quickly or slowly to the left around its own axis, press the lower-right yaw trim button on the controller to the right in small increments. If the helicopter turns to the right, press the yaw trim button to the left in small increments.

If the helicopter, while hovering and without moving the forward/backward stick, flies forward or backward, proceed as follows: If the helicopter moves forward on its own quickly or slowly, press the upper-right forward/backward trim button on the controller downward in small increments. If the helicopter moves backward, press the forward/backward trim button upward in small increments.

Applies to the following helicopters:
Sky Hunter (501001)
Spider Fox (501006)
The correct trim is essential for stable helicopter flight. Adjusting it takes a little patience and a feel for the controls.

Please observe the following instructions:
Carefully move the throttle stick on the controller upward and let the helicopter rise to a height of approximately 0,3 to 0,8 meters.

If the helicopter, while hovering and without moving the left/right tilt stick, moves to the left or right, proceed as follows: If the helicopter moves sideways to the left on its own quickly or slowly, press the lower-right left/right tilt trim button on the controller to the right in small increments. If the helicopter moves to the right, press the left/right tilt trim button to the left in small increments.

If the helicopter, while hovering and without moving the yaw stick, rotates in place to the left or right, proceed as follows: If the helicopter turns on its own quickly or slowly to the left around its own axis, press the lower-left yaw trim button on the controller to the right in small increments. If the helicopter turns to the right, press the yaw trim button to the left in small increments.

If the helicopter, while hovering and without moving the forward/backward stick, flies forward or backward, proceed as follows: If the helicopter moves forward on its own quickly or slowly, press the upper-right forward/backward trim button on the controller downward in small increments. If the helicopter moves backward, press the forward/backward trim button upward in small increments.

Sign up for the newsletter now and get a 10,00 € voucher!