

For gaming fans and little adventurers who love action
Full speed ahead with Mario power—racing fun with CarreraNintendo!
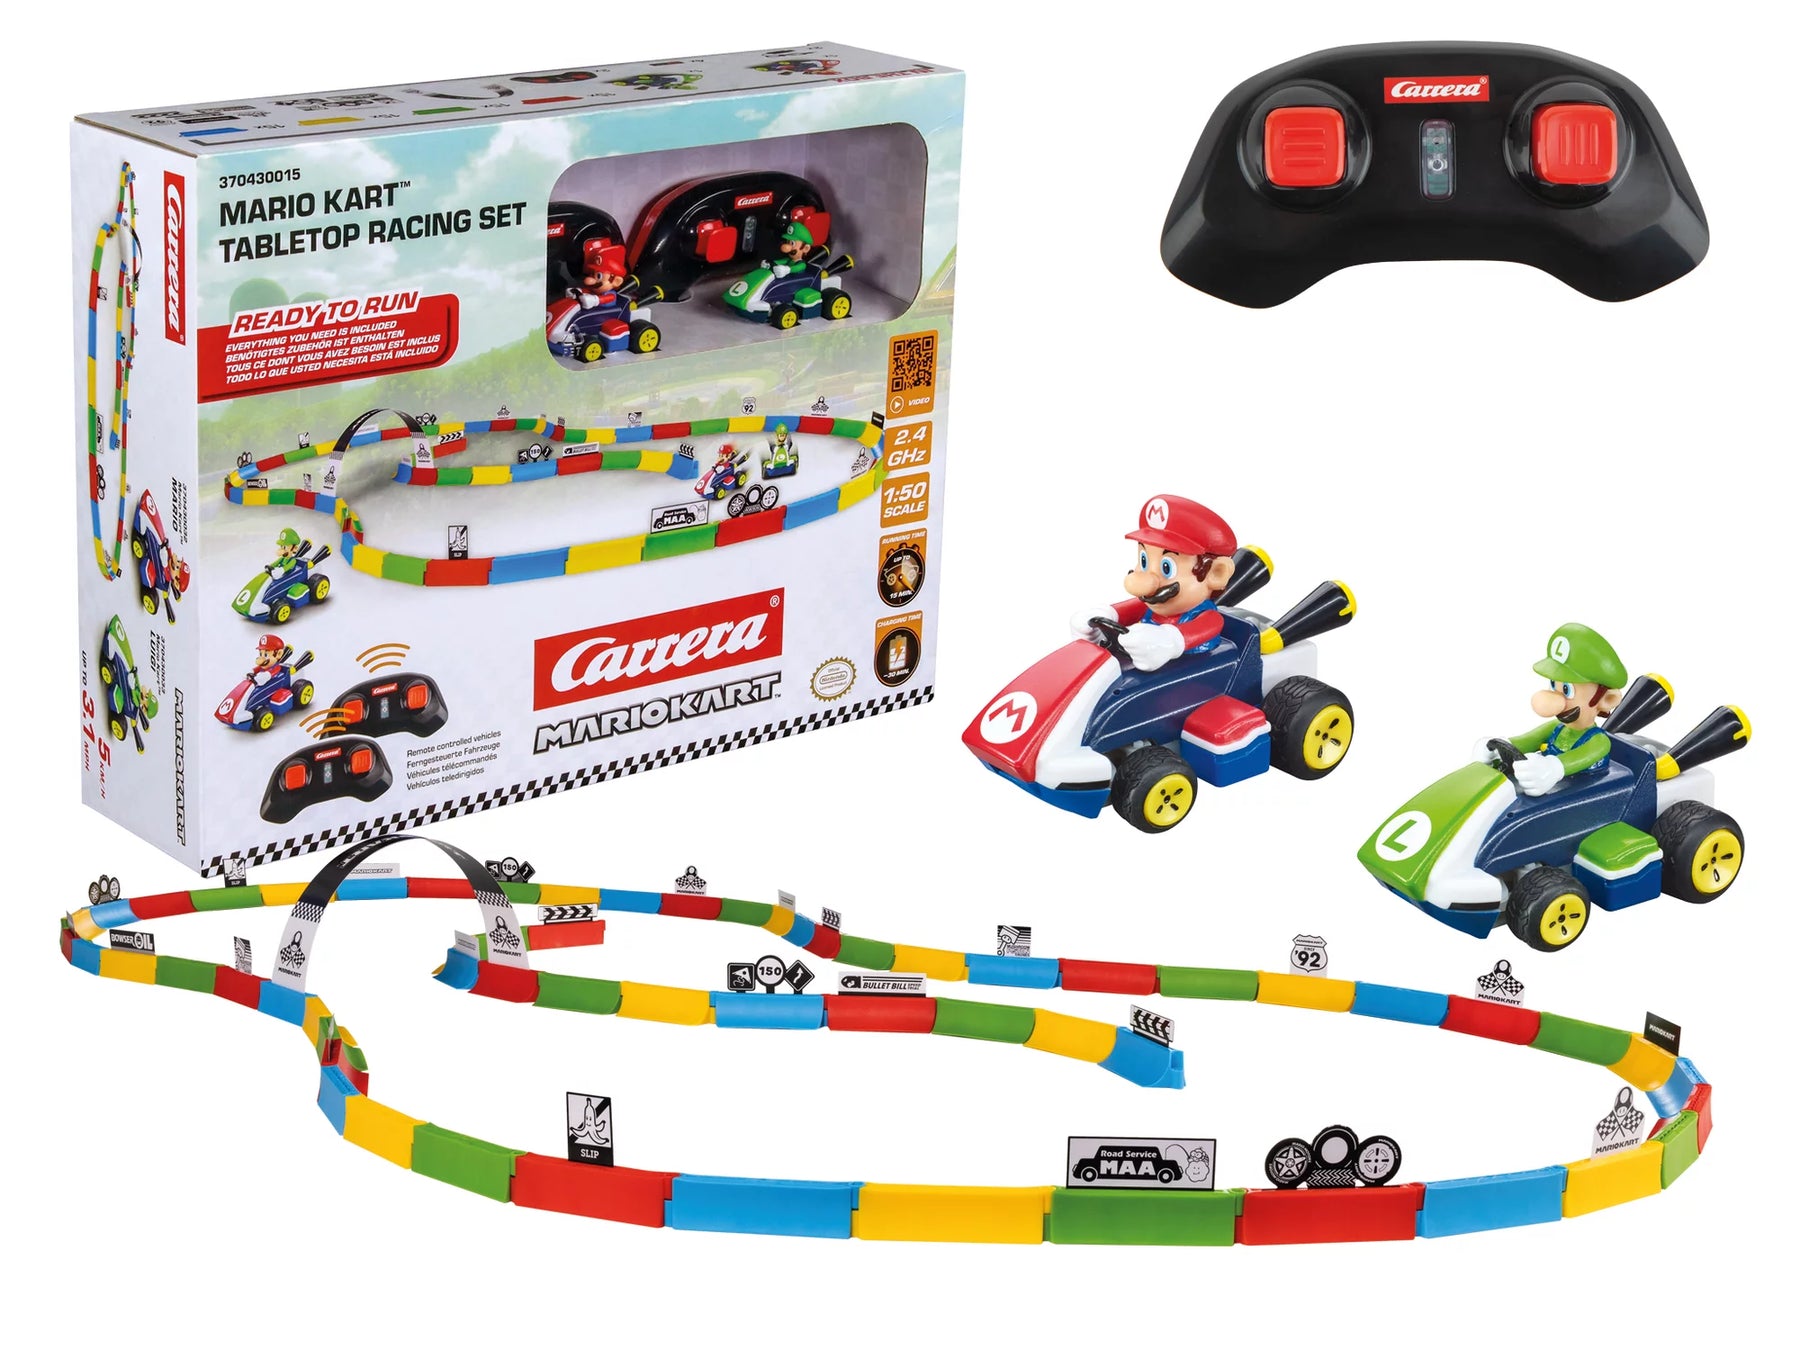
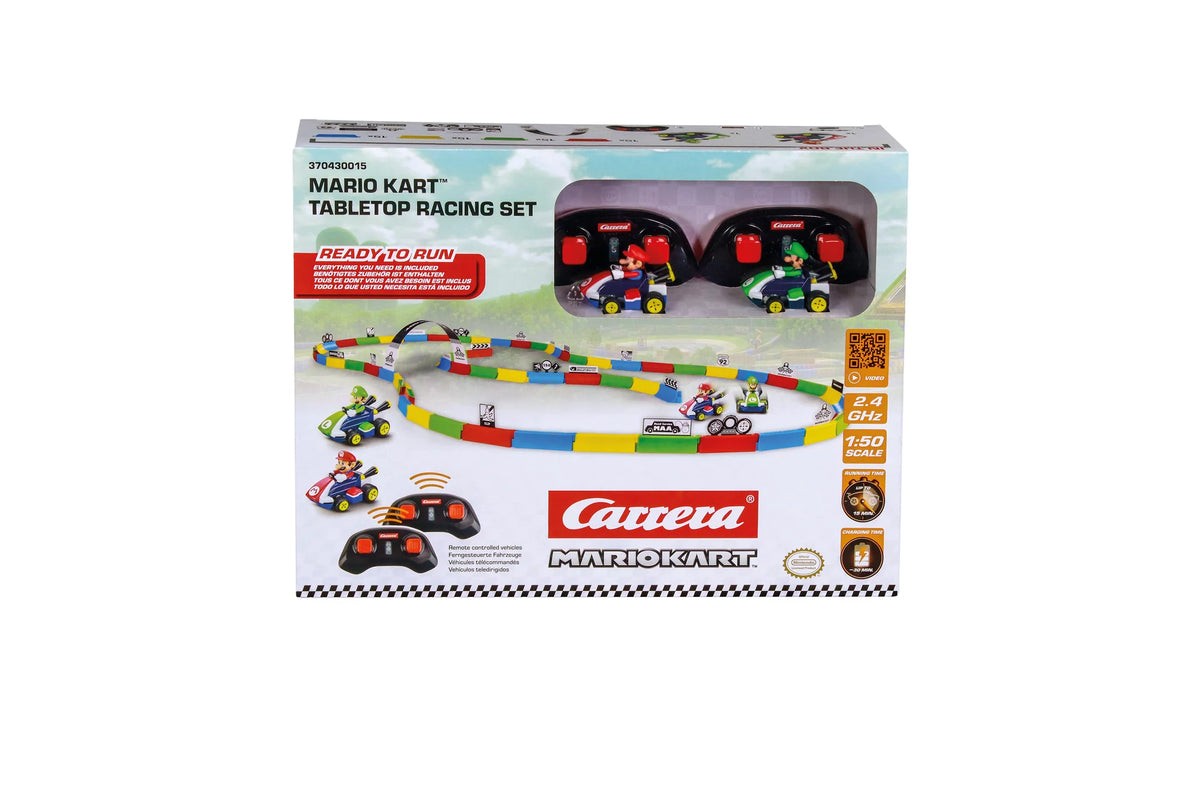
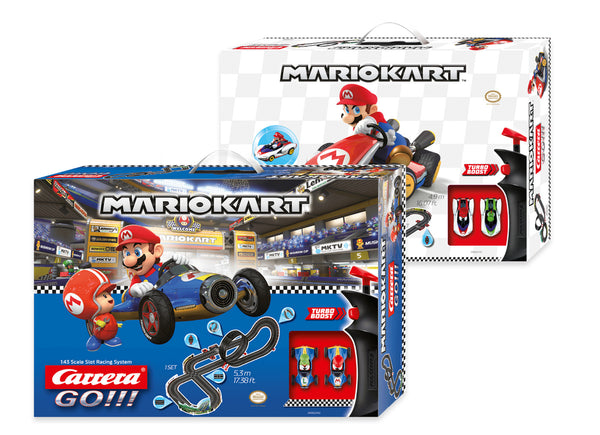
Mario Kart™ Tabletop Racing Set - racing fun at home
All Things Mario: Race TrackSets andRemote -Control Models
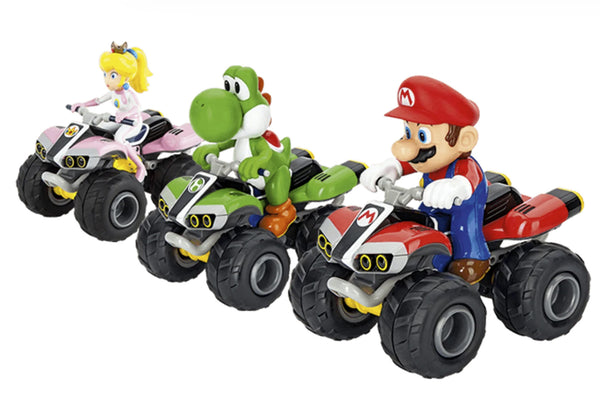
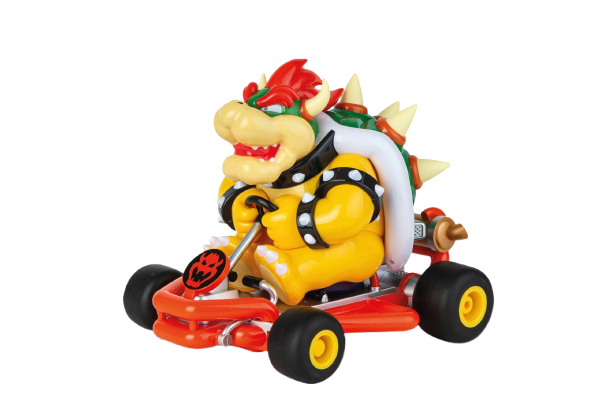
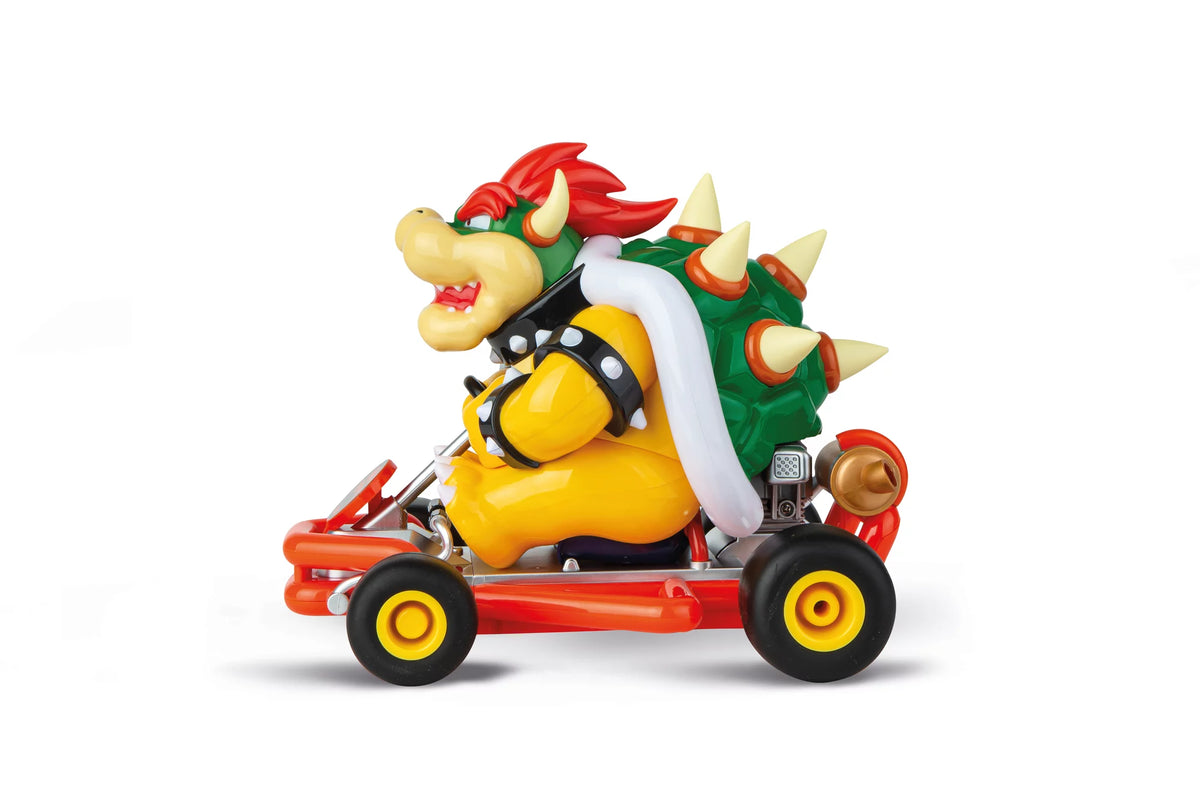
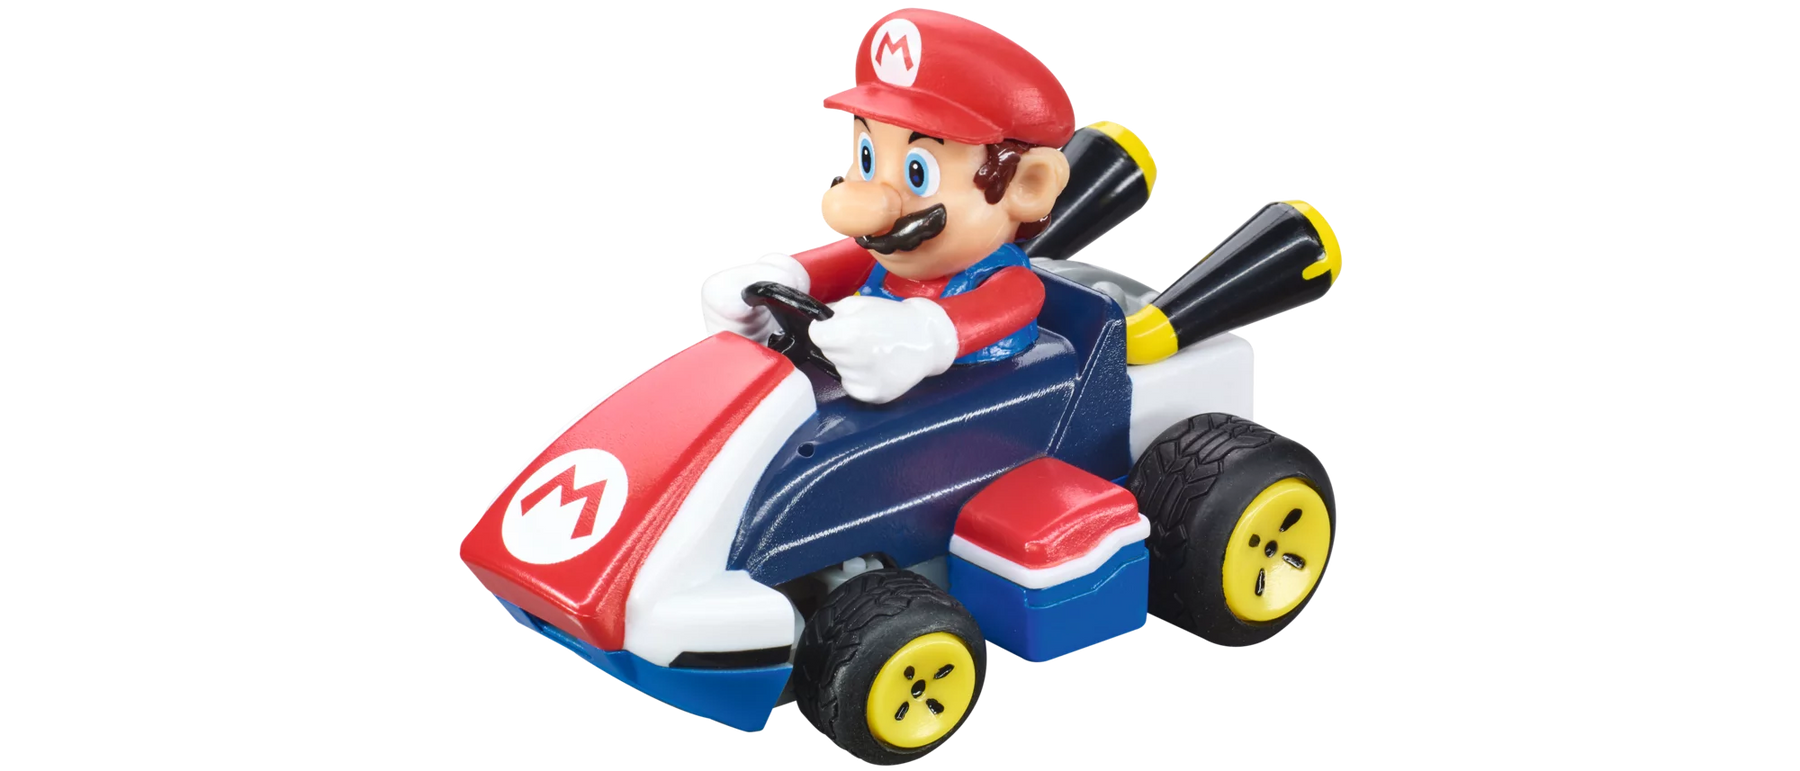
Super Mario™ makes the race track unsafe
Have fun with Carrera's Nintendo® Mario Kart™ racing track products
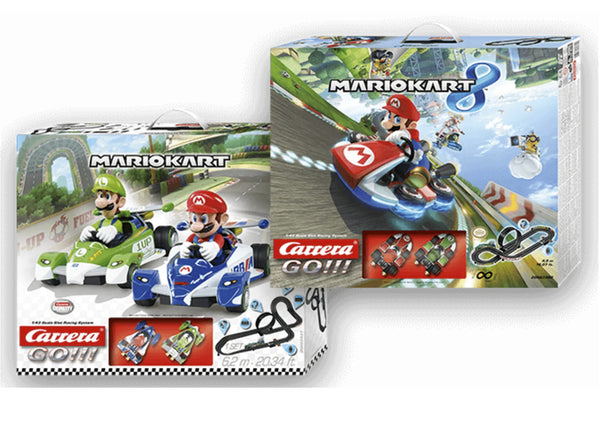
Mario Kart™ as slot cars
Super Mario™ sets
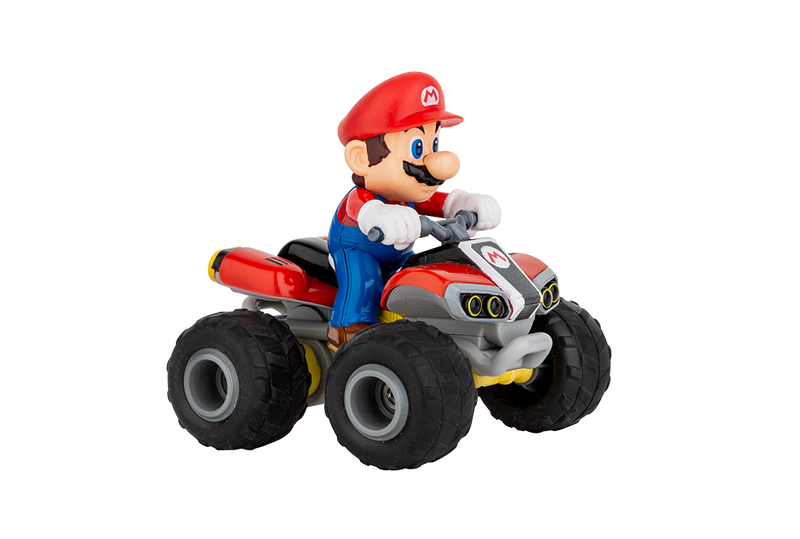
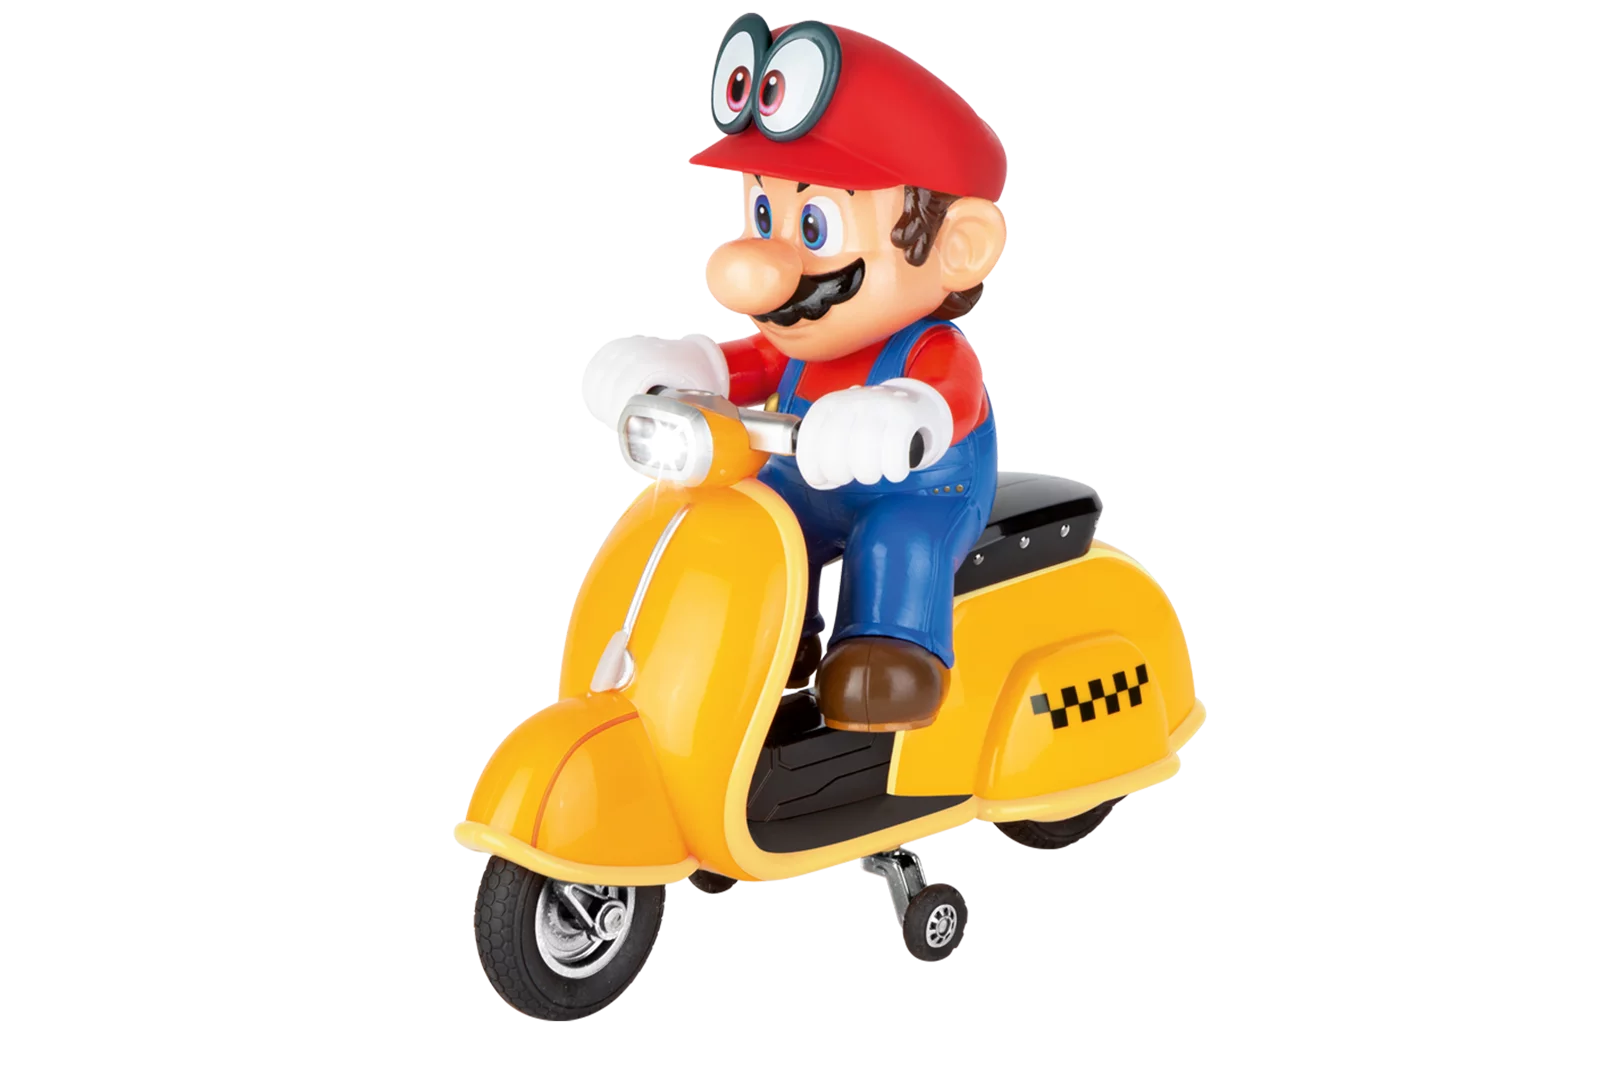
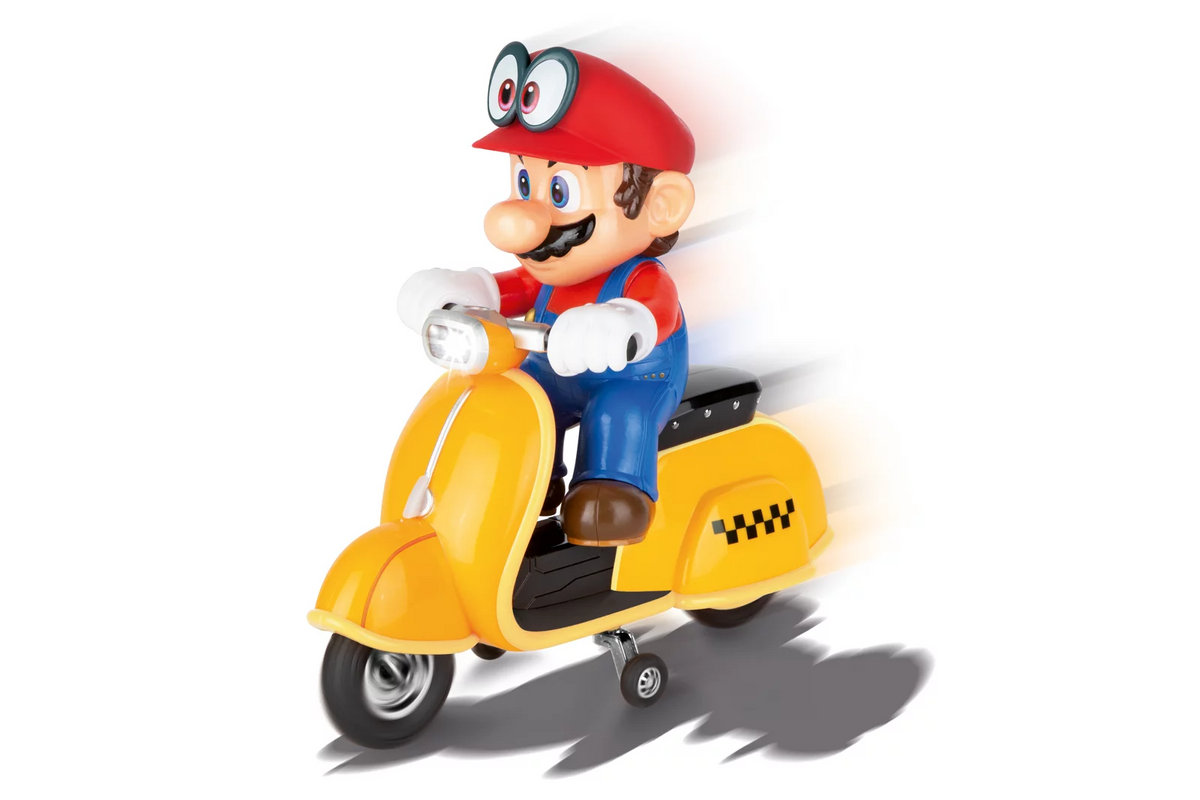
Super Mario™ Carrera RC flying fleet
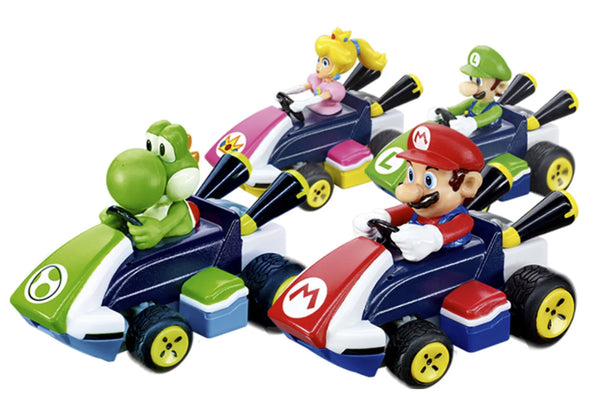
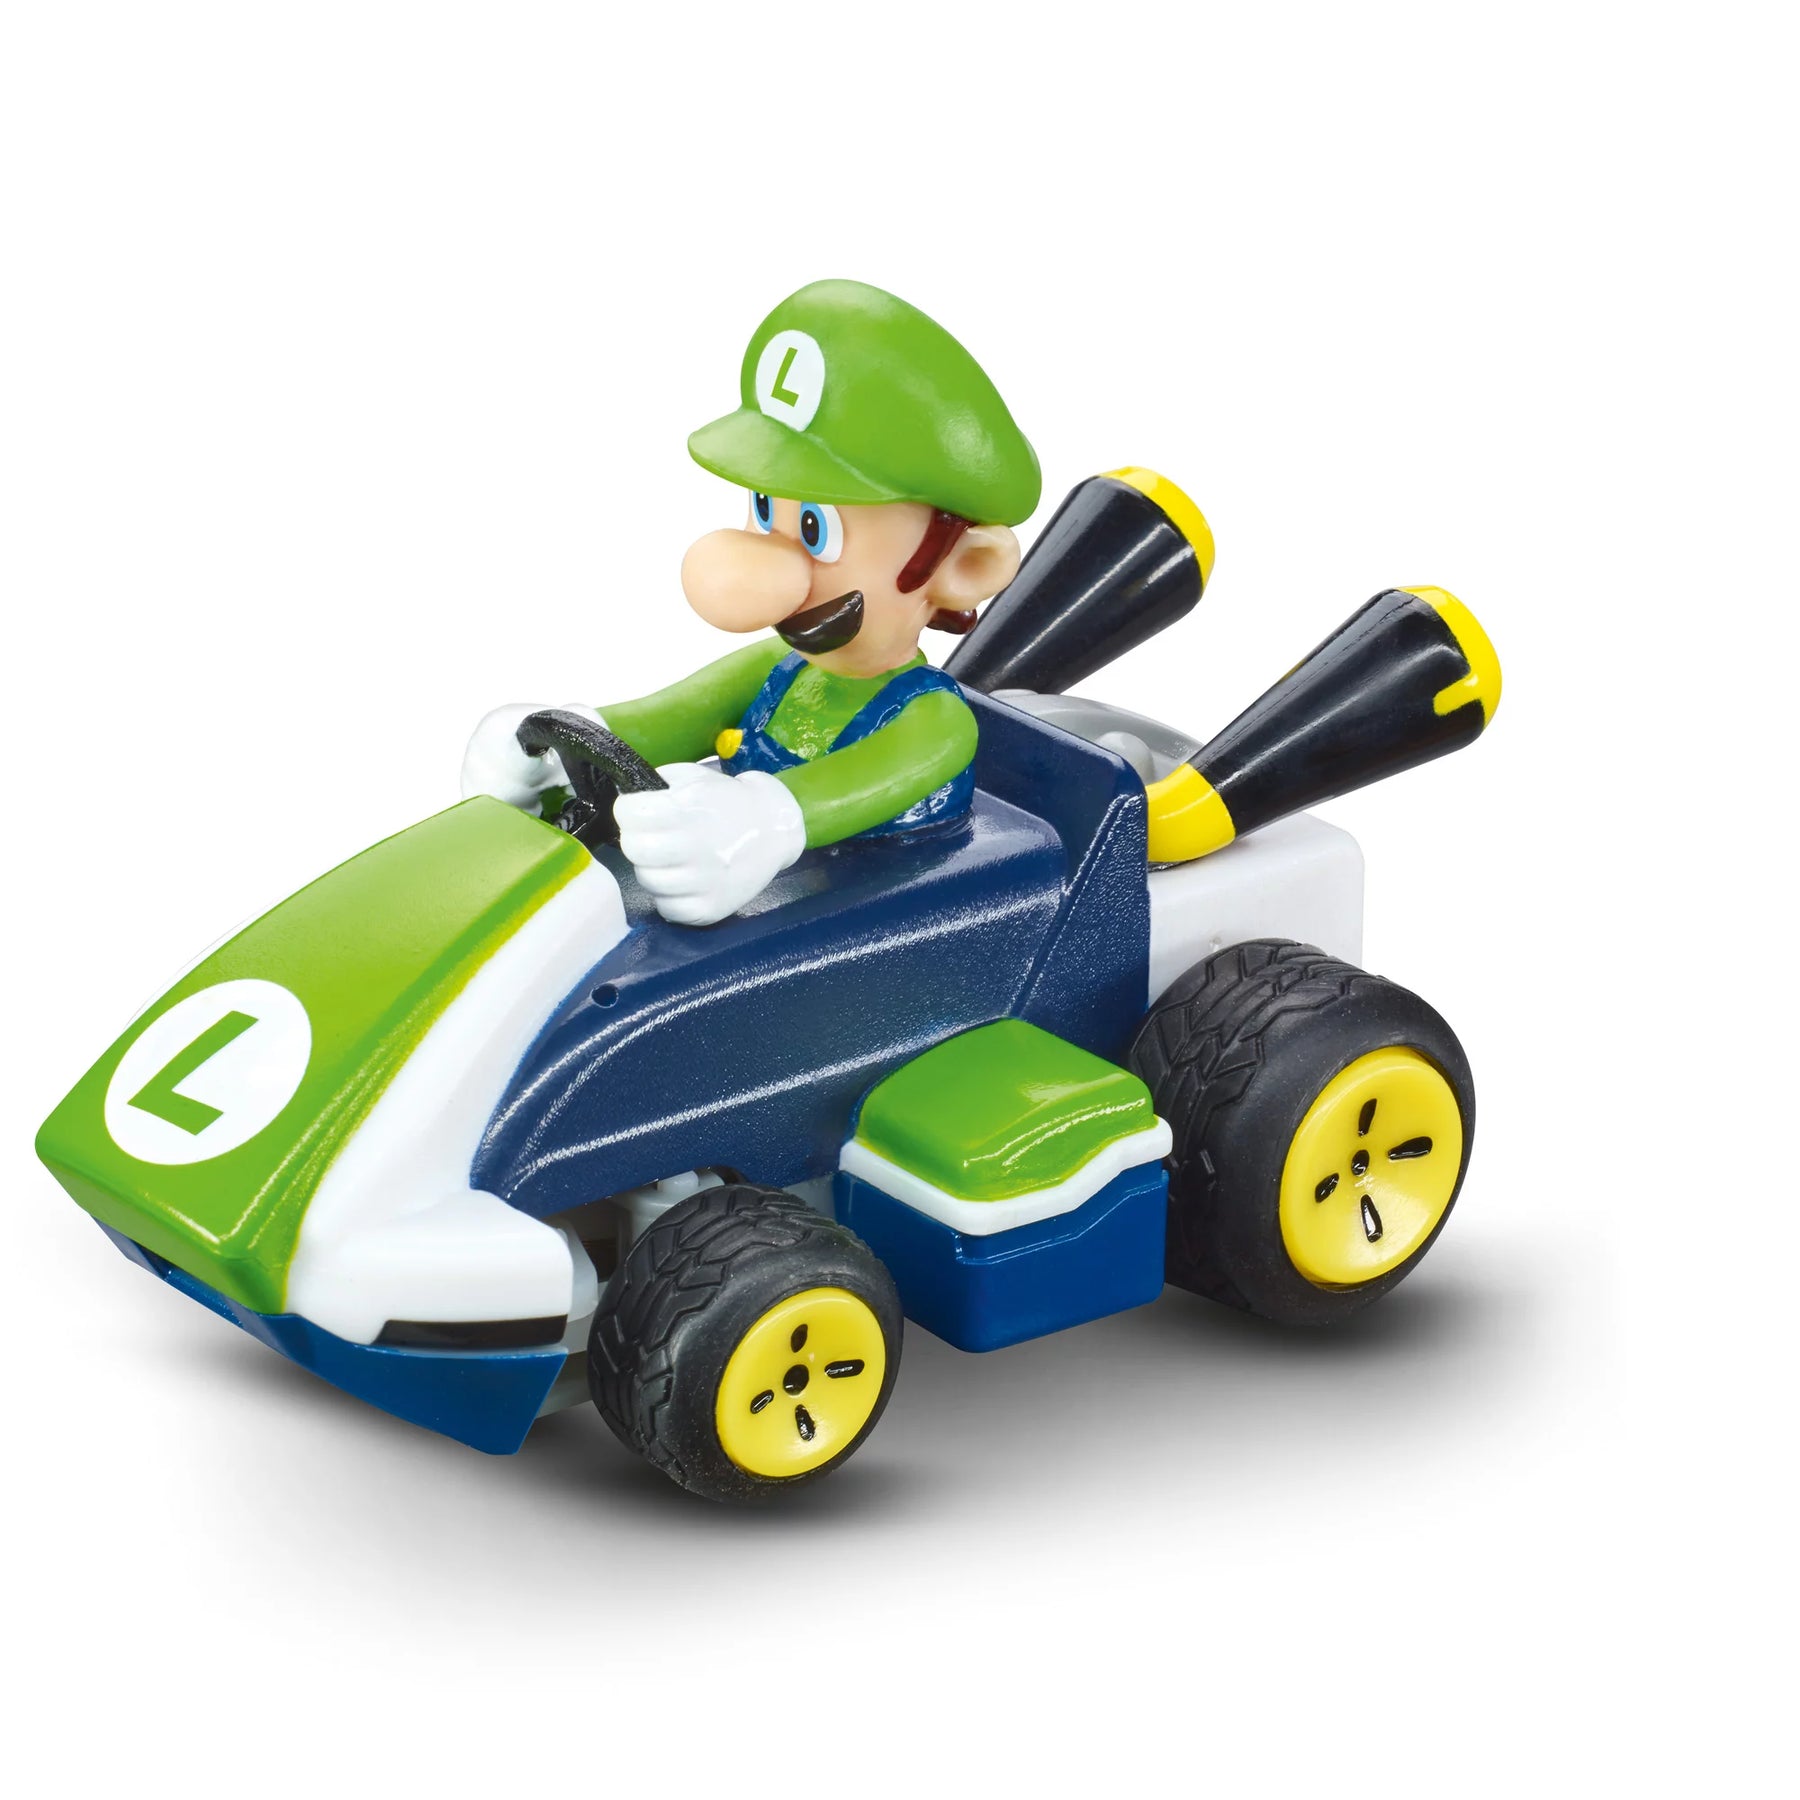
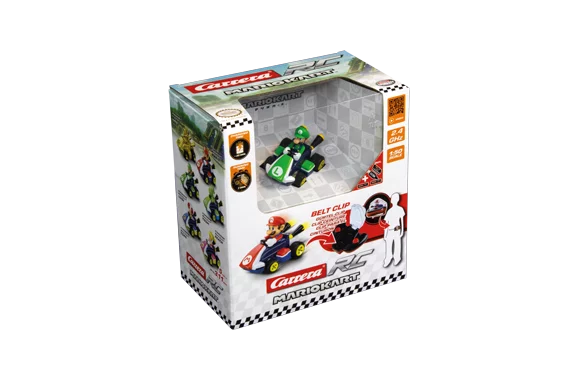
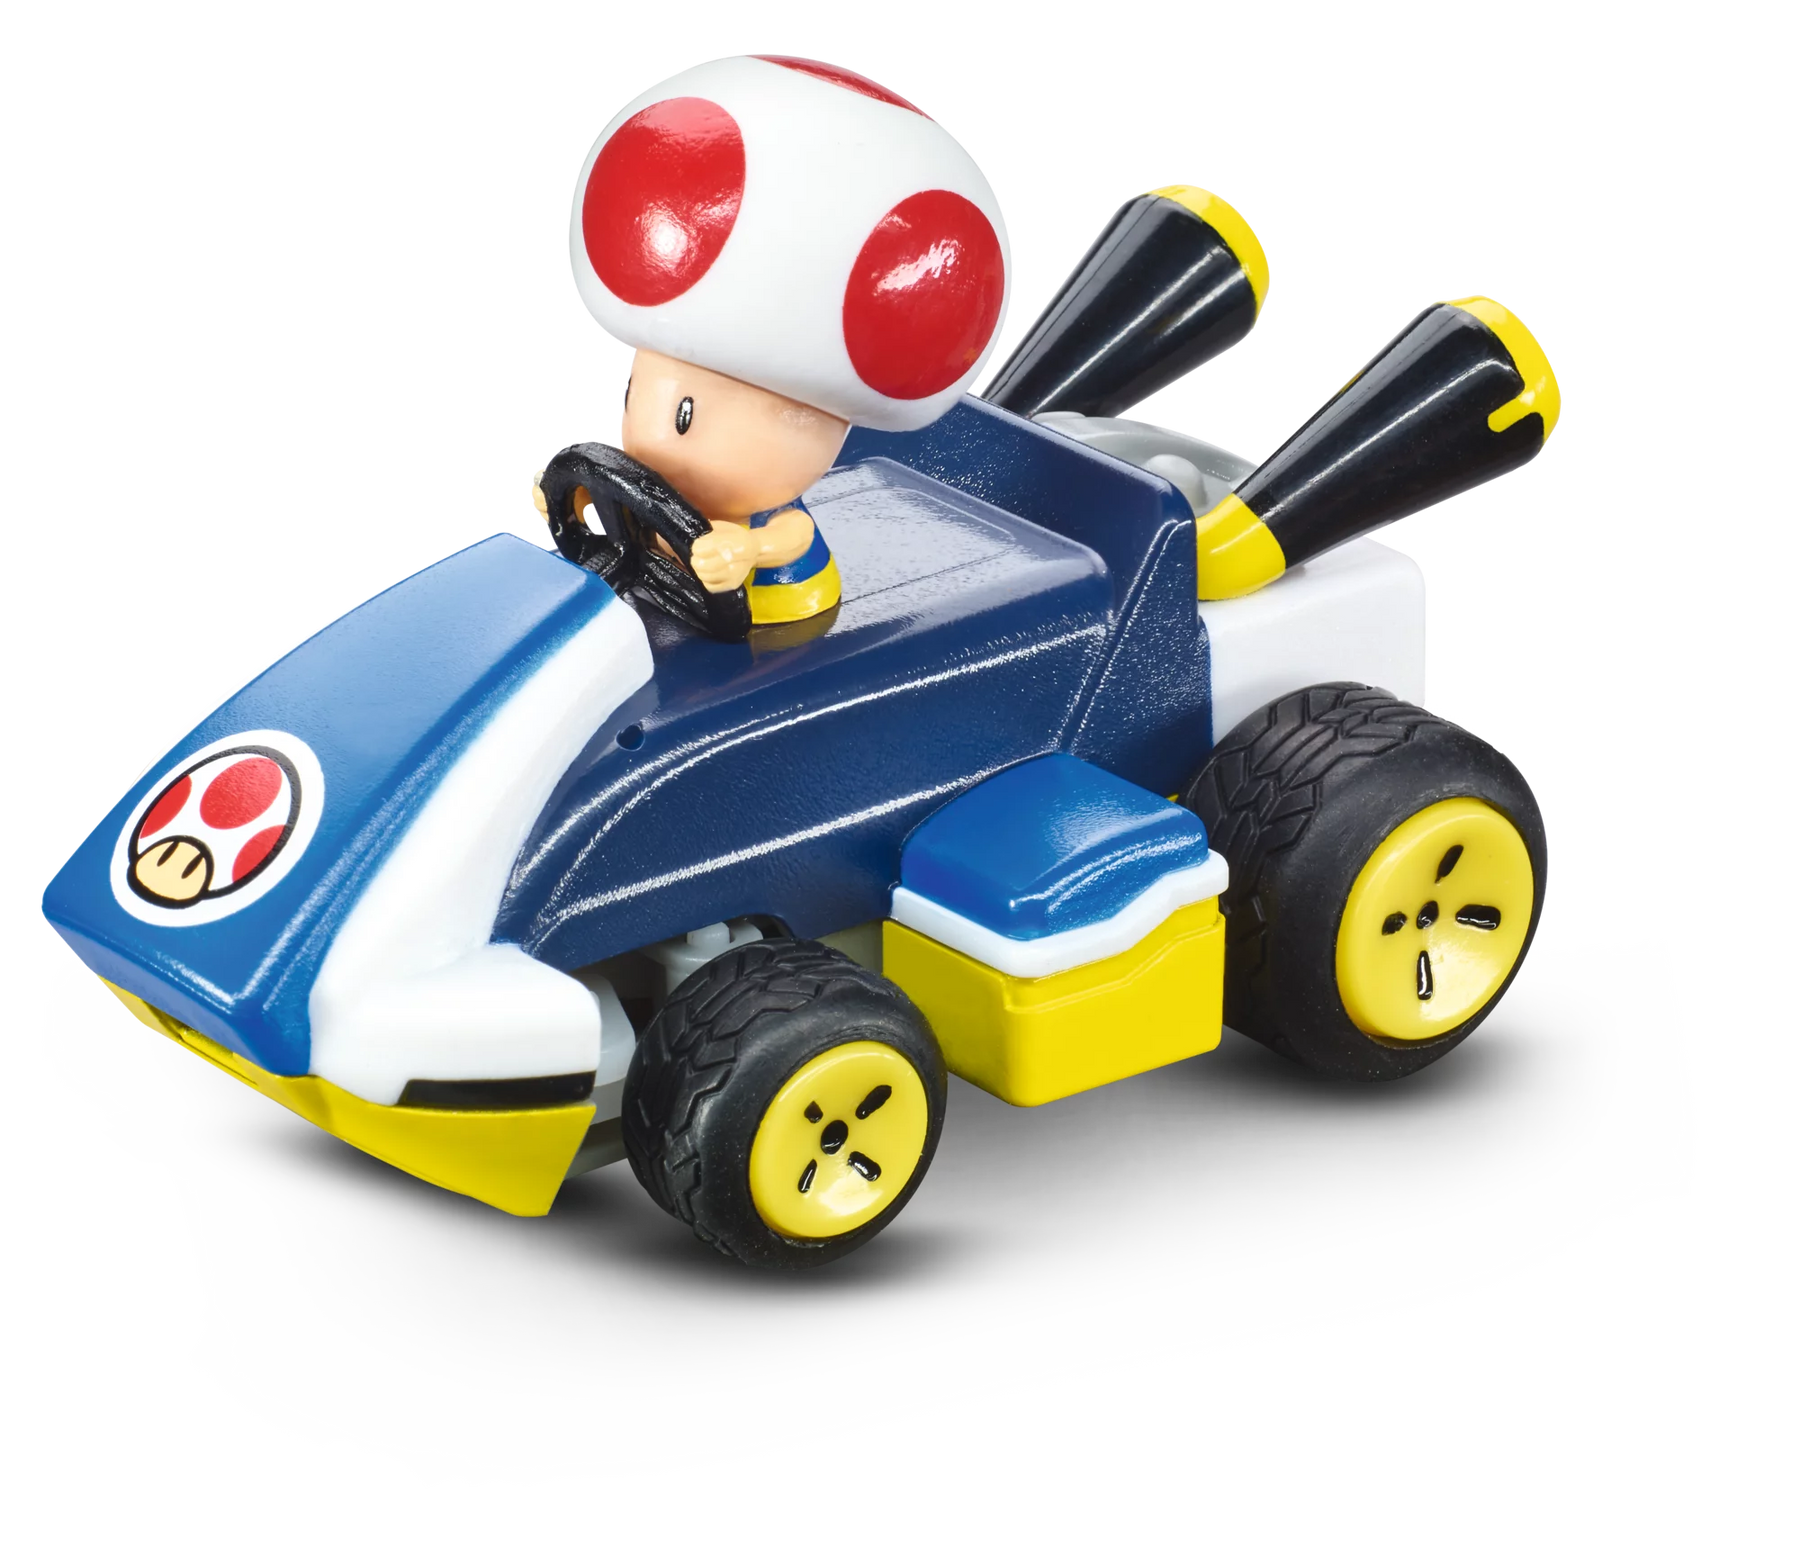
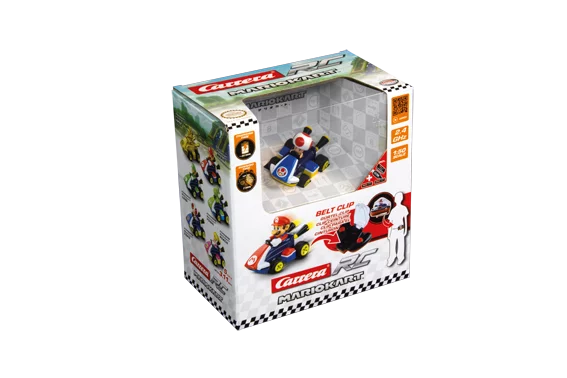
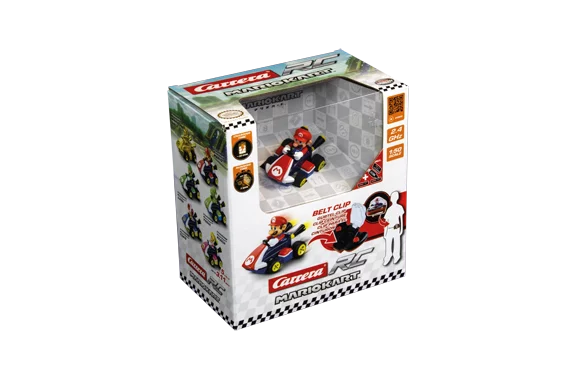
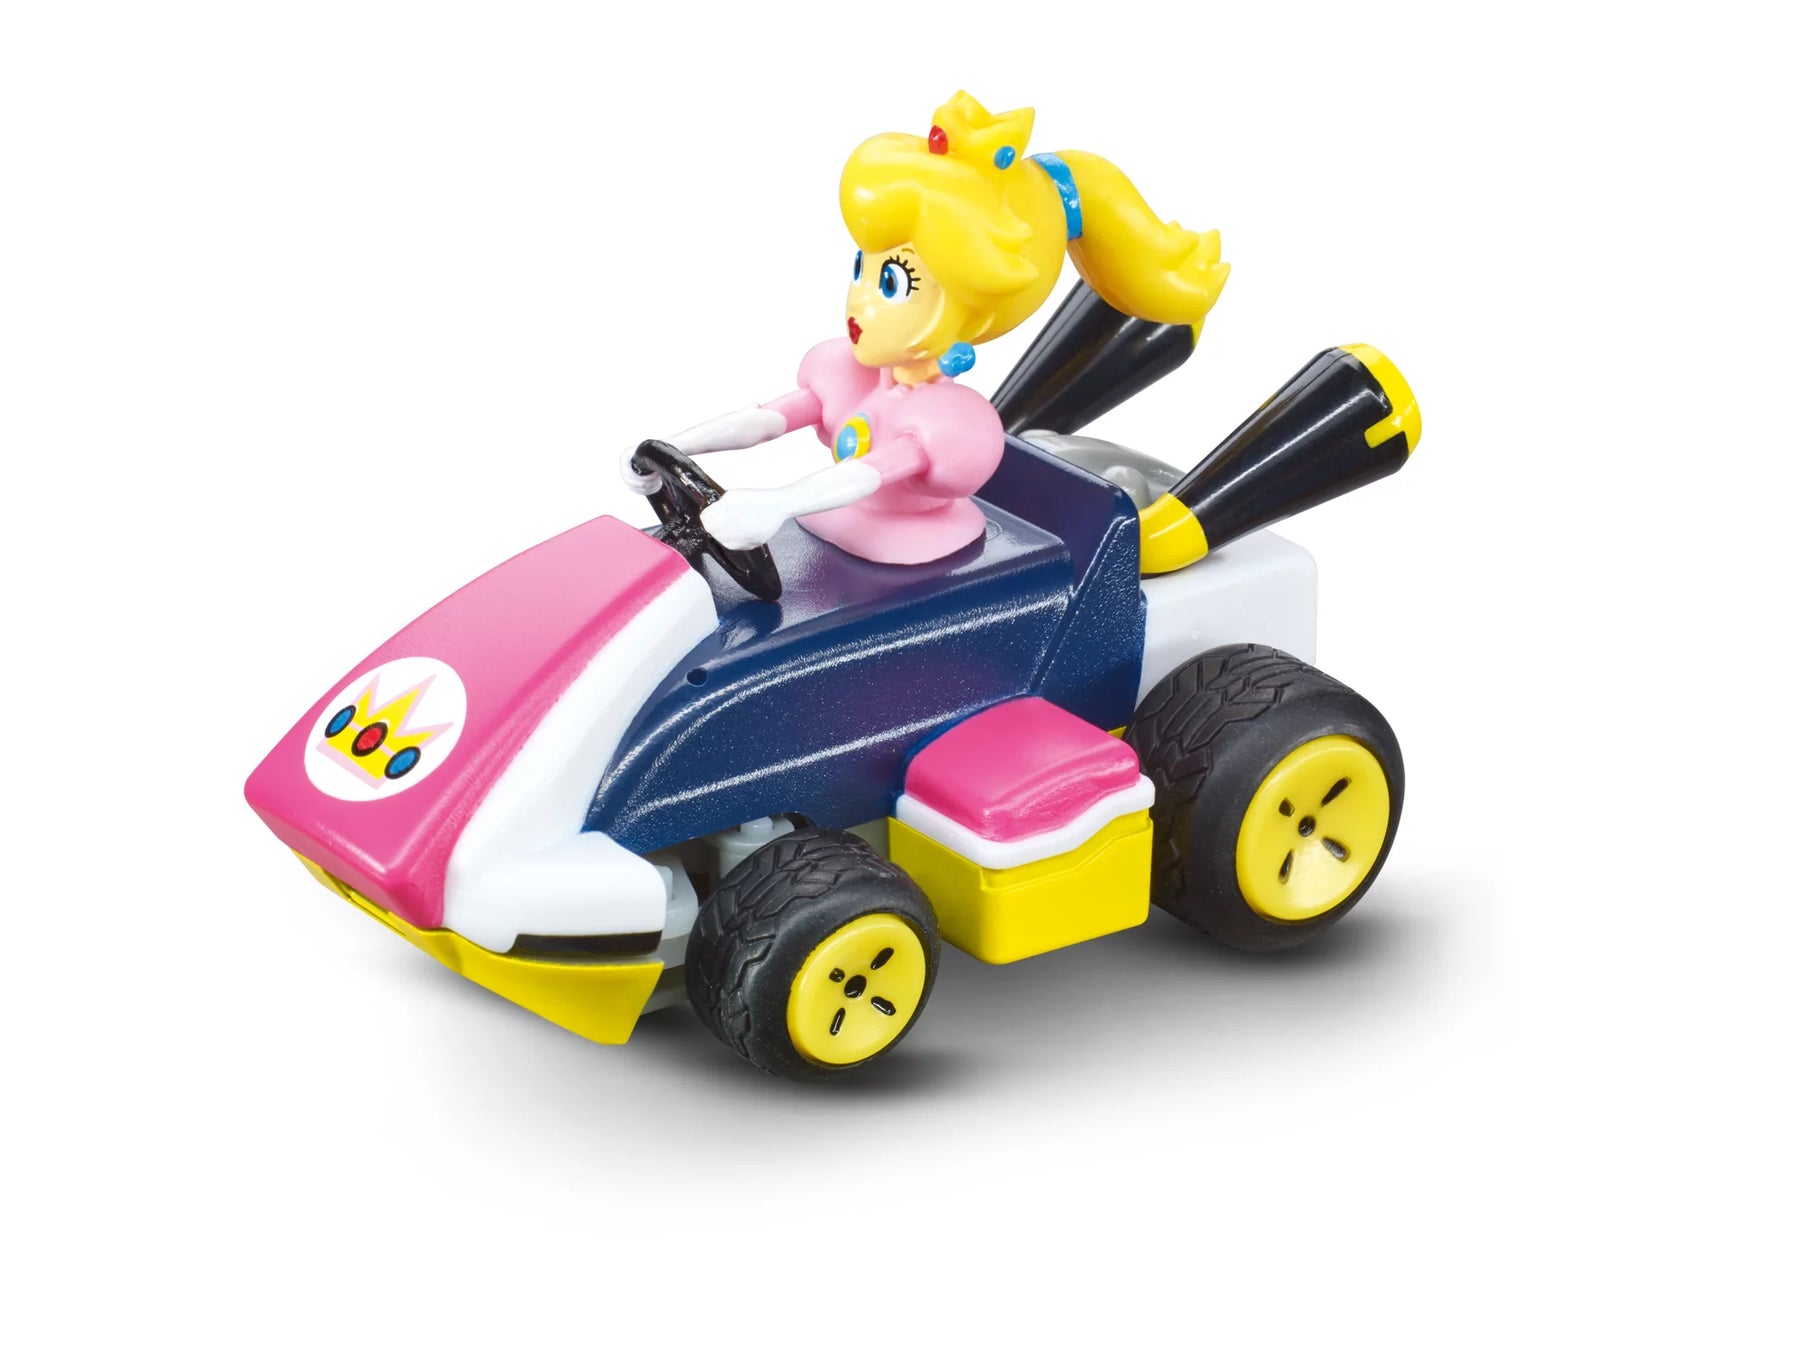
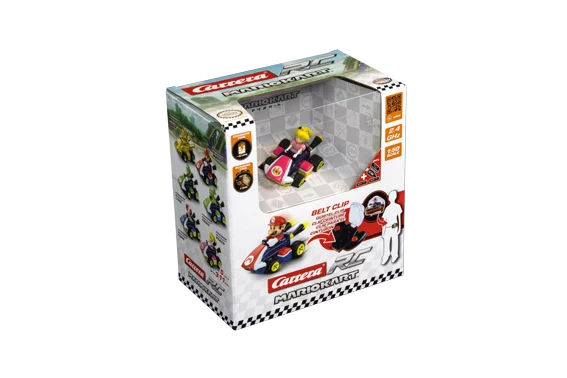
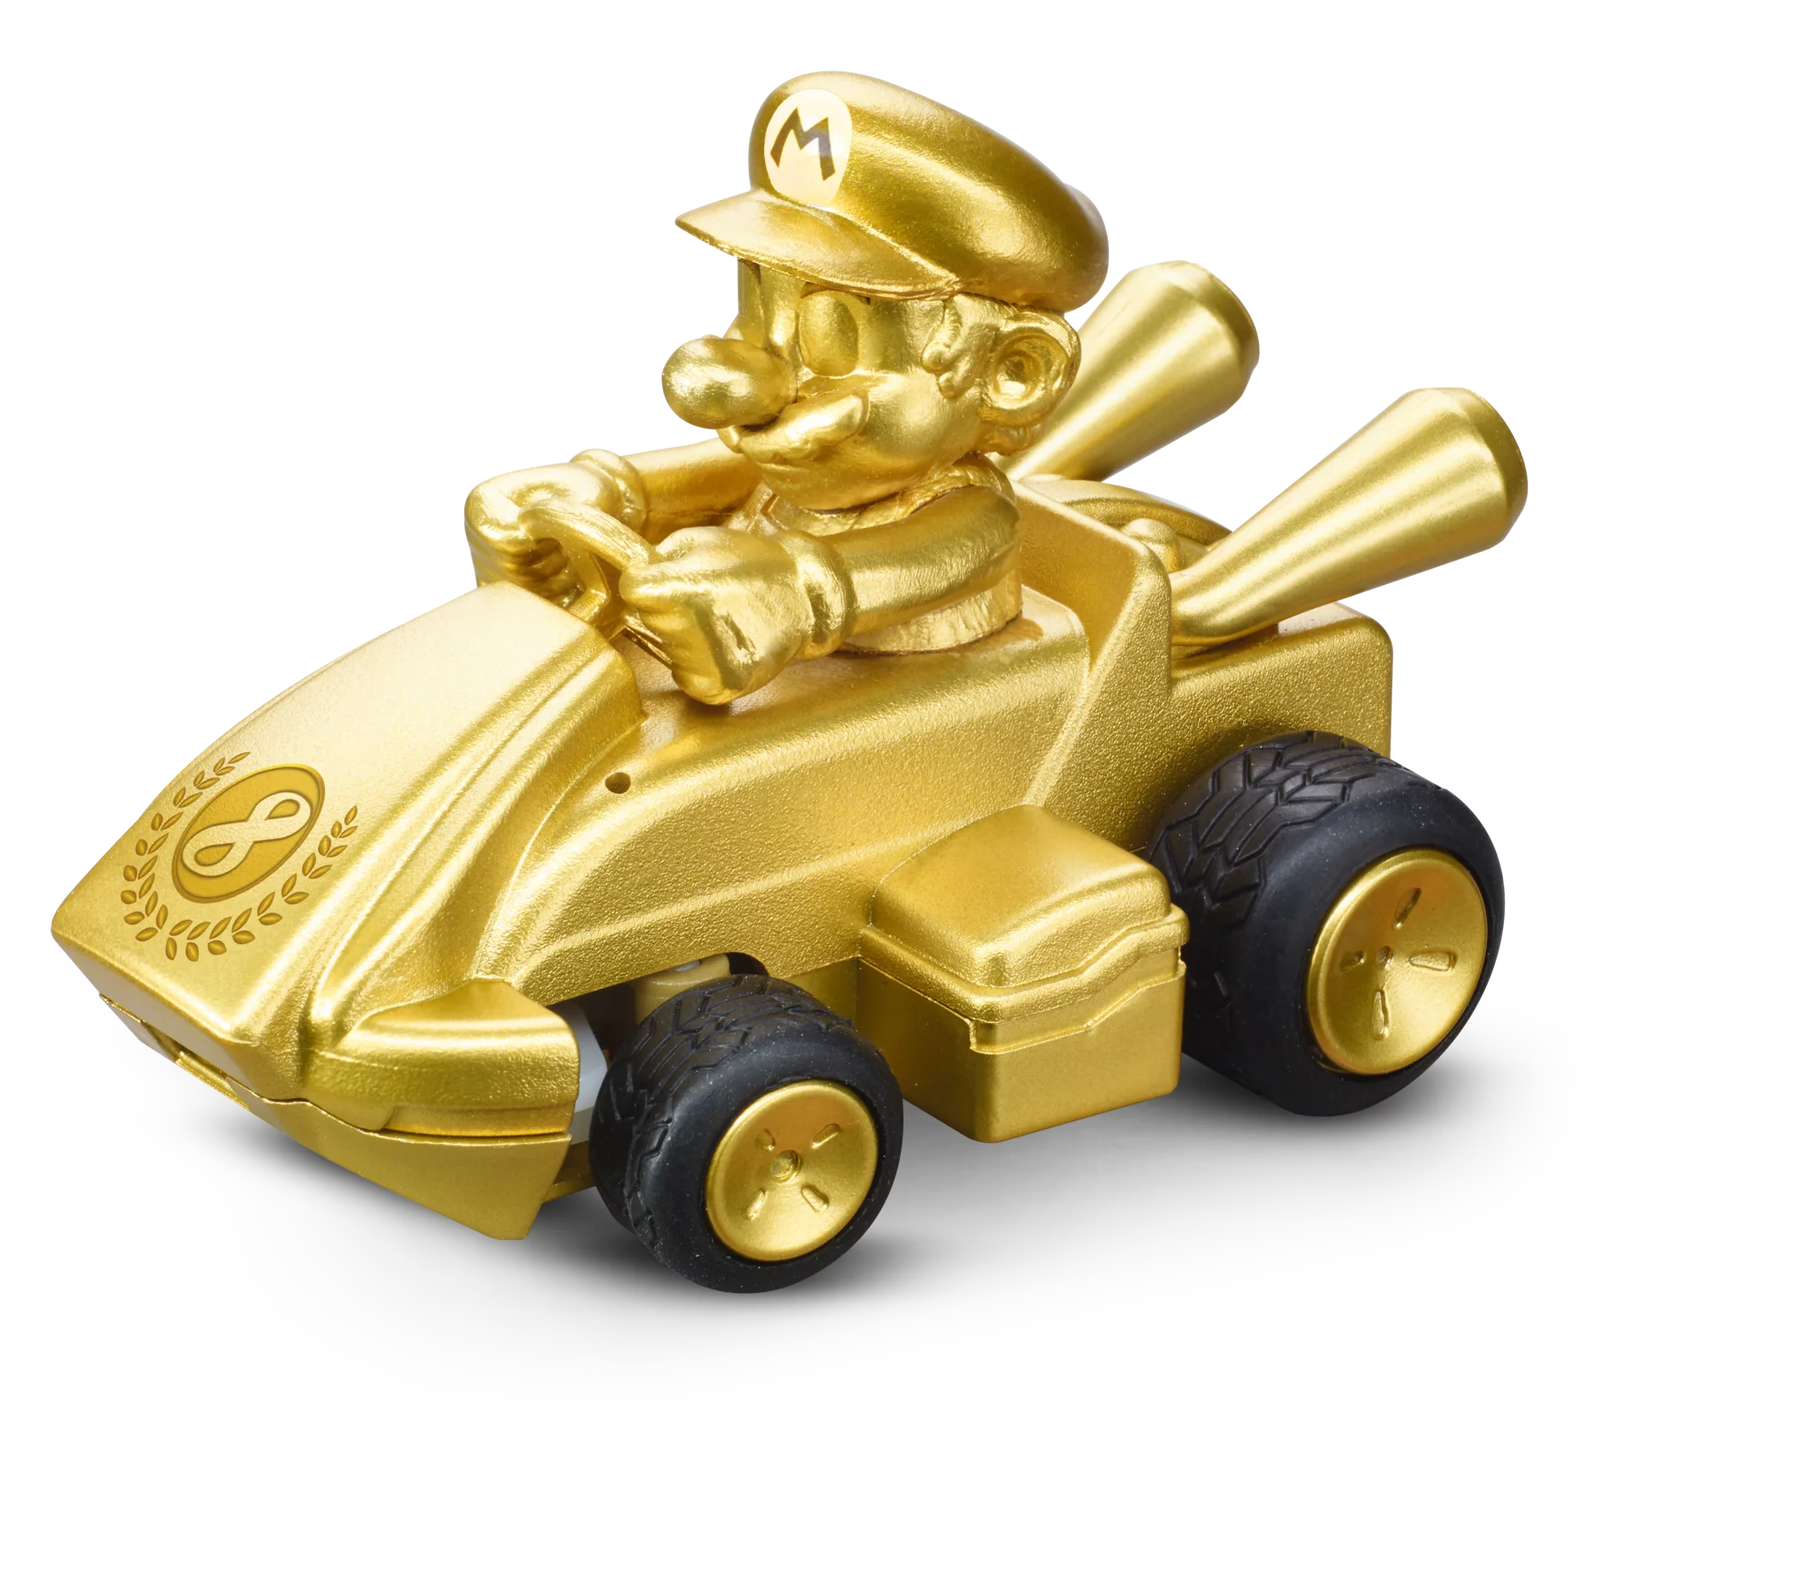
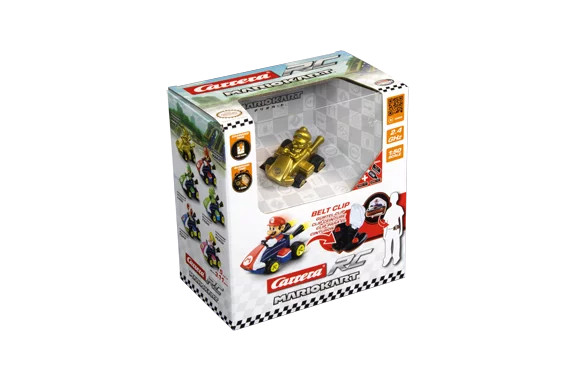
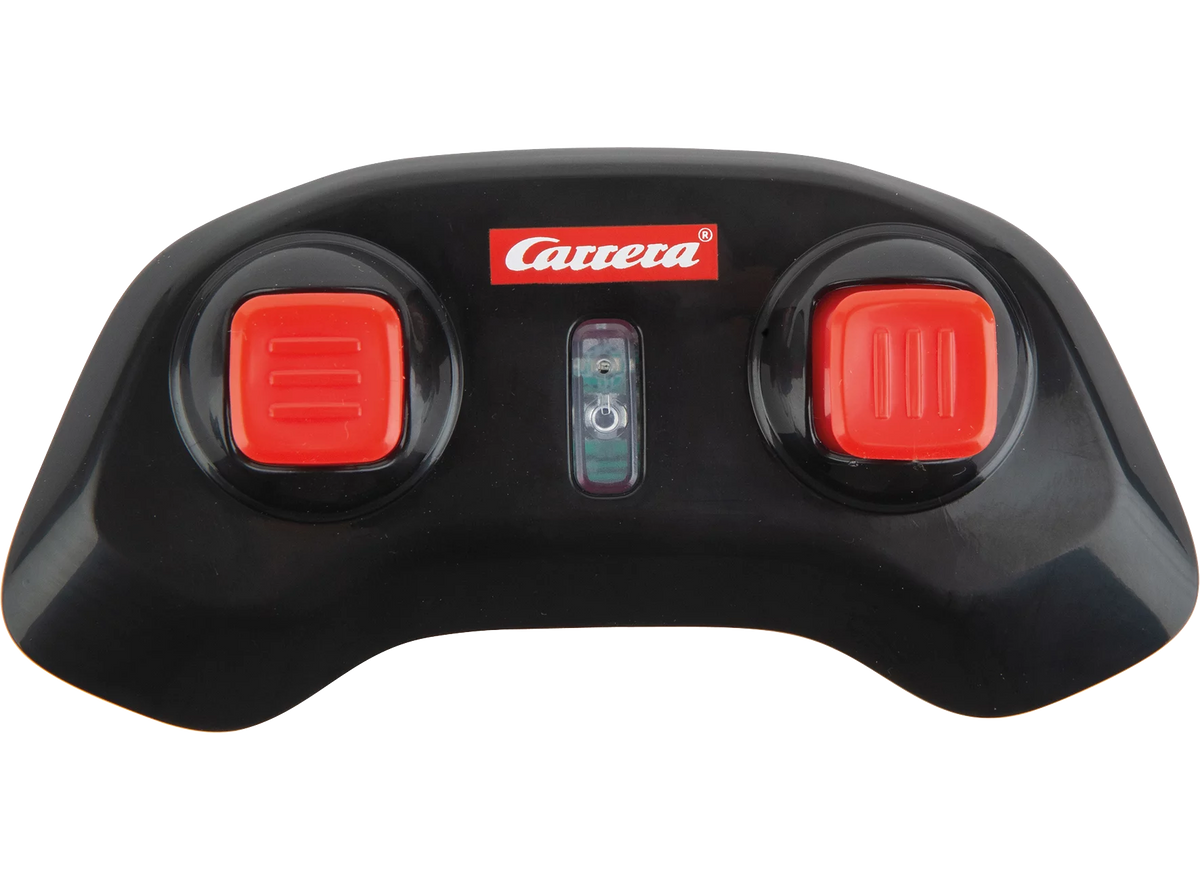
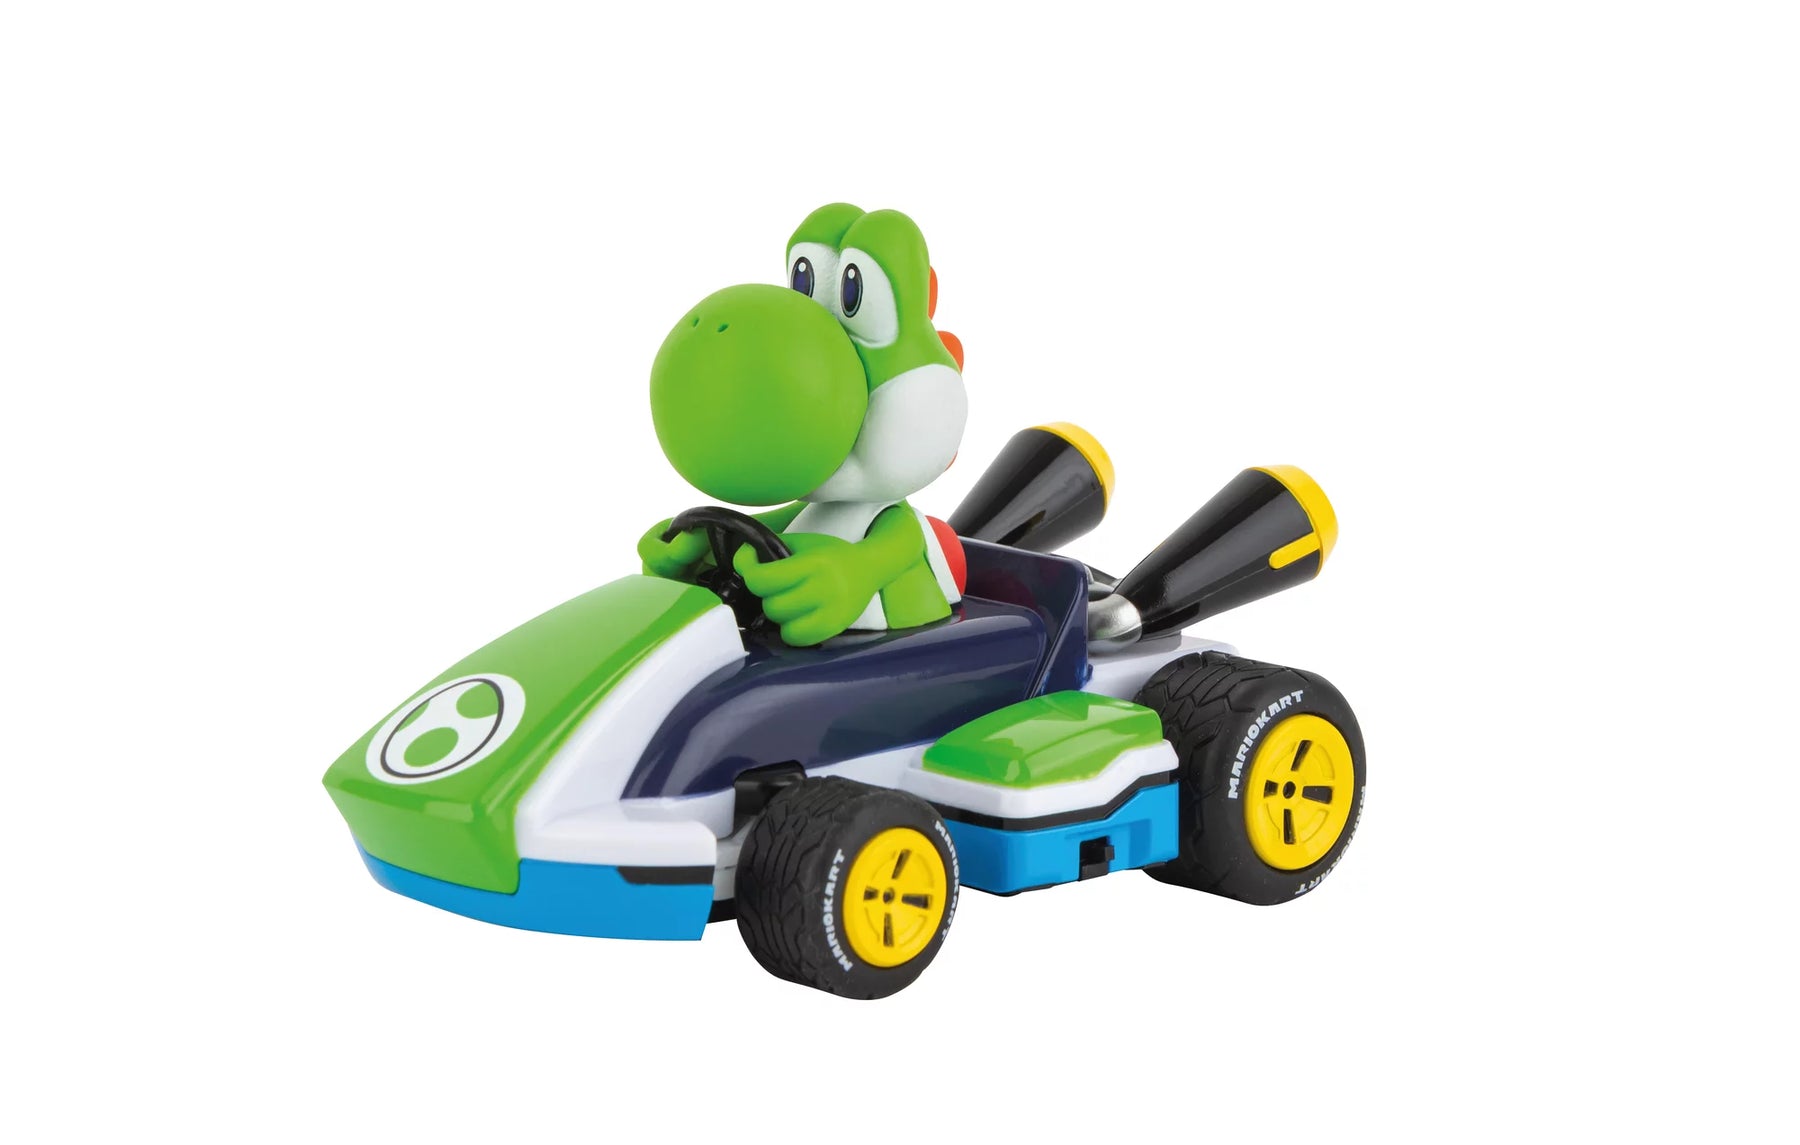
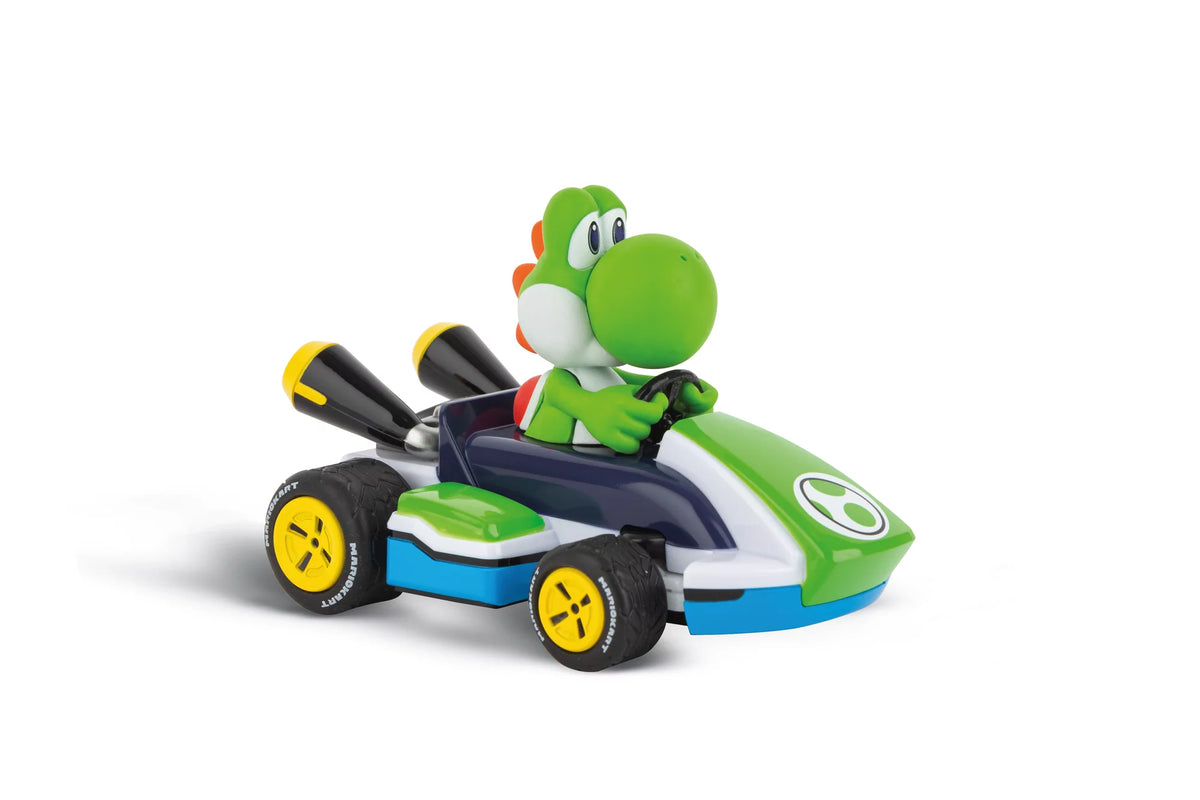
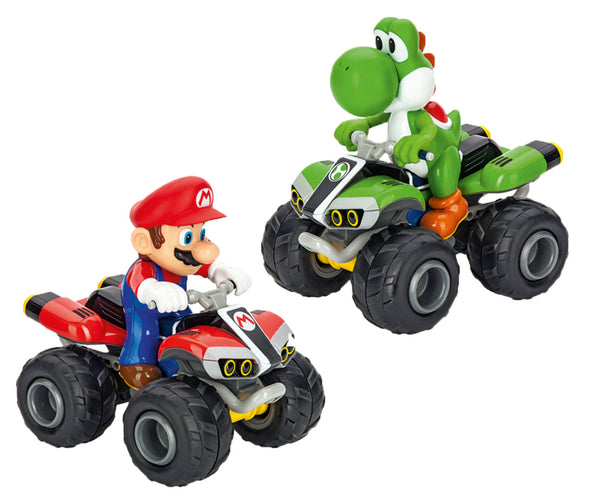
Mario Kart™ Mini RCs