
















Remote-controlled cars, boats, helicopters, and much more
Overview of Routes
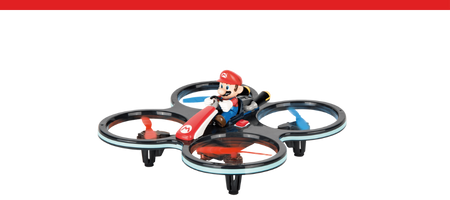
Nintendo®

Embark
- Officially licensed by Nintendo.
- Mini RCs & model airplanes
- . Ready to Run
Sonic the Hedgehog™

Join Sonic and his friends for
- Scale 1:10/Off-Road
- Sonic, Tails & Friends
- Ready to Run
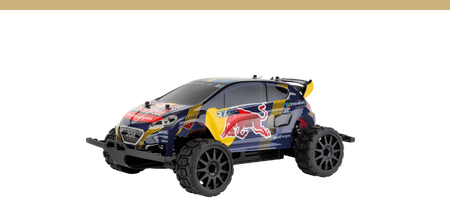
Carrera Expert RC
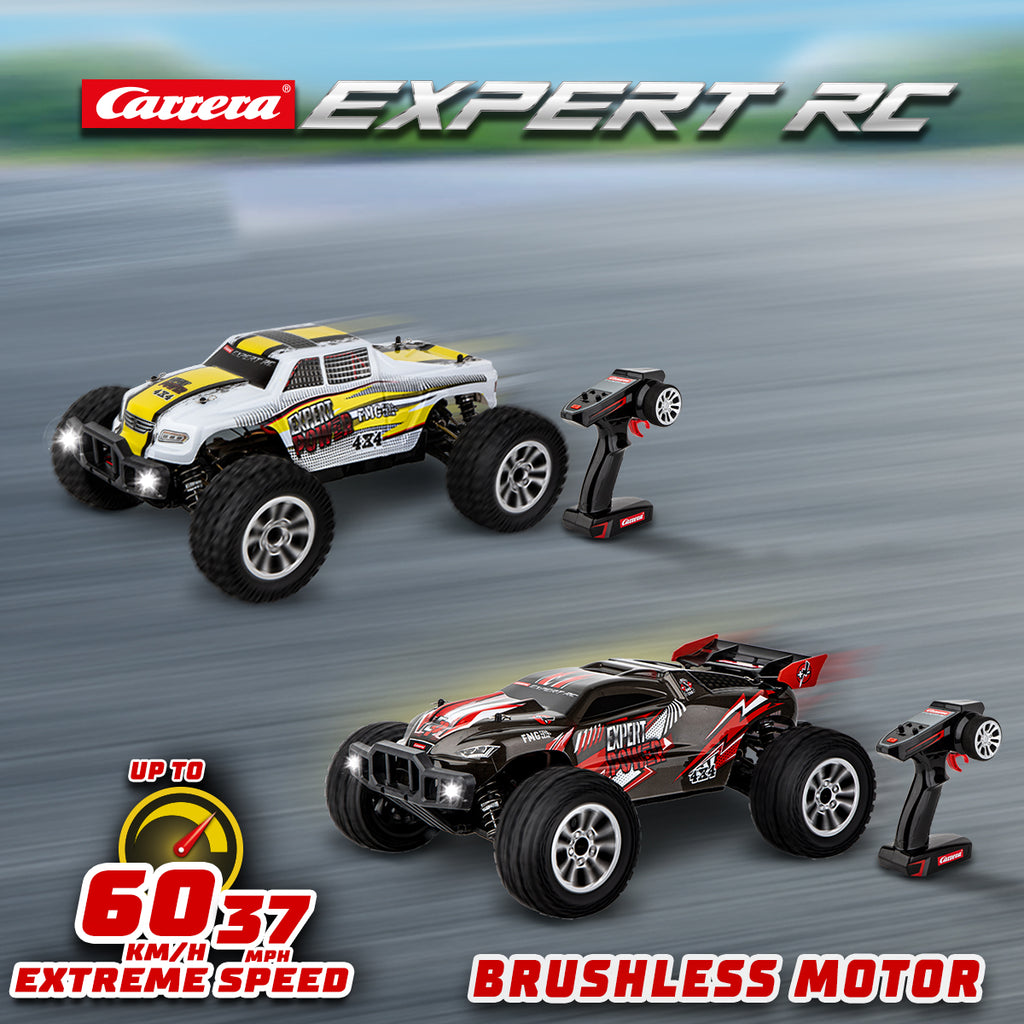
Discover the
- Up to 60 km/h
- Ages 14
- and upReady to Run
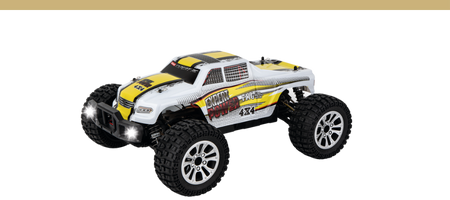
Carrera Pro RC
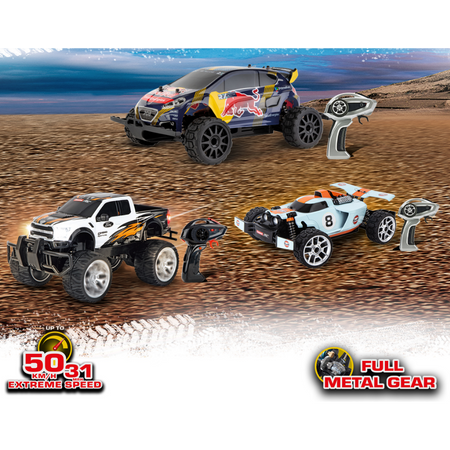
Discover the
- and up
- . Up to 50 km/h.Ages 14 and up
- . Ready to Run
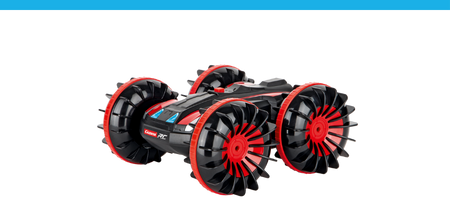
Carrera Turnator

The
- Up to 20 km/hAges
- 6
- and upSplash-proof
Carrera Action Vehicles

With
- Up to 20 km/h
- Ages 6 and up
- Ready to Run
Carrera RC AIR
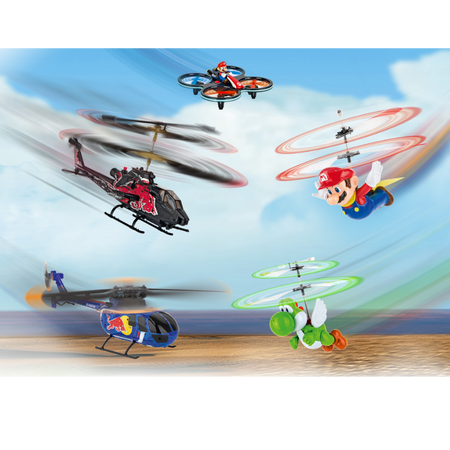
With RC
- Auto Altitude Control
- Digital Proportional
- Ages
Carrera Off-Road RC
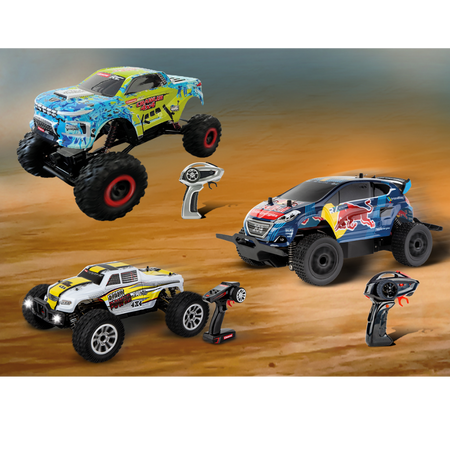
- Up to 25
- km/h Splash-proof
- Ages
Carrera RC SEA
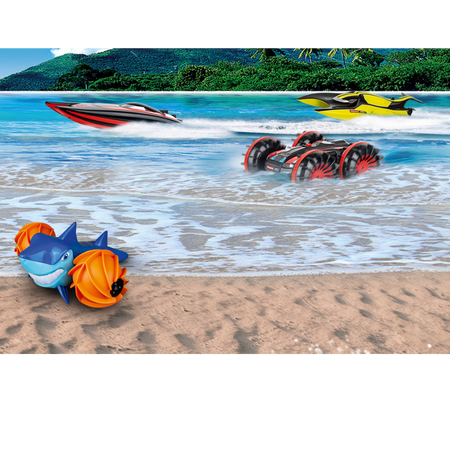
With RC
- Up to 25 km/h
- Ages 14 and up
- Ready to Run
Carrera RC Preschool
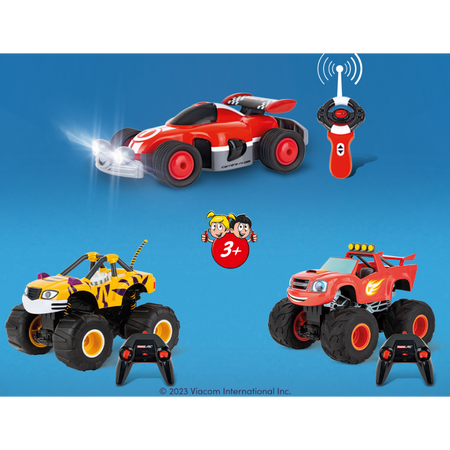
With RC
- Up to 10 km/h
- Ages 3
- and upReady to Run
Carrera RC Buggy
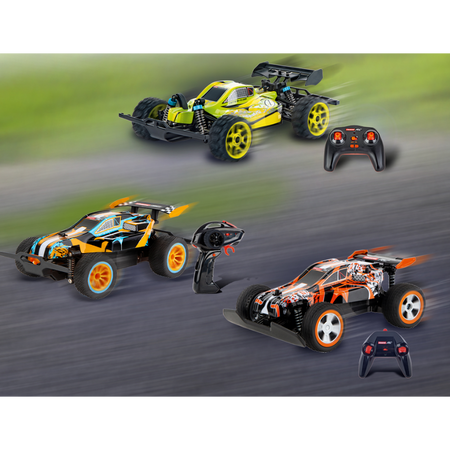
An
- Up to 50
- km/h Splash-proof
- Ages
Caterpillar

With these remote-controlled Caterpillar RC vehicles, you’ll become the boss of the construction site. Whether it’s an excavator, bulldozer, or dump truck—these highly detailed models bring the excitement of large construction machinery right into your home. With a variety of scales to choose from, you’ll find the perfect model for every age and every use. Thanks to simple, full-function controls, these construction vehicles are easy to operate: forward, backward, left, and right. Whether in the sandbox or in the playroom—these sturdy machines are ready for plenty of adventures. The classic yellow designs give them that authentic construction site look and make every play session even more realistic. Ideal for anyone who loves technology and construction site action.
- Splash-proof.
- Ages 8 and
- up. Ready to Run
The Top Features of Our RC Vehicles






Frequently Asked Questions
Didn't find the answer you were looking for in the FAQ, or would you like to learn more about our RC products? Our customer service team is here to help—quickly, competently, and personally. Whether you have questions about technical details, replacement parts, or tips on how to use our products, we're here for you.
24/7 Support
Phone
Kontakt
RC General
No, please use only the original RC
For 2.4 GHz D/P models , please follow this startup sequence:
1) Turn on the transmitter
. 2) Then turn on the model.
When shutting down after a drive or flight, please follow the reverse order.
For 27 MHz models : Please check whether the transmitter antenna is defective or perhaps not fully extended. If another RC model is nearby, make sure it is not using the same frequency. If so, please change the frequency.
Vehicles
Check to make sure the antenna on the controller is screwed in as far as it will go. Then pull the antenna out completely. For the antenna on the vehicle, use the transparent antenna tube included in the package (depending on the model).
Open the vehicle chassis and clean the axles of dust and hair. Also, apply a drop of oil (resin- and acid-free grease) to the axles.
If
1) Turn the car over so that the wheels are off the ground.
2) First, turn on the vehicle using the ON/OFF switch. The LED on the top of the vehicle will flash rhythmically. Turn on the controller. The LED on the controller will flash rhythmically. After a few seconds, the LEDs on the car and the controller will remain lit. Pairing is now complete.
3) Press the button on the upper right side of the controller for about two seconds. Calibration mode is active as soon as the controller LED flashes. (See image)
4) Forward or reverse movement can be stopped using the left joystick.
5) To complete the calibration process, press the button on the upper right side of the controller again for about two seconds—the LED will now remain lit.
If your 2.4 GHz DIGITAL-PROPORTIONAL model pulls to the right or left, follow these steps:
1) Turn the vehicle over so that the wheels are in the air.
2) First,turn the vehicle on using the ON/OFF switch. The LED on the top of the vehicle will flash rhythmically. Then turn on the controller. The LED on the controller will flash rhythmically. After a few seconds, the LEDs on the vehicle and the controller will remain lit. Pairing is complete.
3) Press the button on the upper right side of the controller for about 2 seconds. Calibration mode is active as soon as the controller LED starts flashing. (See image)
4) You can adjust the straight-line stability using the right joystick.
5) To finish the adjustment process, press the button on the upper right side of the controller again for about two seconds—the LED will then remain lit steadily.
Yes, it is recommended
For 2.4 GHz Digital Proportional models,:
For 27 MHz models :
: Make sure that no one else in your driving area is using the same frequency. To avoid this and ensure that the
The controller antenna should be fully extended. Then turn
For 2.4 GHz Servo Tronic models:
, turn on the vehicle first; the LED on the top of the vehicle will then flash rhythmically. You can then turn on the controller. Here, too, the LED will flash rhythmically for a few seconds. Once the vehicle and the controller are paired, the status LEDs on both the vehicle and the controller will remain lit.
Adjusting the Steering: If
Follow these steps to
1) First, turn on the vehicle
. 2) Then, turn on the controller. When the LEDs on the vehicle and the controller are lit steadily, the pairing process is complete.
You can find all replacement parts and accessories for the various Profi RC models in our online store by entering the part number or name of your model in the search field. All compatible replacement parts are displayed on the vehicle’s product detail page.
You can quickly and easily identify the individual parts using the exploded view, which is available exclusively for Profi models.
To
The ON/OFF switch is located on the left side of the vehicle, right next to the battery compartment.
There is a sticker on the back of the controller and on the vehicle near the drive axle that shows the correct frequency.
Boats
Let the water drain off and dry your boat thoroughly after use. Use regular tap water to clean your boat. The water sensor contacts should be treated regularly with vinegar cleaner to prevent corrosion. Make sure the vinegar cleaner does not come into contact with the propeller or rudder. This could cause permanent damage.
Here’s how to properly drain your boat:
Falshöft Coast Guard Boat (301001/301005)
After each trip, please open the two drain plugs at the bow and stern and, if necessary, drain any accumulated condensation. Please make sure to reinsert the drain plugs into their designated openings before each trip.
Ferrari Boat Arno XI (300005)
There is a drain plug at the stern. Open it after every trip to drain any condensation. Please make sure to reinsert the drain plug into the designated opening before every trip.
Power Wave (300001)
You'll find the drain button on the underside of the boat, between the propeller and the sensor. Press it down with a blunt object until the condensation has drained out of the boat. Since the drain button is spring-loaded, it will automatically return to its original position as soon as you stop pressing it.
Please note that, for safety reasons, the connection can only be made in the water. When starting up, turn on the controller first, then the boat. After your trip, follow the reverse order—turn off the boat first, then the controller.
Our boats are designed for use in freshwater with normal to moderate waves.
If your boat does come into contact with dirty or salty water, it must be thoroughly rinsed with regular tap water afterward.
If the battery in your boat or vehicle has been connected properly and the charging process is proceeding normally, the red LED will remain lit. When the battery is fully charged, the red LED will turn green. The battery can then be removed and installed in the vehicle or boat.
Aircraft
If your micro quadcopter (502002) does not take off even though the battery is fully charged, please check whether the 4 rotor blades are arranged correctly. The letters are stamped on the top of the rotor blades. It is important to position the A/D rotor blades and the B/C rotor blades correctly.
Before your first flight, please make sure to check whether model aircraft are subject to mandatory insurance requirements in your country. For more information, contact the German Model Aircraft Association. You are not allowed to do the following with your model aircraft:- Fly near airports without permission (minimum distance: 1.5 km) - Fly over crowds of people, military installations, hospitals, power plants, or correctional facilities - Please make sure you always maintain direct visual contact with the aircraft.- Flying in windy or inclement weather, or while under the influence of drugs or alcohol, is prohibited.
Please follow these steps to properly pair the controller with your helicopter:
1. Turn on the helicopter.
2. Turn on the controller.
Exception: For the Sky Hunter (501001) and Red Eagle (501002), follow these steps:
1. Turn on the helicopter
. 2. Press the right control stick on the controller and then turn it on.
Applies to the following helicopters:
Thunder Storm (501004),
Helicopter (501007),
Green Chopper (501003),
Orange Sply (501005),
Green Vecto (501008),
Red Buzzer (500001), and
Micro Helicopter (502001)
. Proper trim is essential for stable flight performance. Adjusting the trim requires a bit of patience and finesse.
Please note the following instructions:
Carefully move the throttle lever on the controller upward and let the helicopter climb to a height of approximately 0.3 to 0.8 meters.
If the helicopter spins in place to the left or right while hovering—without moving the tail (yaw) lever—please proceed as follows: If the helicopter rotates on its own—either quickly or slowly—to the left around its own axis, gradually push the lower right trimmer for tail (circular rotation) on the controller to the right. If the helicopter turns to the right, gradually push the tail trimmer (circle rotation) to the left.
If the helicopter flies forward or backward while hovering—without moving the forward/backward control stick—please proceed as follows: If the helicopter moves forward on its own, either quickly or slowly, gradually push the upper-right forward/backward trim on the controller downward. If the helicopter moves backward, gradually push the forward/backward trim upward.
Applies to the following helicopters:
Sky Hunter (501001),
Spider Fox (501006)
. Proper trim is essential for stable flight behavior. Adjusting the trim requires a bit of patience and finesse.
Please note the following instructions:
Carefully move the throttle lever on the controller upward and let the helicopter climb to a height of approximately 0.3 to 0.8 meters.
If the helicopter drifts to the left or right while hovering without any movement of the left/right roll lever, please proceed as follows: If the helicopter moves sideways to the left on its own, either quickly or slowly, gradually push the lower right trim control for right/left roll on the controller to the right. If the helicopter moves to the right, gradually push the right/left roll trim control to the left.
If the helicopter spins in place to the left or right while hovering, without moving the tail (circular rotation) control stick, please proceed as follows: If the helicopter spins on its own—either quickly or slowly—to the left around its own axis, gradually push the lower left tail (circular rotation) trimmer on the controller to the right. If the helicopter spins to the right, gradually push the tail (circular rotation) trimmer to the left.
If the helicopter moves forward or backward on its own while hovering, without moving the Forward/Backward control stick, please proceed as follows: If the helicopter moves forward on its own, either quickly or slowly, gradually push the upper-right Forward/Backward trimmer on the controller downward. If the helicopter moves backward, push the forward/backward trim control up in small increments.