Carrera Turnator: Remote-controlled RC stunt car for 360° action

The <tc>Carrera</tc> Turnator is a remote-controlled RC stunt carWhich for spectacular 360° turns, quick changes of direction and impressive somersaults was developed. As a flip-over vehicle, it ensures action-packed rides and a driving experience that is clearly different from classic RC cars. Thanks to the practical Ready-to-run Concept, the Turnator is ready to go straight away - unpack it, switch it on and get started. Ideal for anyone looking for stunts, movement and maximum riding fun.

Erfahre mehr über die Carrera Turnator Familie

Filter

Filter

to
Sort by:
Sort by:
2,4 GHz - X-mas Turnator - Advent Kalender2,4 GHz - X-mas Turnator - Advent Kalender
12+ 12+
Art. Nr 370240009 2.4 GHz - X-mas Turnator - Advent Calendar
Offer price€19,99 EUR Regular price€34,99 EUR
2,4GHz Mini Turnator Pink2,4GHz Mini Turnator Pink
6+ 6+
Art. Nr 370240011 2.4GHz Mini Turnator Pink
Offer price€24,99 EUR Regular price€29,99 EUR
2,4GHz Mini Turnator 2.02,4GHz Mini Turnator 2.0
6+ 6+
Art. Nr 370240003X 2.4GHz Mini Turnator 2.0
Offer price€24,99 EUR Regular price€29,99 EUR
2,4GHz Turnator - Glow in the Dark2,4GHz Turnator - Glow in the Dark
6+ 6+
Art. Nr 370162105X 2.4GHz Turnator - Glow in the Dark
Offer price€62,99 EUR Regular price€89,99 EUR
Bestseller
2,4GHz Turnator Color Flip2,4GHz Turnator Color Flip
6+ 6+
Art. Nr 370162114 2.4GHz Turnator Color Flip
Offer price€53,32 EUR Regular price€79,98 EUR
Sold out
2,4GHz Turnator2,4GHz Turnator
6+ 6+
Art. Nr 370162052X 2.4GHz Turnator
Offer price€60,99 EUR Regular price€86,99 EUR
Sold out

What is the <tc>Carrera</tc> Turnator, and who is it designed for?

RC Stunt Auto für 360° Drehungen und spektakuläre Überschläge

Der Carrera Turnator ist ein ferngesteuertes RC Auto, das speziell für Stunts entwickelt wurde. Statt nur geradeaus zu fahren, ermöglicht er dynamische 360° Drehungen, schnelle Richtungswechsel und Überschläge – ideal für alle, die Action, Tricks und Bewegung lieben. Dadurch eignet sich der Turnator perfekt für Fahrer, die mehr als klassisches RC Racing suchen und ein Stunt-Fahrzeug mit besonderem Fun-Faktor wollen.

Ready-to-Run: sofort startklar ohne Montage

Als Ready-to-Run Modell ist der Carrera Turnator schnell einsatzbereit: auspacken, einschalten und losfahren. So kannst du direkt mit deinen ersten Stunts starten, ohne lange Einstellungen oder komplizierte Vorbereitung.

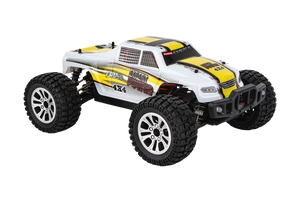
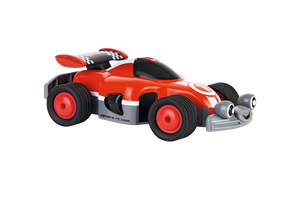
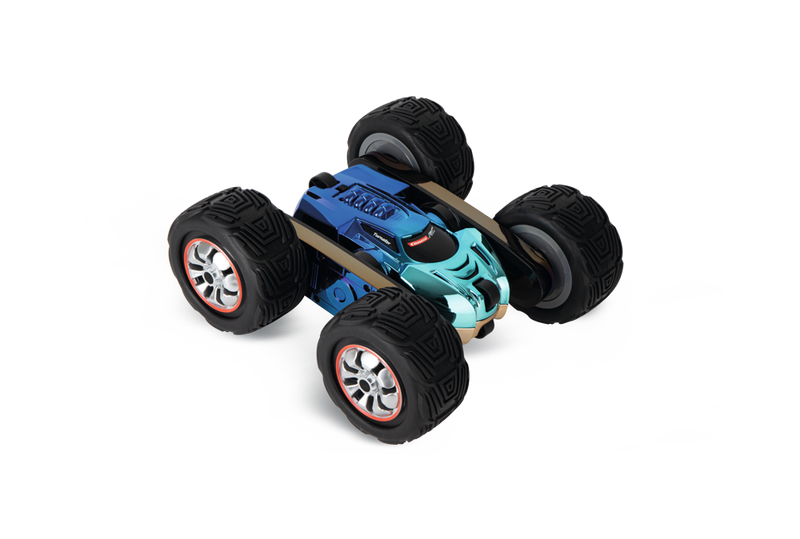
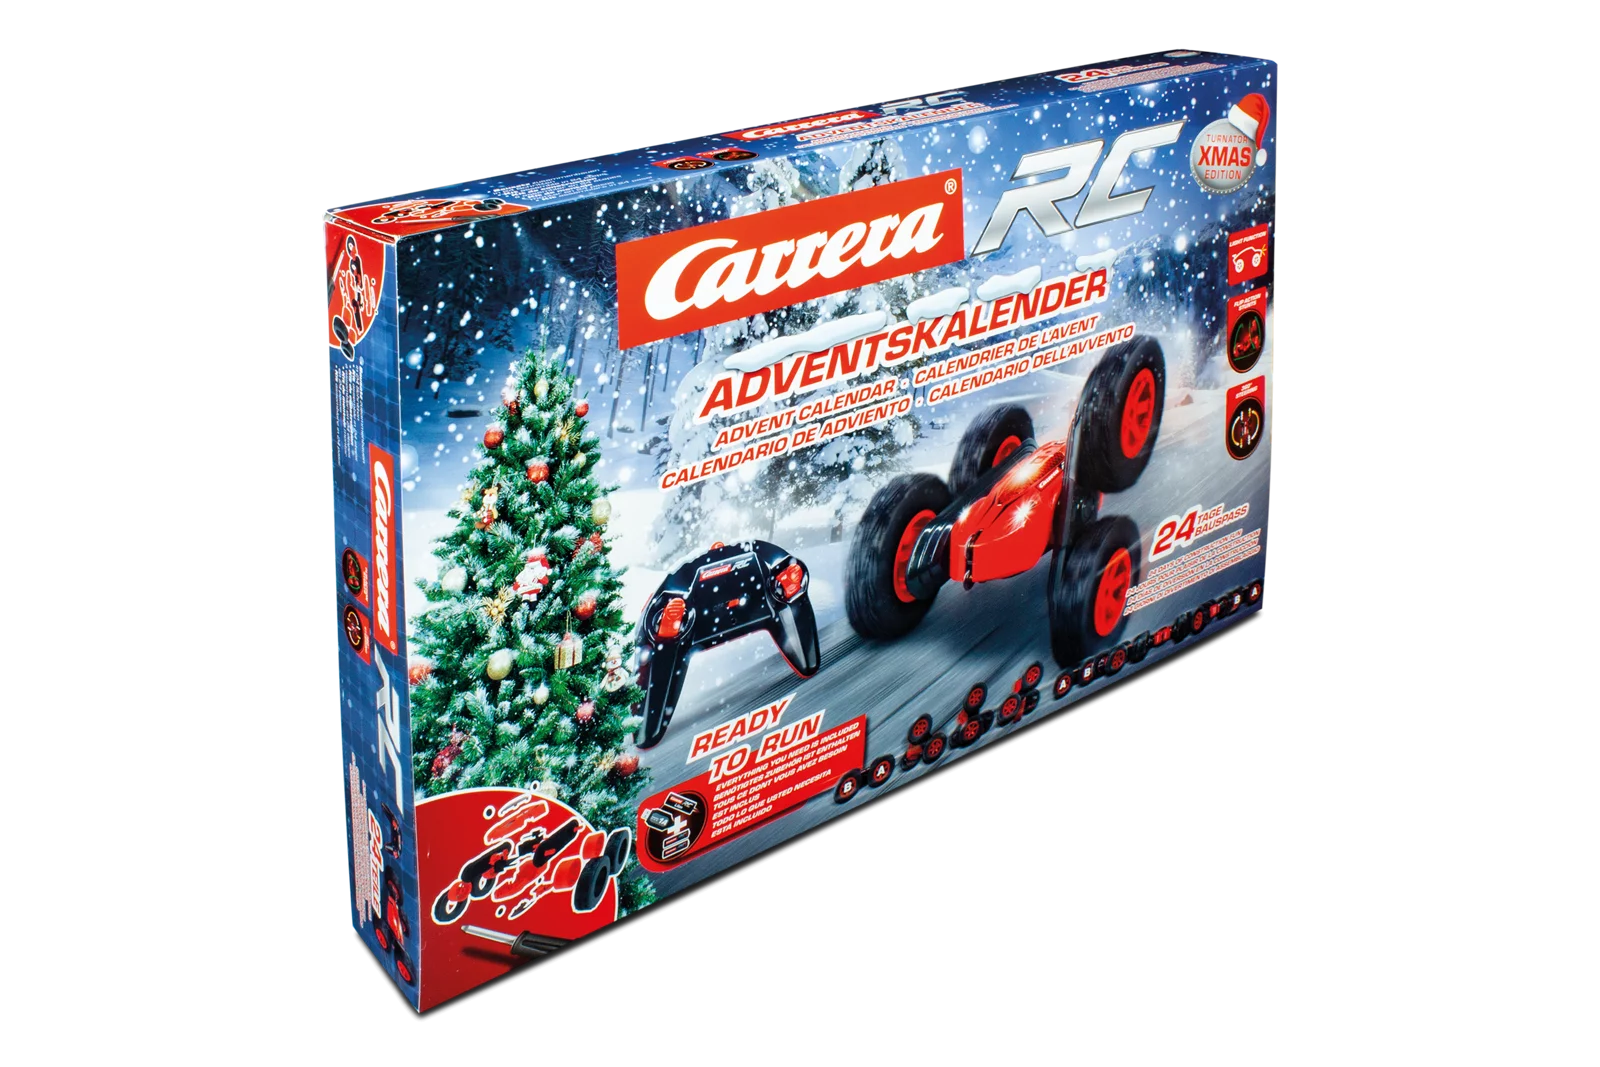
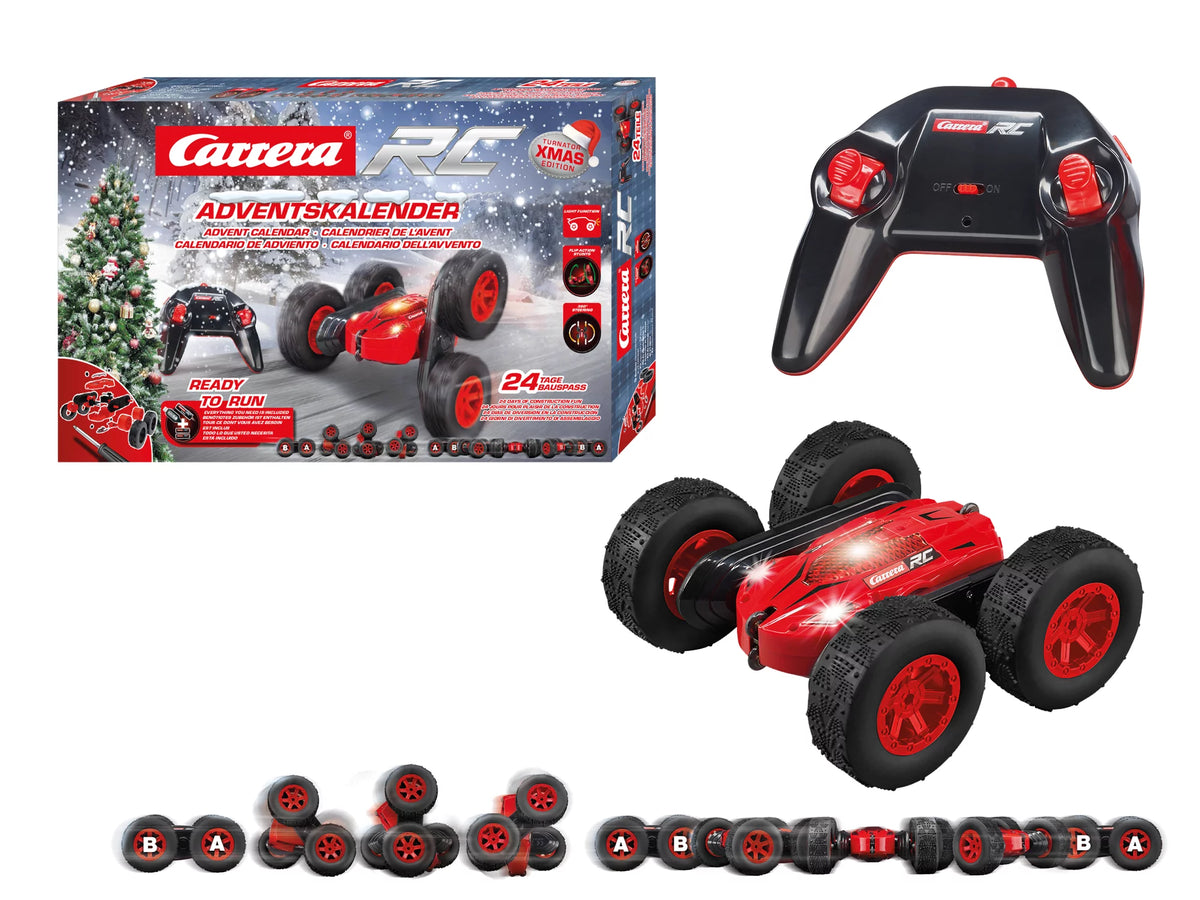
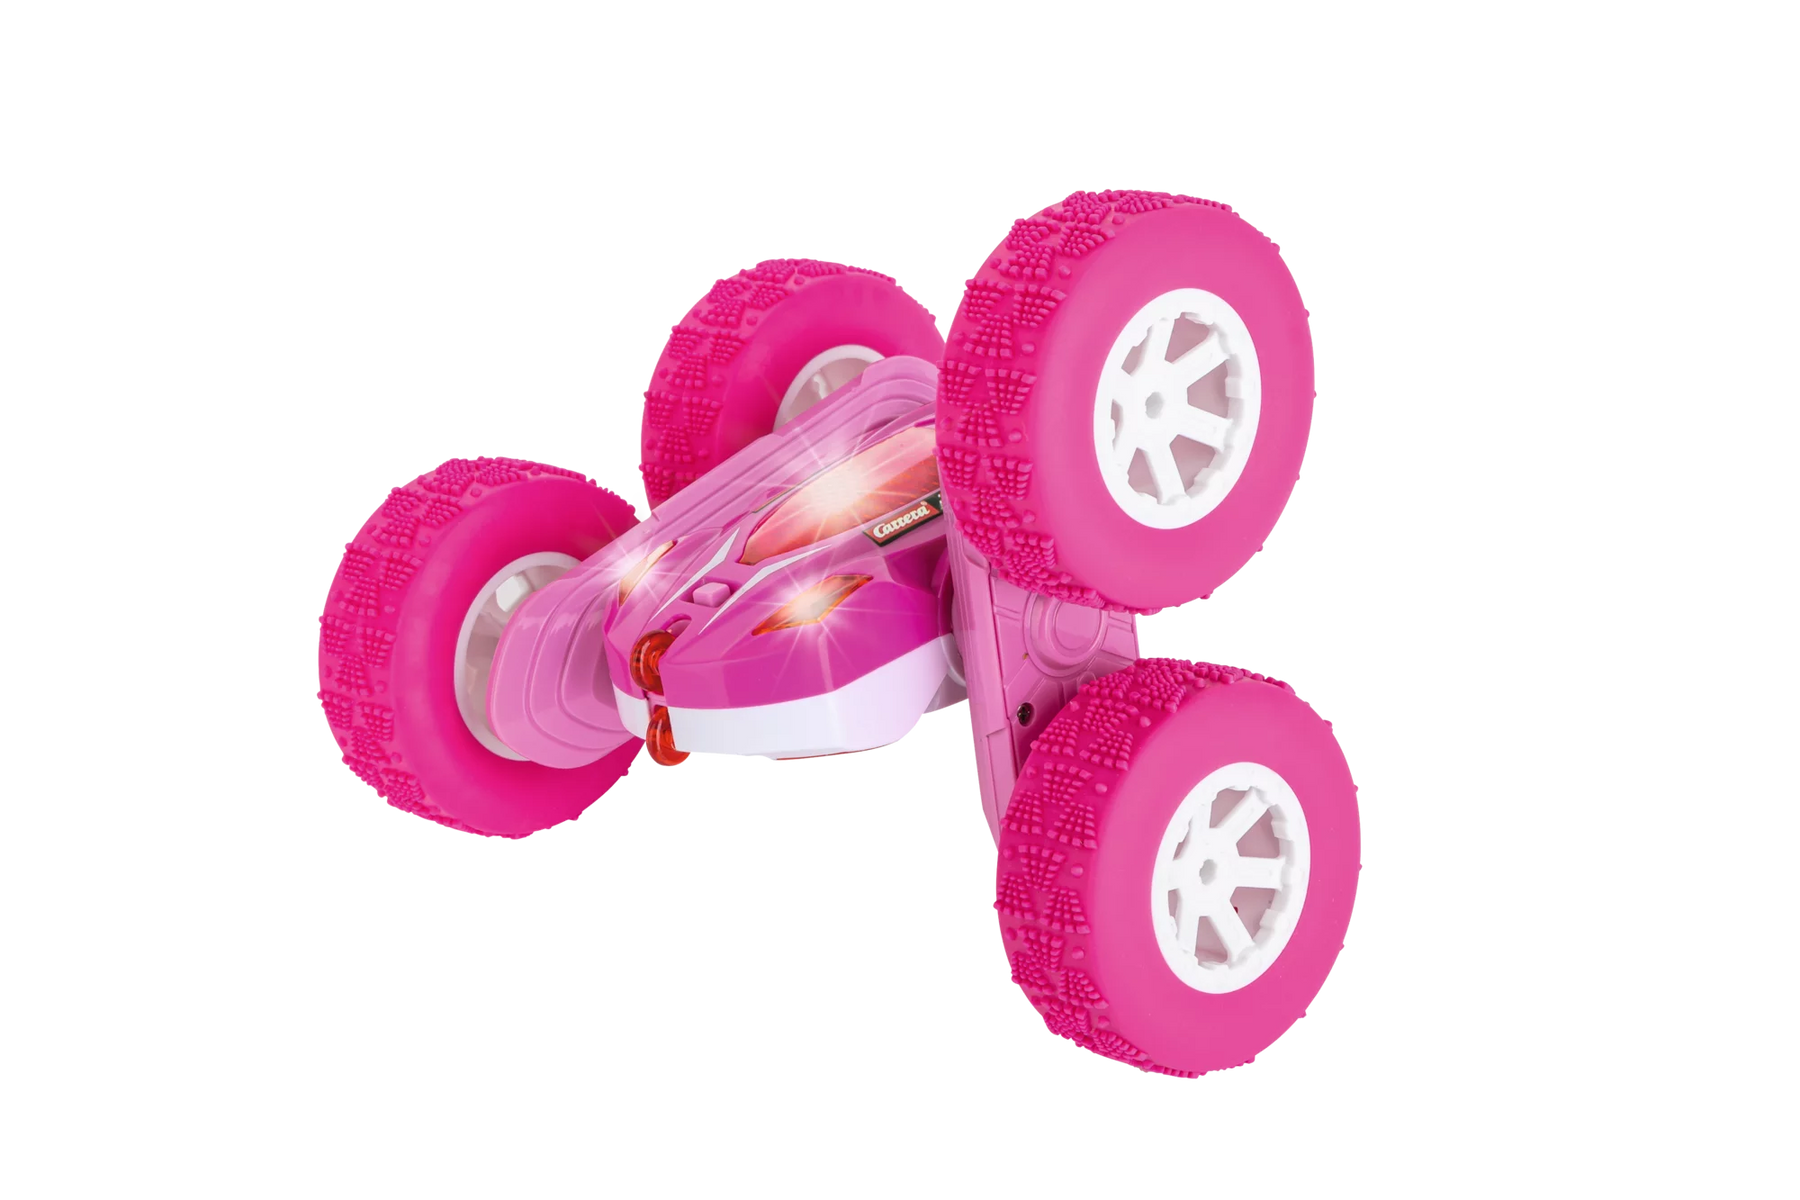
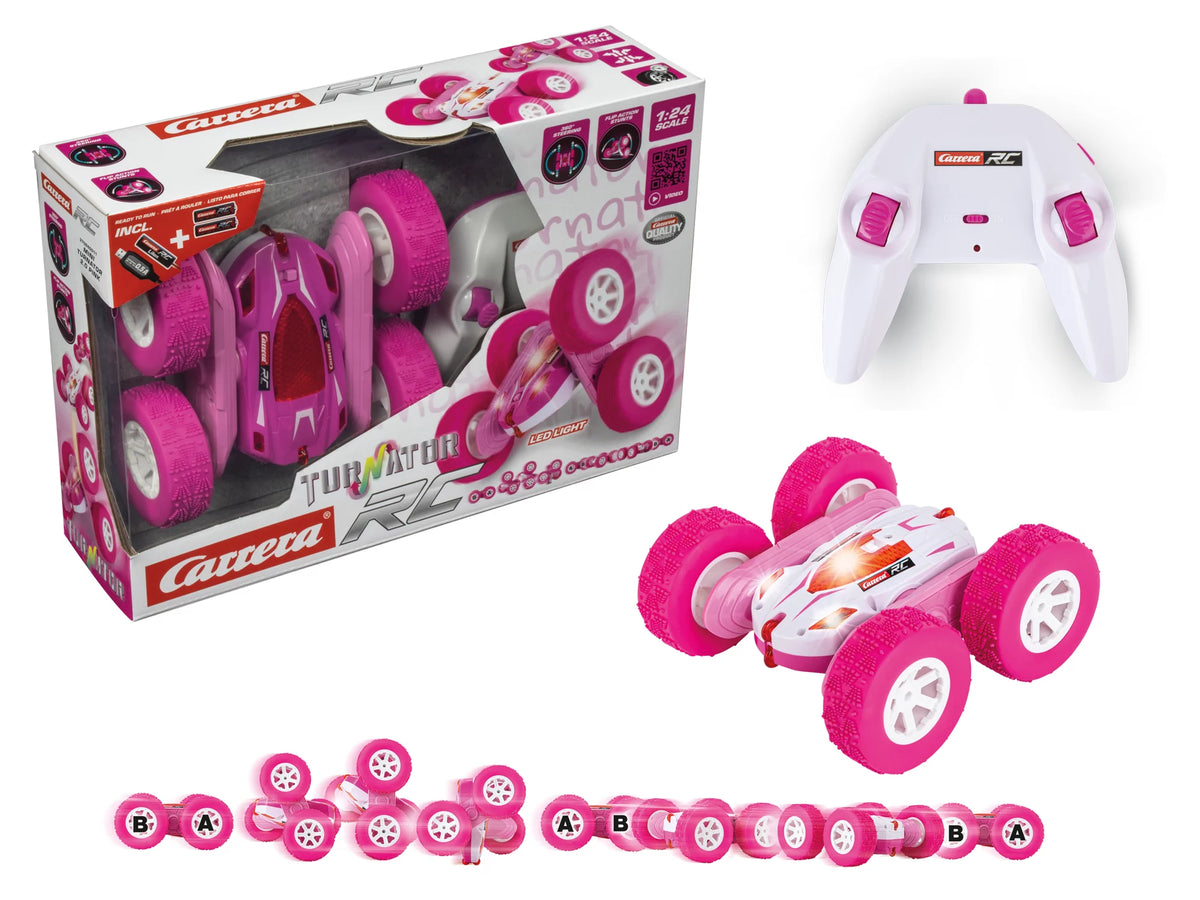
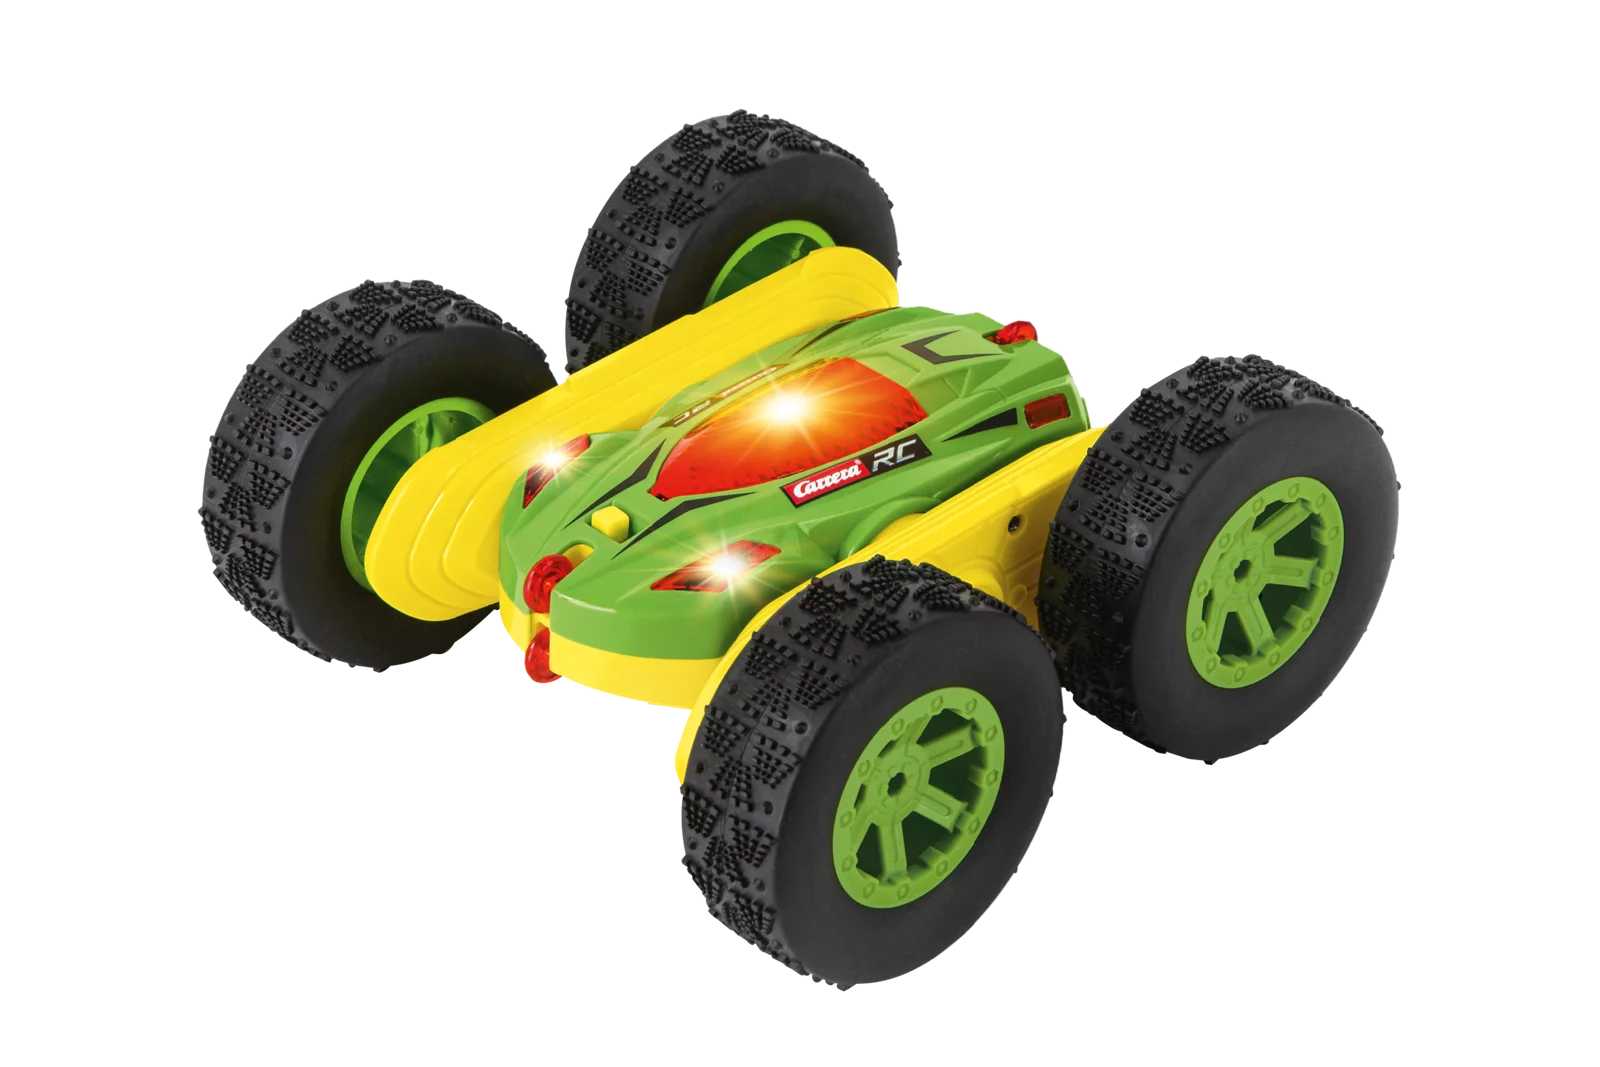
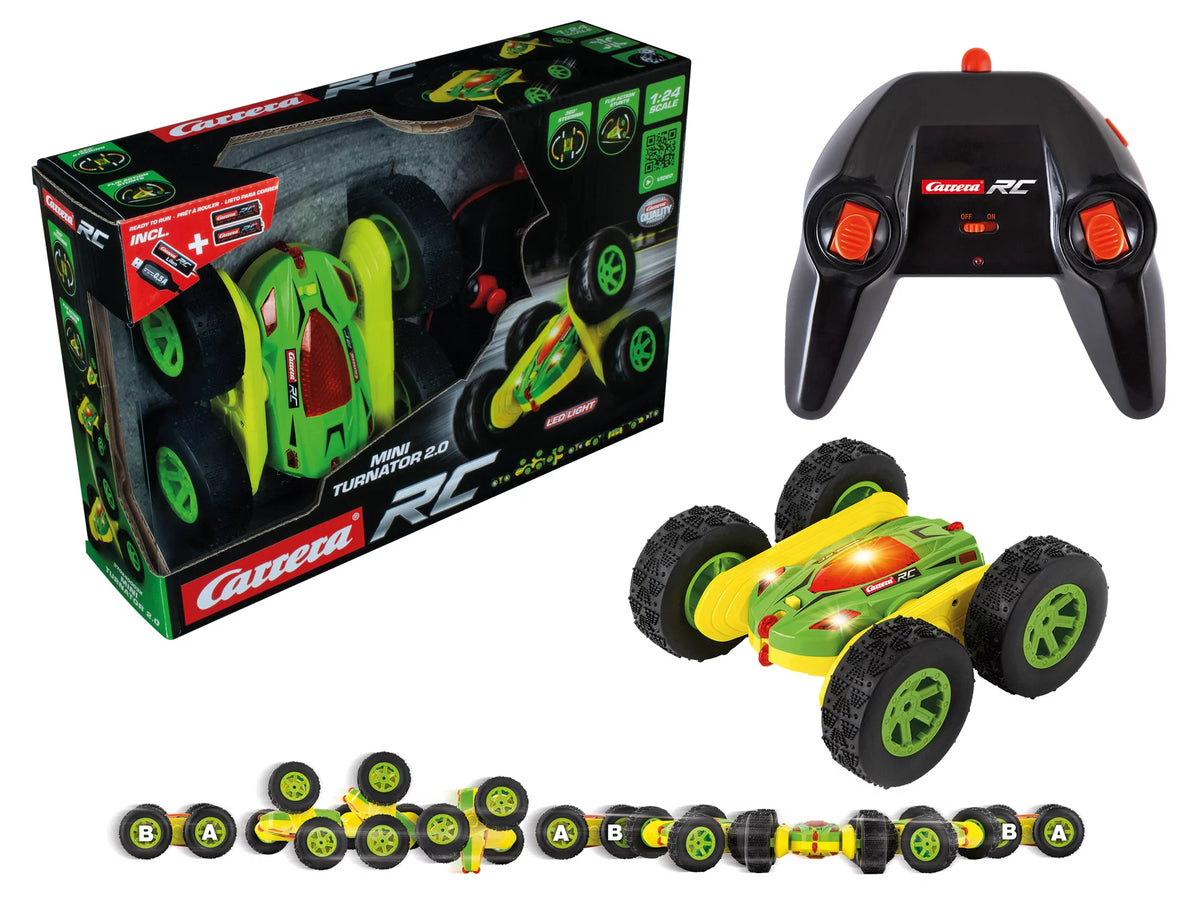
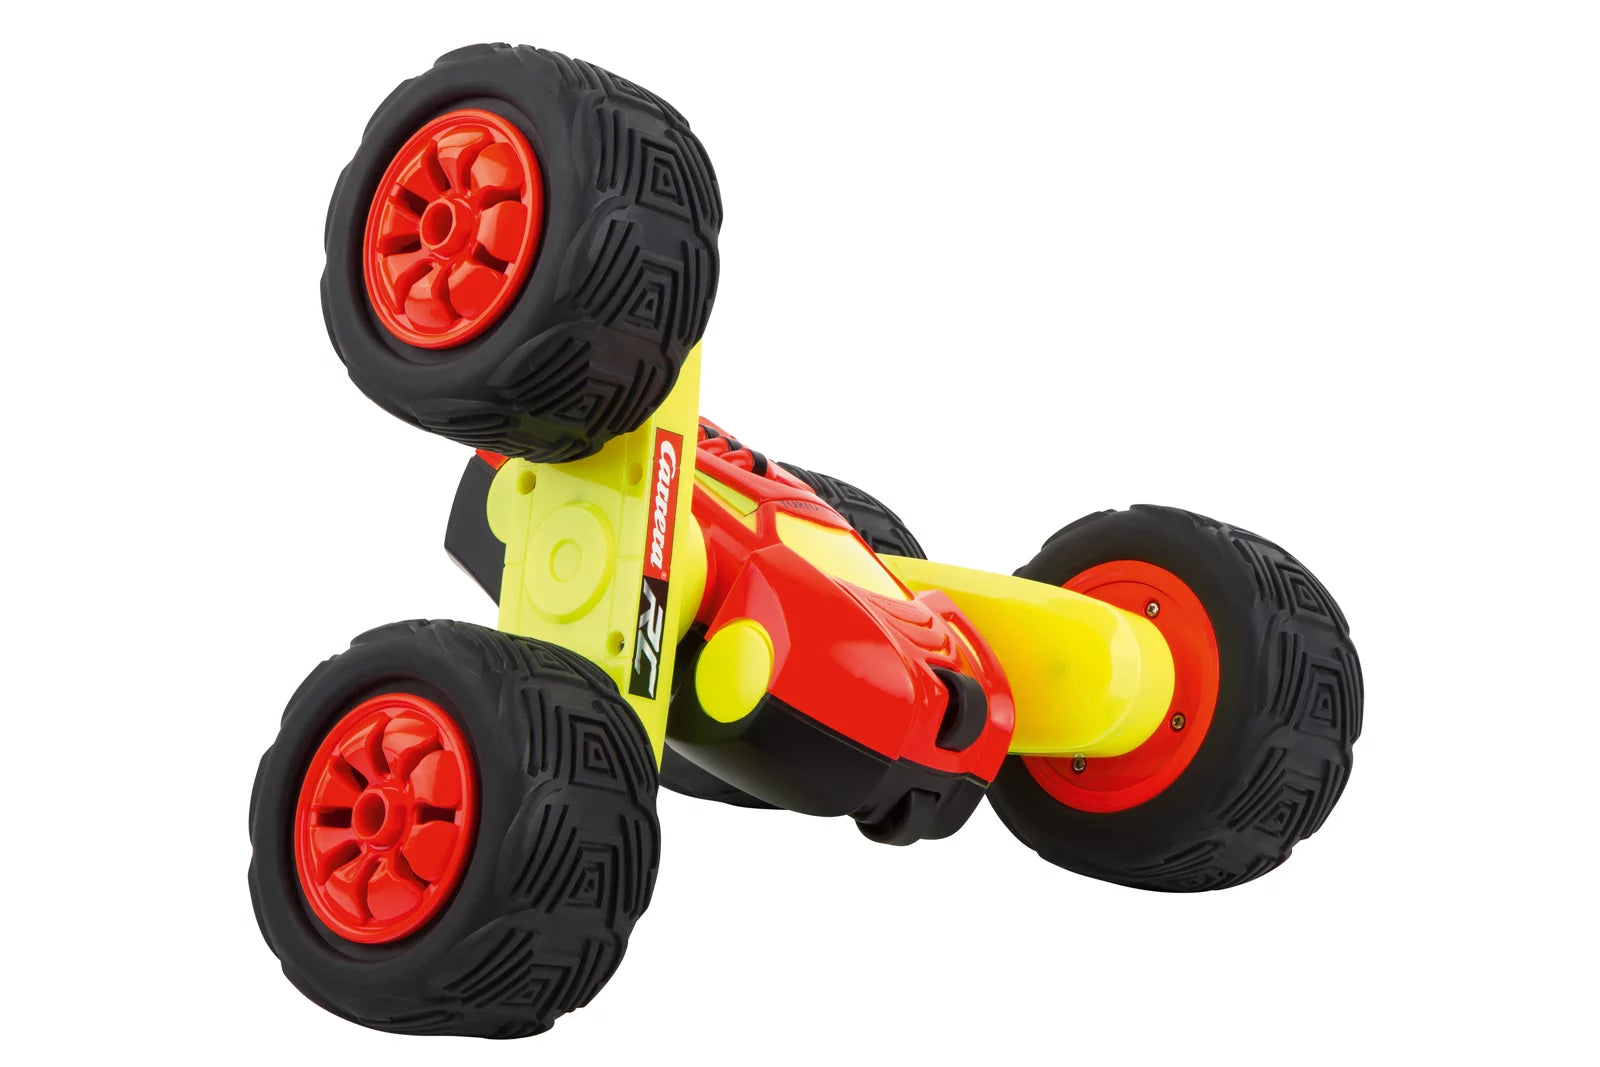
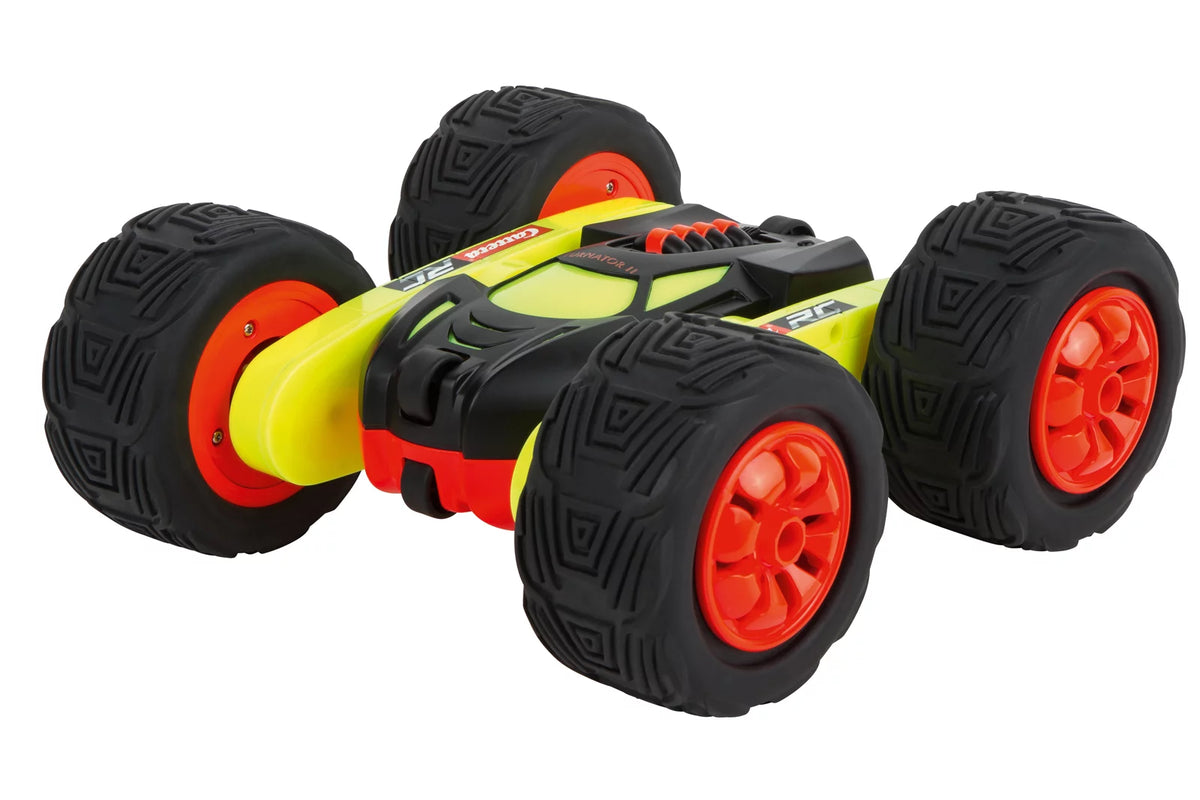
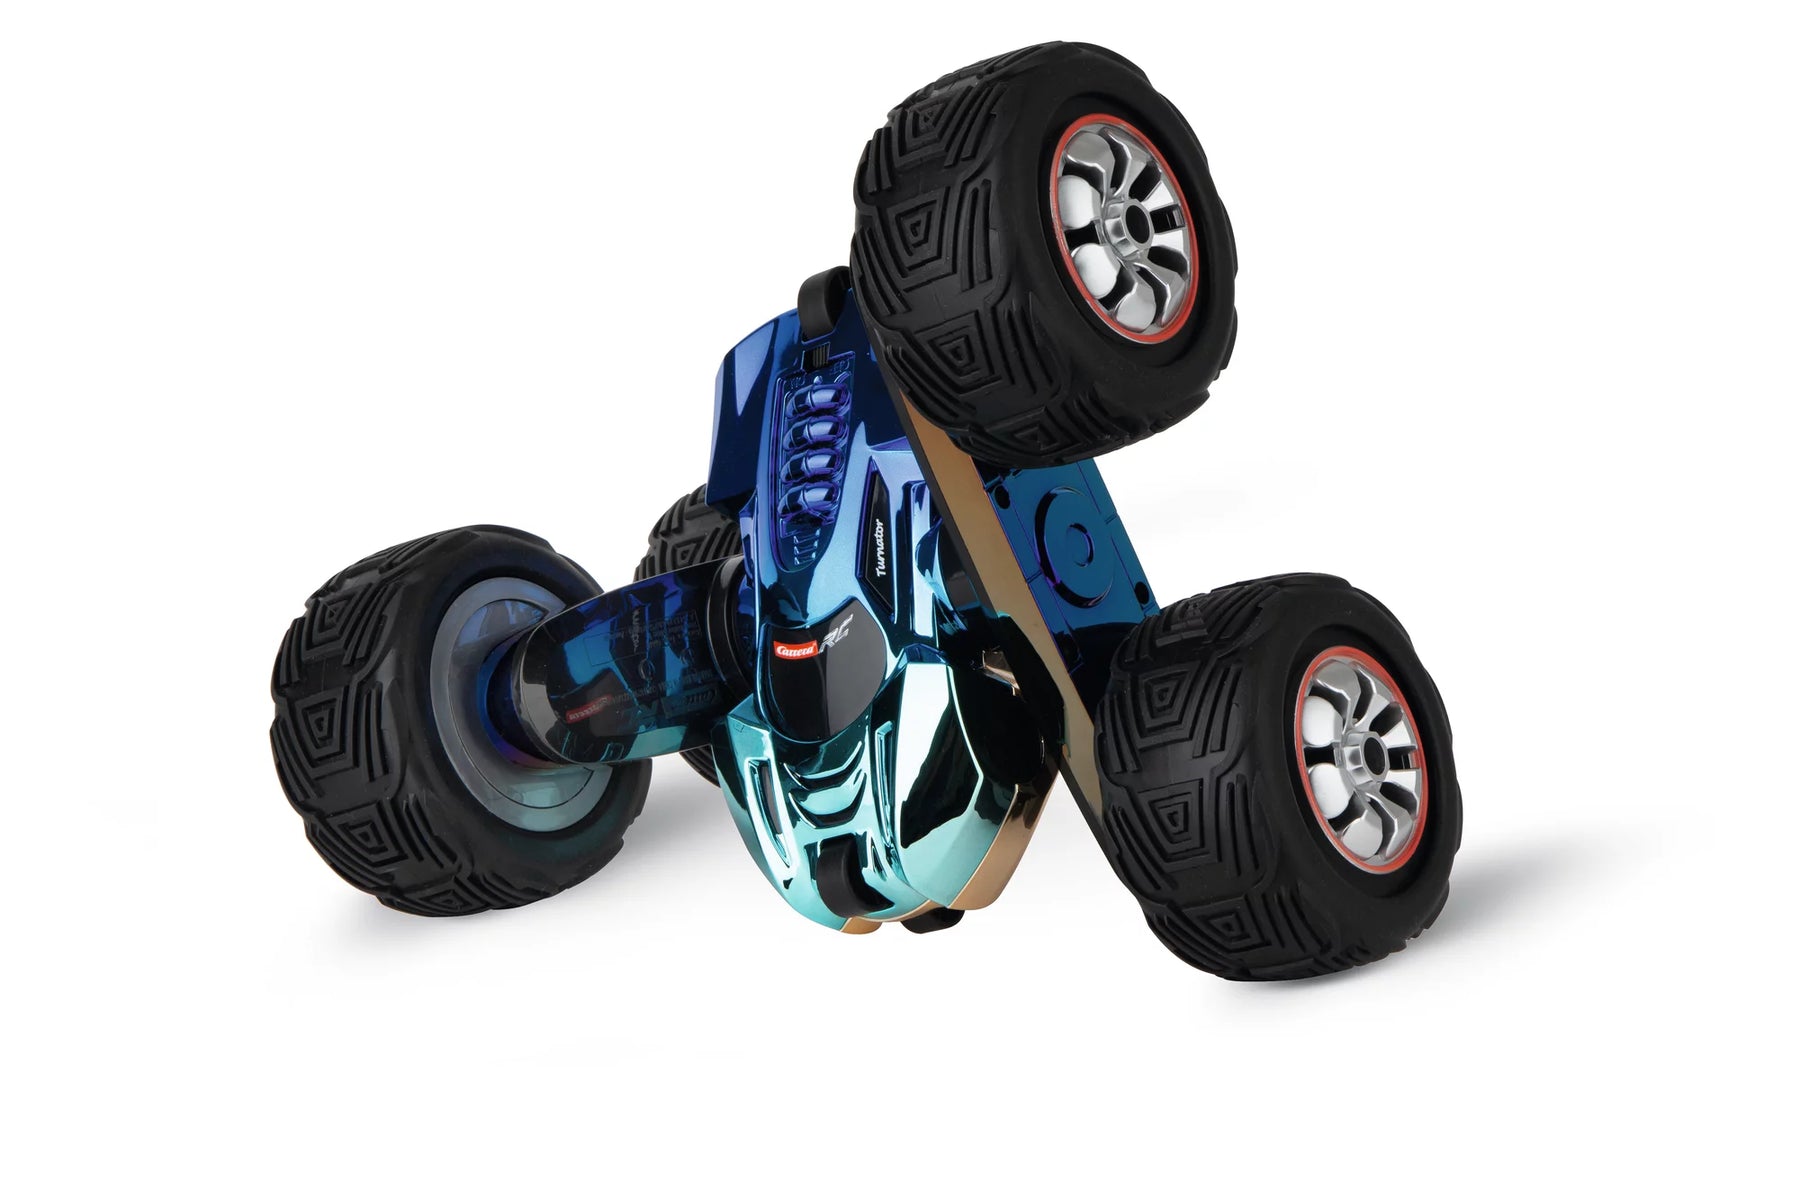
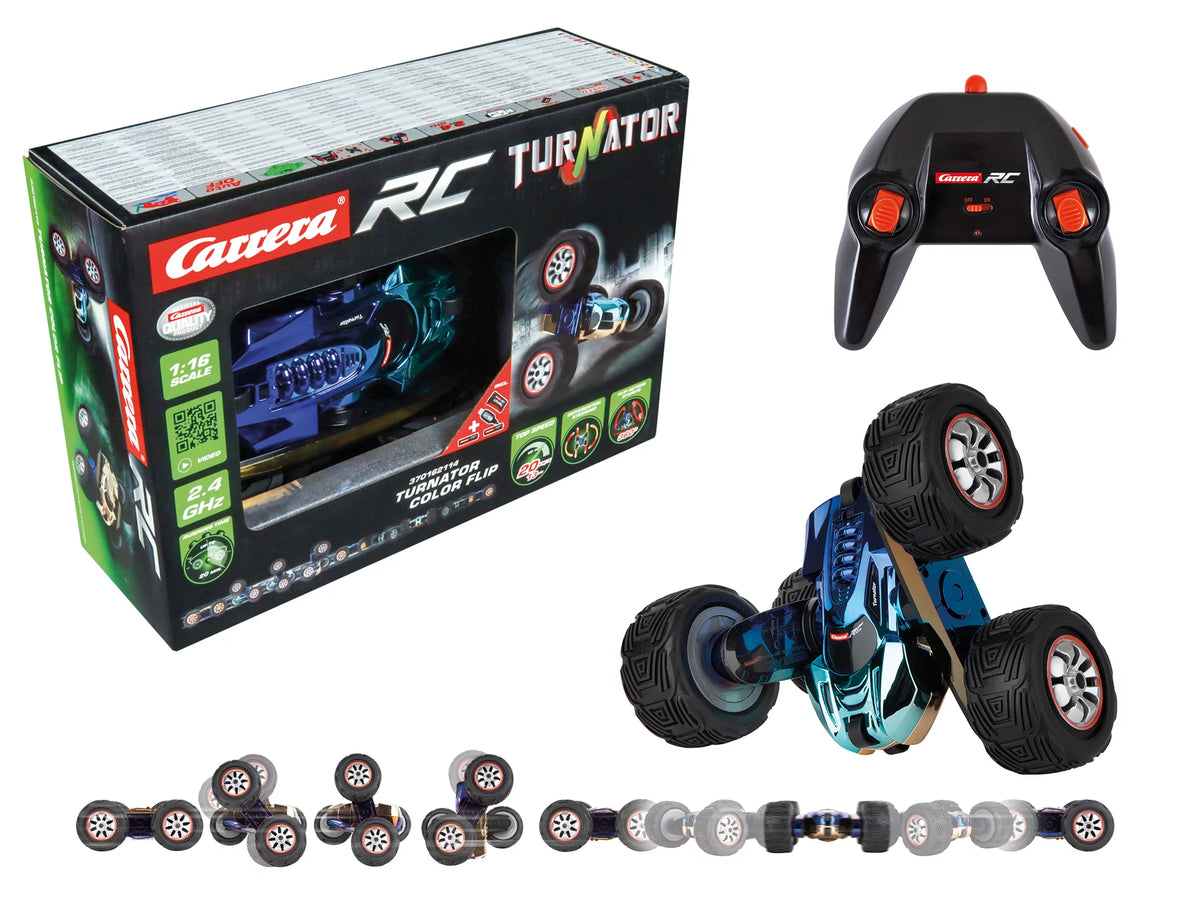
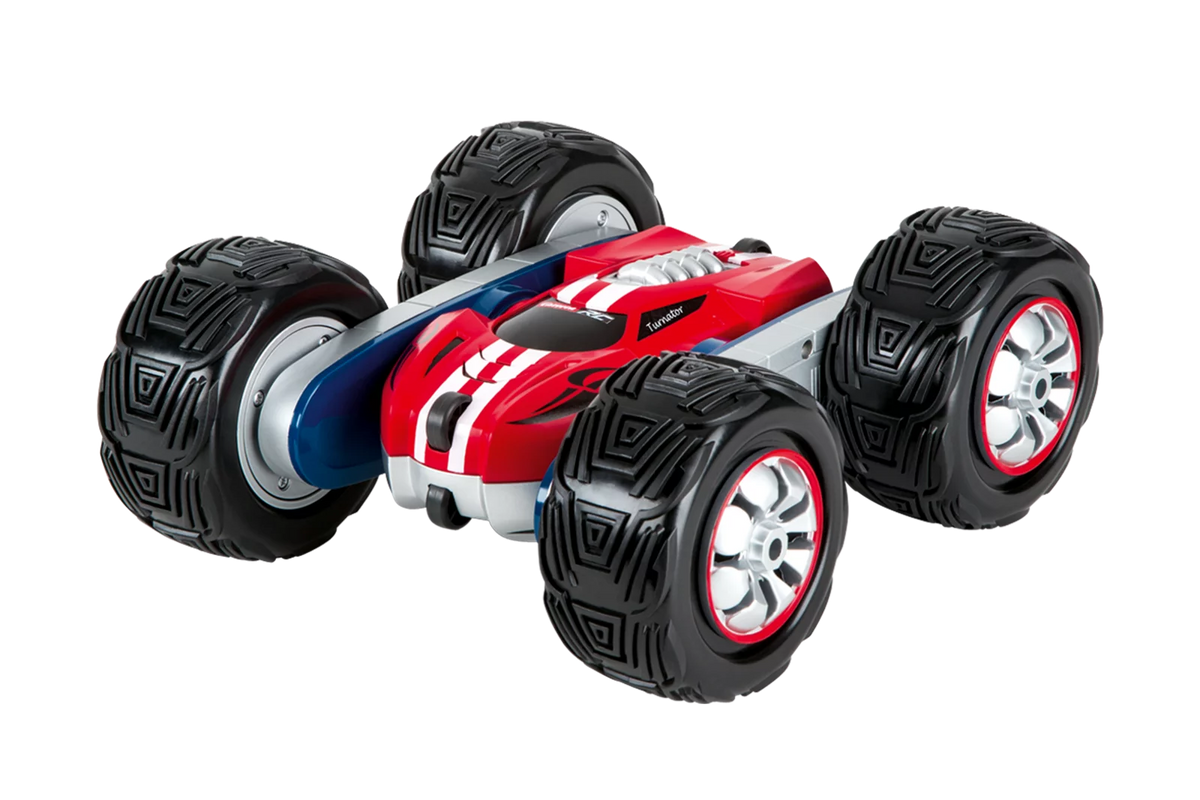
Carrera Turnator: Remote-controlled stunt RC car for maximum action

When physics meets pure riding fun - experience acrobatics in perfection

When physics meets pure riding fun - experience acrobatics in perfection

Thought you'd seen it all? The Carrera Turnator will change your idea of RC action forever! These ingenious masterpieces are far more than just remote-controlled cars - they are true acrobatic machines that playfully defy the laws of gravity.

The secret lies in the revolutionary design: the huge, opposing wheels turn the Turnator into a true stunt artist. At full speed, it effortlessly turns in circles on the spot, leaving every spectator in awe. But that's just the beginning of the spectacular experience that awaits you!

The real magic unfolds thanks to the 360° rotating axles. This technical innovation enables the Turnator to perform spectacular rollovers at the touch of a button, which will make even experienced RC pilots go into raptures. And you'll never lose your bearings, because each Turnator model has two different body designs. This clever solution shows you at a glance which side your flipover is currently on - perfect control with maximum action!

With one battery charge, you can enjoy up to 20 minutes of uninterrupted riding fun. Enough time to impress your friends, develop new stunt combinations and make the impossible possible. When the battery is empty, simply recharge it and dive back into the fascinating world of Turnator acrobatics.

The "Ready to Run" concept makes getting started child's play: unpack, switch on and get going straight away! No complicated assembly instructions, no hours of setting up - from the very first second you can experience pure action and spectacular stunts with your personal favorite Turnator.

Welcome to a new dimension of RC sport, where every moment becomes an unforgettable experience!

Zubehör und Ersatzteile für dein Stunt RC Auto

Zubehör und Ersatzteile für dein Stunt RC Auto

Damit dein Turnator langfristig einsatzbereit bleibt, findest du passendes Zubehör sowie Ersatzteile im Bereich Zubehör & Ersatzteile. So kannst du dein Setup ergänzen und bist für jede Action-Session bestens vorbereitet – egal ob drinnen oder draußen.

360° Steuerung und Kontrolle: Tricks präzise ausführen

360° Steuerung und Kontrolle: Tricks präzise ausführen


Ein Stunt-Fahrzeug macht nur Spaß, wenn es sich kontrolliert fahren lässt. Genau hier punktet der Carrera Turnator: Er ist auf schnelle Manöver ausgelegt und lässt dich 360° Drehungen sowie Überschläge gezielt einsetzen. Dadurch kannst du Stunts nicht nur zufällig auslösen, sondern bewusst kombinieren – perfekt, um deine Skills Schritt für Schritt zu verbessern. Wenn du später noch mehr Performance suchst, lohnt sich ein Blick auf Carrera Expert RC & Carrera Profi RC.

NOT YET DECIDED?

Fast, faster, Carrera. Start searching for the right remote-controlled vehicle now!

Frequently asked questions

Didn't find the answer you were looking for in the FAQ, or would you like to learn more about our RC products? Our customer service team is here to help—quickly, professionally, and personally. Whether you have questions about technical details, need replacement parts, or want tips on how to use our products, we're here for you.

Support around the clock

Telephone

Monday to Thursday 09:00 to 15:00, Friday 09:00 to 12:00
RC General Vehicles Boats Aircraft

RC General

Both controllers and replacement parts for controllers (antennas, joysticks, joystick extensions, and battery compartment covers) are available in ouronline store.

Please note that antennas are not included with the controllers. They can be purchased in theonline store.

No, please use only the original Carrera RC Li-ion batteries. This is the only way to ensure proper operation. You can find all batteries and compatible chargers in our online shop.

For 2.4 GHz D/P models,
please follow these startup steps:
1) Turn on the transmitter
. 2) Then turn on the model
. When turning off the equipment after driving or flying, please follow the reverse order.


For 27 MHz models
, please check whether the transmitter antenna is faulty or has not been fully extended. If there is another RC model nearby, make sure it is not using the same frequency. If so, please change the frequency.

Vehicles

Check that the antenna on the controller is screwed in as far as it will go. Then pull the antenna all the way out. For the antenna on the vehicle, use the transparent antenna tube included in the package (depending on the model).

Open the vehicle chassis and clean the axles of dust and hair. Also apply a drop of oil (resin- and acid-free grease) to the axles.

Carrera If, while operating the Carrera2.4 GHz DIGITAL-PROPORTIONAL RC car, you notice Carrerathat the car is moving forward or backward on its own, you can stop it as follows:
1) Turn the car over so that the wheels are in the air.
2) First,
turn the car on using the ON/OFF switch. The LED on the top of the vehicle will flash rhythmically. Turn on the controller. The LED on the controller will flash rhythmically. After a few seconds, the LEDs on the vehicle and the controller will remain lit. Pairing is now complete.
3) Press the button on the upper right side of the controller for about two seconds. Calibration mode is active as soon as the controller LED flashes. (See image)
4) Forward or reverse movement can be stopped using the left joystick.
5) To complete the calibration process, press the button on the upper right side of the controller again for about two seconds—the LED will now remain lit.

Follow these steps if your 2.4 GHz DIGITAL-PROPORTIONAL model pulls to the right or left:
1) Turn the vehicle over so that the wheels are in the air.
2) First,
turn the vehicle on using the ON/OFF switch. The LED on the top of the vehicle will flash rhythmically. Then turn on the controller. The LED on the controller will flash rhythmically. After a few seconds, the LEDs on the vehicle and the controller will remain lit. Pairing is complete.
3) Press the button on the upper right side of the controller for about 2 seconds. Calibration mode is active as soon as the controller LED flashes. (See image)
4) Straight-line stability can be adjusted using the right joystick.
5) To finish the calibration process, press the button on the upper right side of the controller again for about two seconds—the LED will then remain lit.

Yes, it is recommended Carrera that you clean the CarreraRC car after driving it to ensure it runs smoothly. Please make sure not to use any harsh solvents.

For 2.4 GHz Digital Proportional Models:
: Carrera The RC vehicle and the controller are factory-paired. If you Carrera experience communication issues between the Carrera RC vehicle and the controller at the start Carrera , please perform a new pairing. Press and Carrerahold the pairing button on the underside of the chassis Carrerafor at least 3 seconds to Carrerare-pair the CarreraRC vehicle and the controller. Please note that both the controller and the Carrera RC vehicle must be turned on using the ON/OFF switch.
For 27 MHz models :
: Make sure that no one else in your driving area is using the same frequency. To avoid this and ensure that the CarreraRC vehicle can be controlled by the controller, make sure that the same frequency (A/B/C) is set on both the vehicle and the controller.The vehicle's frequency switch is located in the battery compartment, while the frequency switch on the controller is located on the top of the controller. Using different channels allows you to drive 3 vehicles at the same time.
The controller antenna should be fully extended. Then turn Carrera on the Carrera RC vehicle using the ON/OFF switch. The CarreraRC vehicle has two speeds: You can also switch to training or indoor mode using the ON/OFF switch.
For 2.4 GHz Servo Tronic models:
: First turn on the vehicle; the LED on the top of the vehicle will then flash rhythmically. You can then turn on the controller. Here, too, the LED will flash rhythmically for a few seconds. Once the vehicle and the controller are paired, the status LEDs on the vehicle and controller will remain lit.
Adjusting the steering: If Carrera, while operating the CarreraRC car, you notice Carrerathat the car is pulling to the right or left, you can correct the steering using the adjustment switch located on the underside of the car.

Follow these steps to Carreraproperly pair your Red Fibre® CarreraProfi® vehicle Carrera(370183002/370183001) with the controller:
1) First
, turn on the vehicle
. 2) Then turn on the controller. When the LEDs on the vehicle and the controller are lit steadily, the pairing process is complete.

You can find all replacement parts and accessories for the various Profi RC models in our online store by entering your model’s part number or name in the search field. All compatible replacement parts are displayed on the vehicle’s product detail page.

The exploded view makes it quick and easy to identify individual parts; please note that the exploded view is available exclusively for Profi models.

To Carrera start up your Carreraprofessional RC car, first turn it on using the ON/OFF switch. The LED on the car will flash rhythmically. Then turn on the controller. After a few seconds, the LEDs on the car and the controller will remain lit. Pairing is complete.
The ON/OFF switch is located on the left side of the car, right next to the battery compartment.

There is a sticker on the back of the controller and on the vehicle near the drive axle that indicates the correct frequency.

Boats

Let the water drain off and dry your boat thoroughly after use. Use regular tap water to clean your boat. The contacts of the water sensors should be treated regularly with vinegar cleaner to prevent corrosion. Make sure the vinegar cleaner does not come into contact with the propeller and rudder. This could cause permanent damage.

How to drain your boat properly:

Falshöft Coast Guard Boat (301001/301005)

Please open the two drain plugs at the bow and stern after every trip and drain any accumulated condensation if necessary. Please make sure to reinsert the drain plugs into their designated openings before each trip.

Ferrari Boat Arno XI (300005)

There is a drain plug at the stern. Open this after each trip to drain the condensation. Please make sure to reinsert the drain plug into the designated opening before every trip.

Power Wave (300001)

You will find the drain button on the underside of the boat, between the propeller and the sensor. Press it in with a blunt object until the condensation has drained from the boat. Since the drain button is spring-loaded, it will automatically return to its original position as soon as you stop pressing it.

Please note that, for safety reasons, the connection can only be made in the water. When starting up, turn on the controller first, then the boat. After the trip, follow the reverse order—turn off the boat first, then the controller.

Our boats are designed for use in fresh water with normal to moderate waves.
If your boat does come into contact with dirty or salty water, it must be thoroughly rinsed with plain tap water afterward.

If your boat or vehicle's battery has been connected properly and the charging process is proceeding normally, the red LED will remain lit. When the battery is fully charged, the red LED will turn green. The battery can then be removed and installed in the vehicle or boat.

Aircraft

If your micro quadcopter (502002) does not take off even though the battery is fully charged, please check that the 4 rotor blades are arranged correctly. The letters are stamped on the top of the rotor blades. It is important to position the A/D rotor blades and the B/C rotor blades correctly.

Before your first flight, please check whether model aircraft are subject to mandatory insurance in your country. For more information, contact the German Model Aircraft Association. You are not permitted to do the following with your model aircraft:

  • Fly near airports without permission (minimum distance 1.5 km)
  • Fly over crowds of people, military installations, hospitals, power plants, or correctional facilities—Please ensure that you maintain direct visual contact with the aircraft at all times.
  • Flying in windy or bad weather, or under the influence of drugs or alcohol, is prohibited.

Please follow these steps to properly pair the controller with your helicopter:
1. Turn on the helicopter.
2. Turn on the controller.
Exception: For the Sky Hunter (501001) and Red Eagle (501002),


follow these steps:
1. Turn
on the helicopter
.2. Press the right control stick on the controller, then turn it on.

Applies to the following helicopters:
Thunder Storm (501004)
, Helicopter (501007)
, Green Chopper (501003)
, Orange Sply (501005)
, Green Vecto (501008)
, Red Buzzer (500001)
, Micro Helicopter (502001)
Proper trim is essential for stable flight behavior of the helicopter. Adjusting the trim requires some patience and a feel for it.

Please note the following instructions:
Carefully move the throttle lever on the controller upward and let the helicopter climb to a height of approximately 0.3 to 0.8 meters.

If the helicopter is hovering in place and turning to the left or right without any movement of the tail (rotation) control stick, please proceed as follows: If the helicopter is turning on its own axis to the left, either quickly or slowly, gradually push the lower right tail (rotation) trimmer on the controller to the right. If the helicopter turns to the right, gradually push the tail trimmer (circular rotation) to the left.

If the helicopter flies forward or backward while hovering without any movement of the forward/backward stick, please proceed as follows: If the helicopter moves forward on its own, either quickly or slowly, gradually push the upper right forward/backward trim on the controller downward. If the helicopter moves backward, gradually push the forward/backward trim upward.

Applies to the following helicopters:
Sky Hunter (501001)
, Spider Fox (501006)
. Proper trim is essential for stable flight performance. Adjusting the trim requires some patience and a feel for the controls.

Please note the following instructions:
Carefully move the throttle lever on the controller upward and let the helicopter climb to a height of approximately 0.3 to 0.8 meters.

If the helicopter drifts to the left or right while hovering without any movement of the left/right roll stick, please proceed as follows: If the helicopter drifts sideways to the left on its own, either quickly or slowly, gradually push the lower right left/right roll trimmer on the controller to the right. If the helicopter moves to the right, push the right/left trim control gradually to the left.

If the helicopter spins in place to the left or right while hovering, without any movement of the tail (yaw) stick, please proceed as follows: If the helicopter spins on its own—either quickly or slowly—to the left around its own axis, gradually push the lower left tail (yaw) trimmer on the controller to the right. If the helicopter turns to the right, gradually push the tail (yaw) trimmer on the controller to the left.

If the helicopter moves forward or backward while hovering without any movement of the forward/backward stick, please proceed as follows: If the helicopter moves forward on its own, either quickly or slowly, gradually push the upper right forward/backward trim on the controller downward. If the helicopter moves backward, gradually push the forward/backward trim upward.

Sign up for the newsletter now<tamp>and get a €10.00 gift card!</tamp>