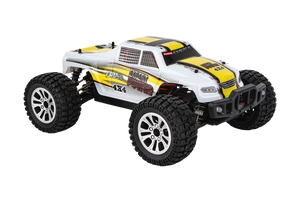

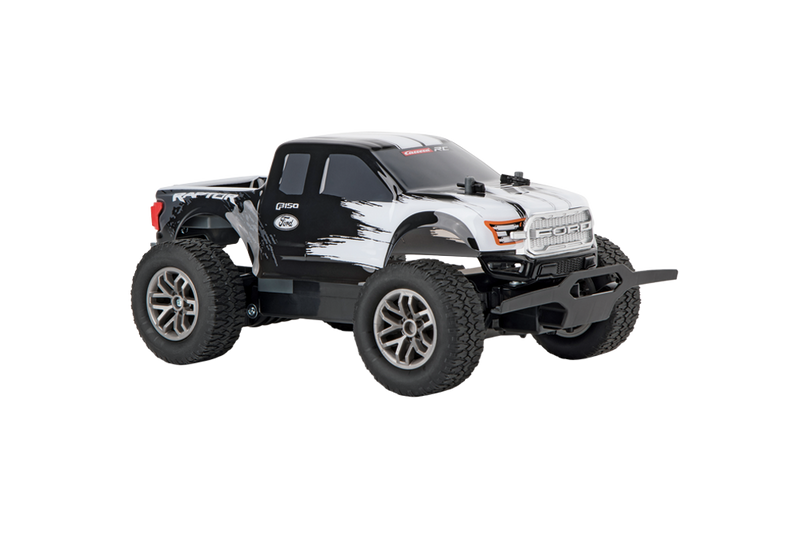
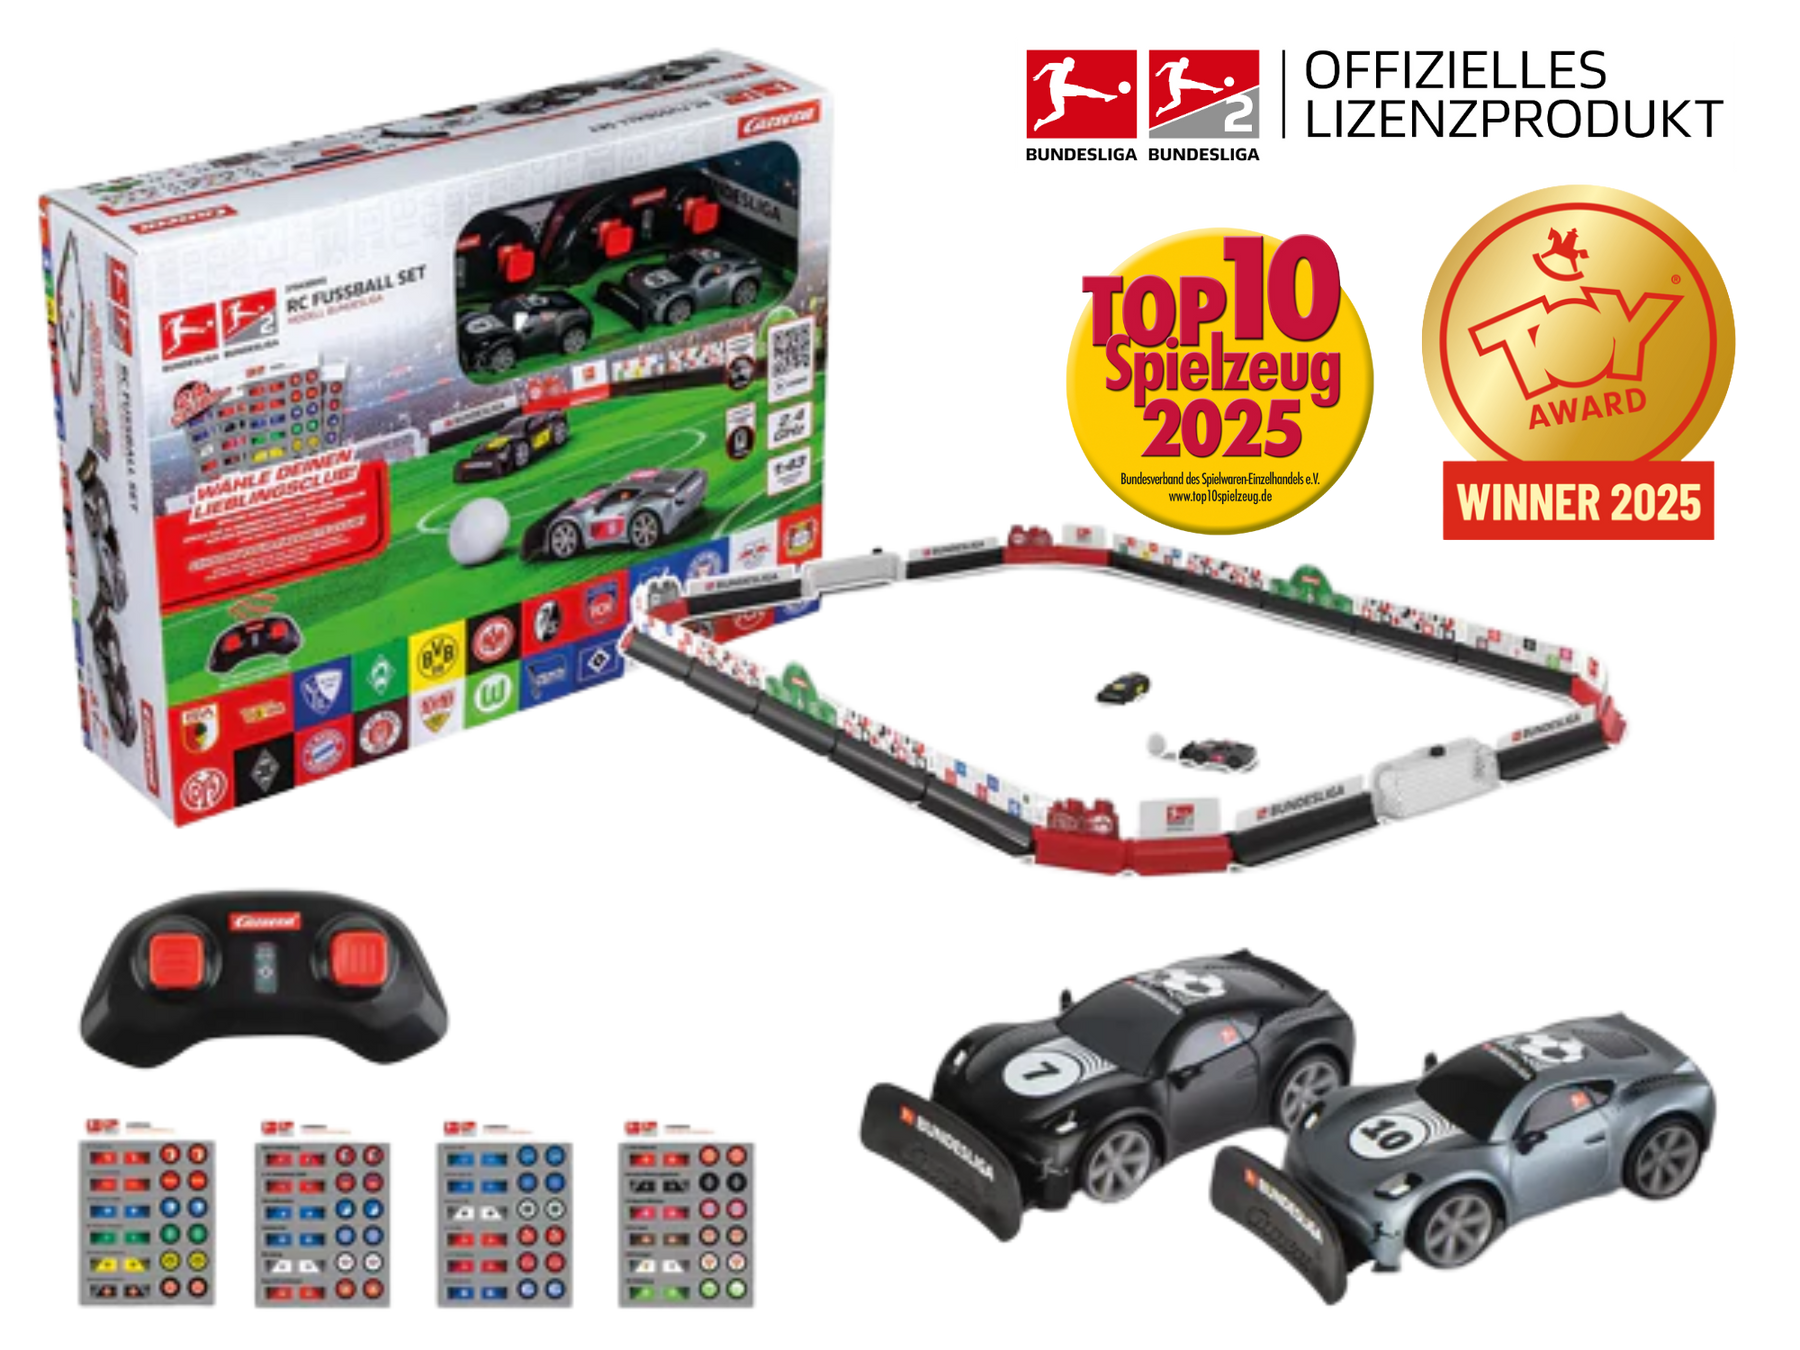
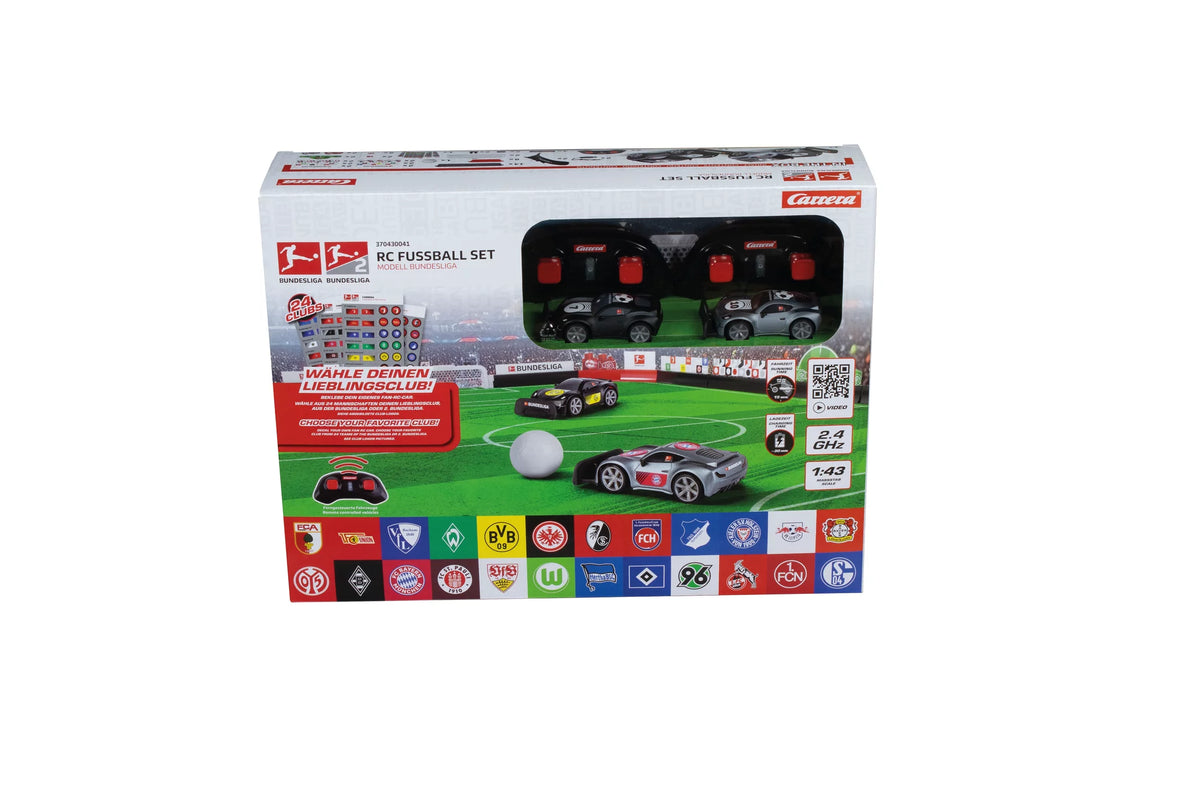
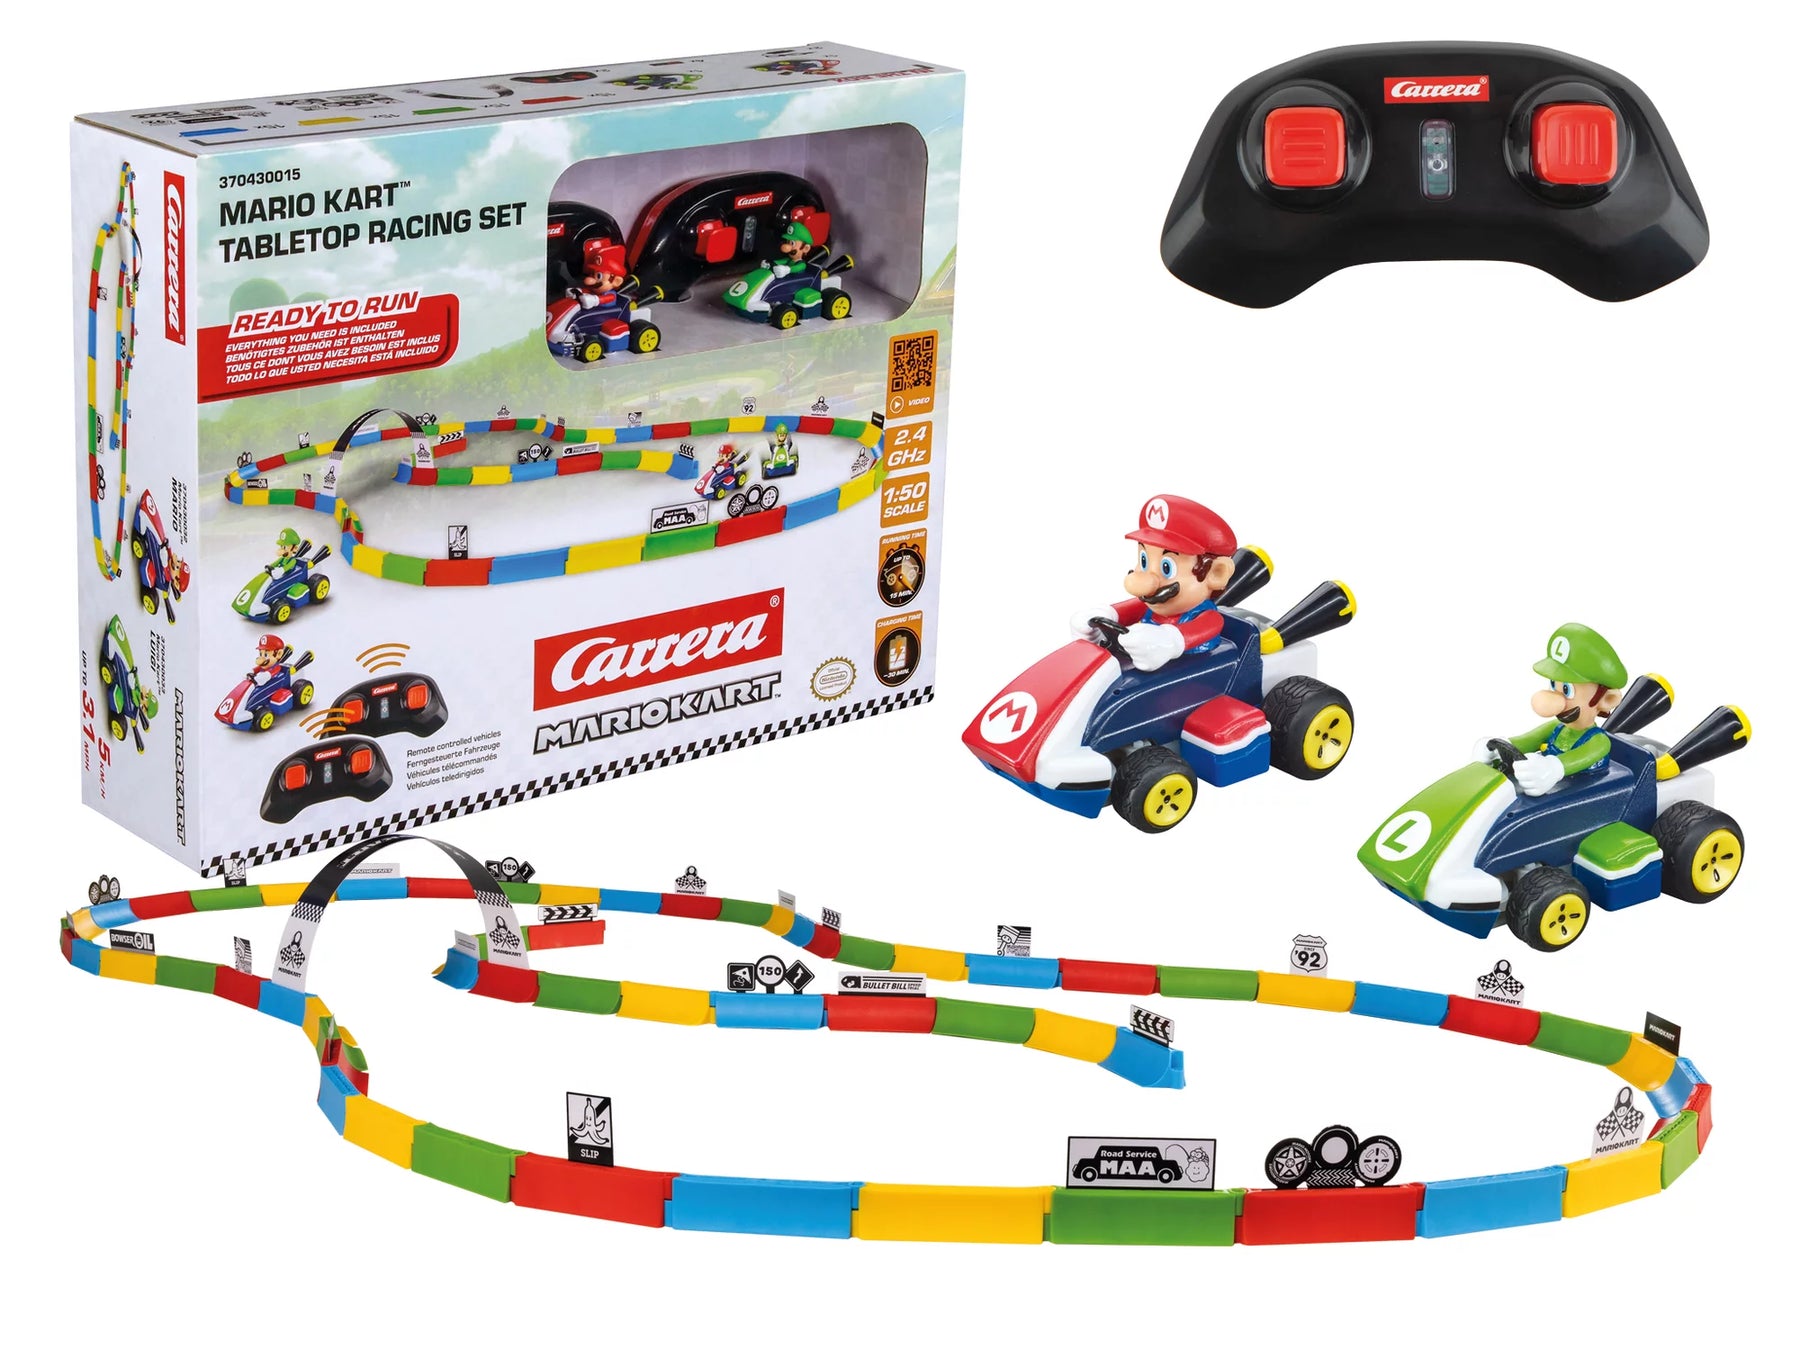
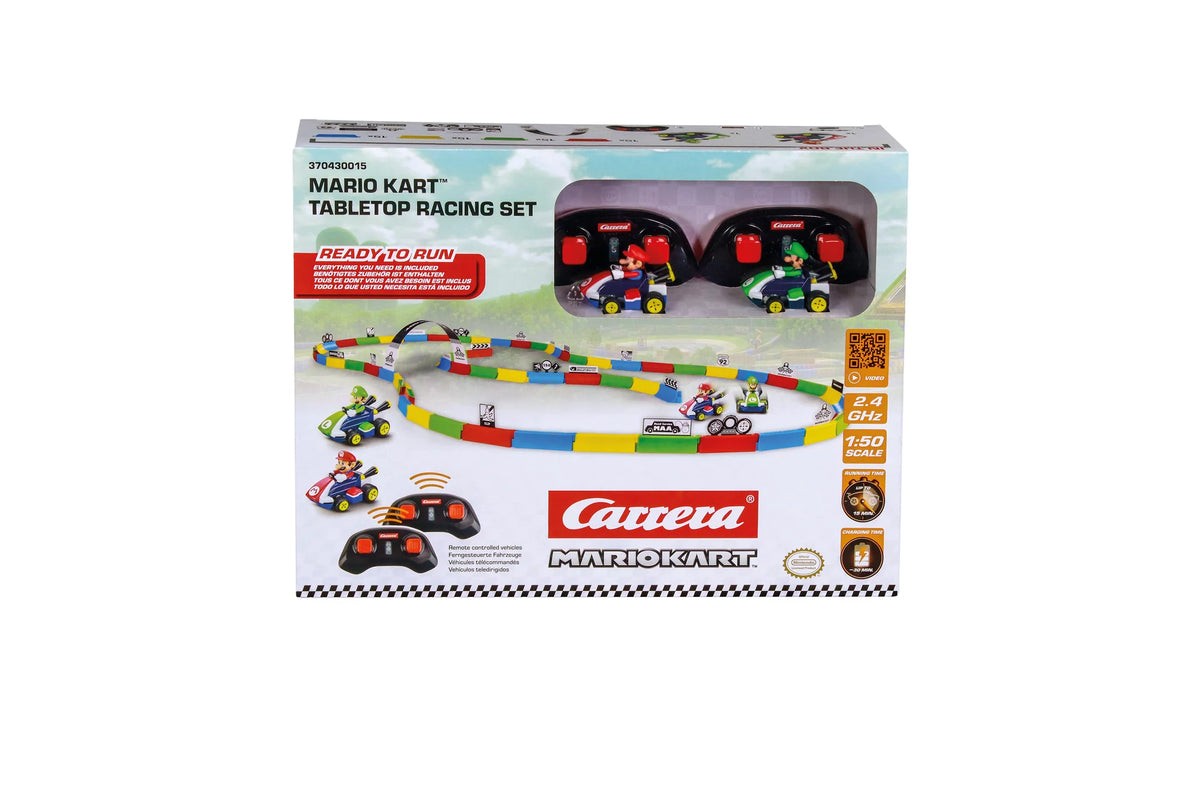
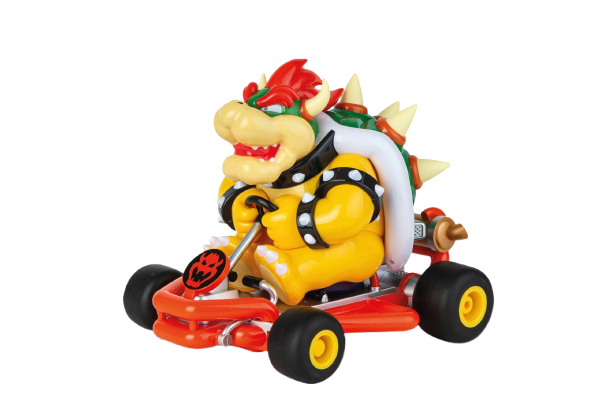
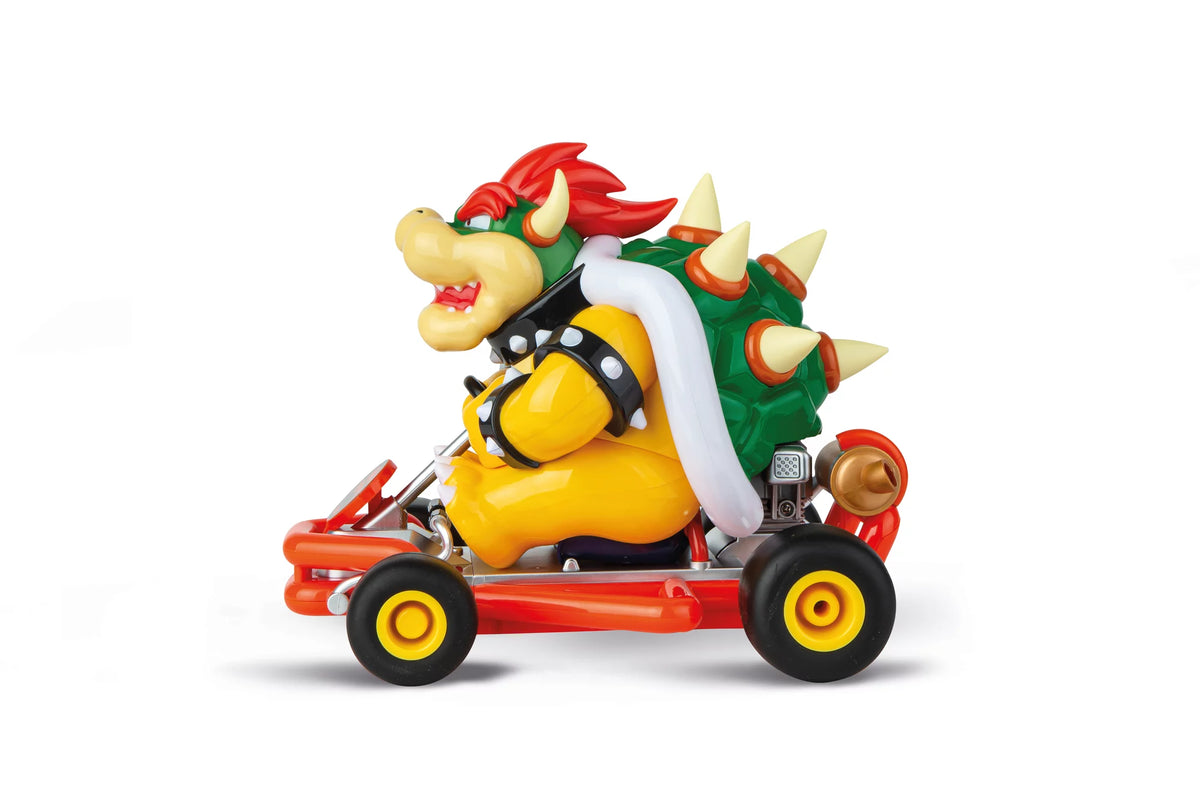


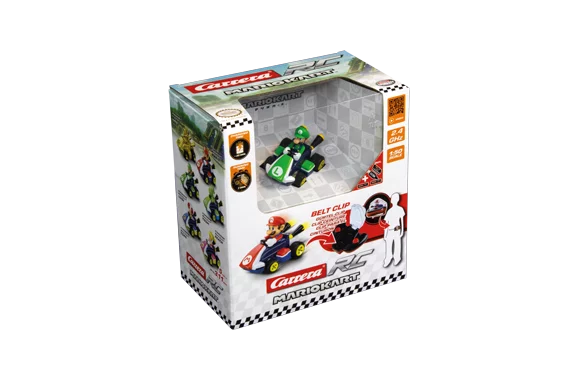
Carrera RD Vehicles for Every Driving Experience

For beginners, advanced users and real RC fans

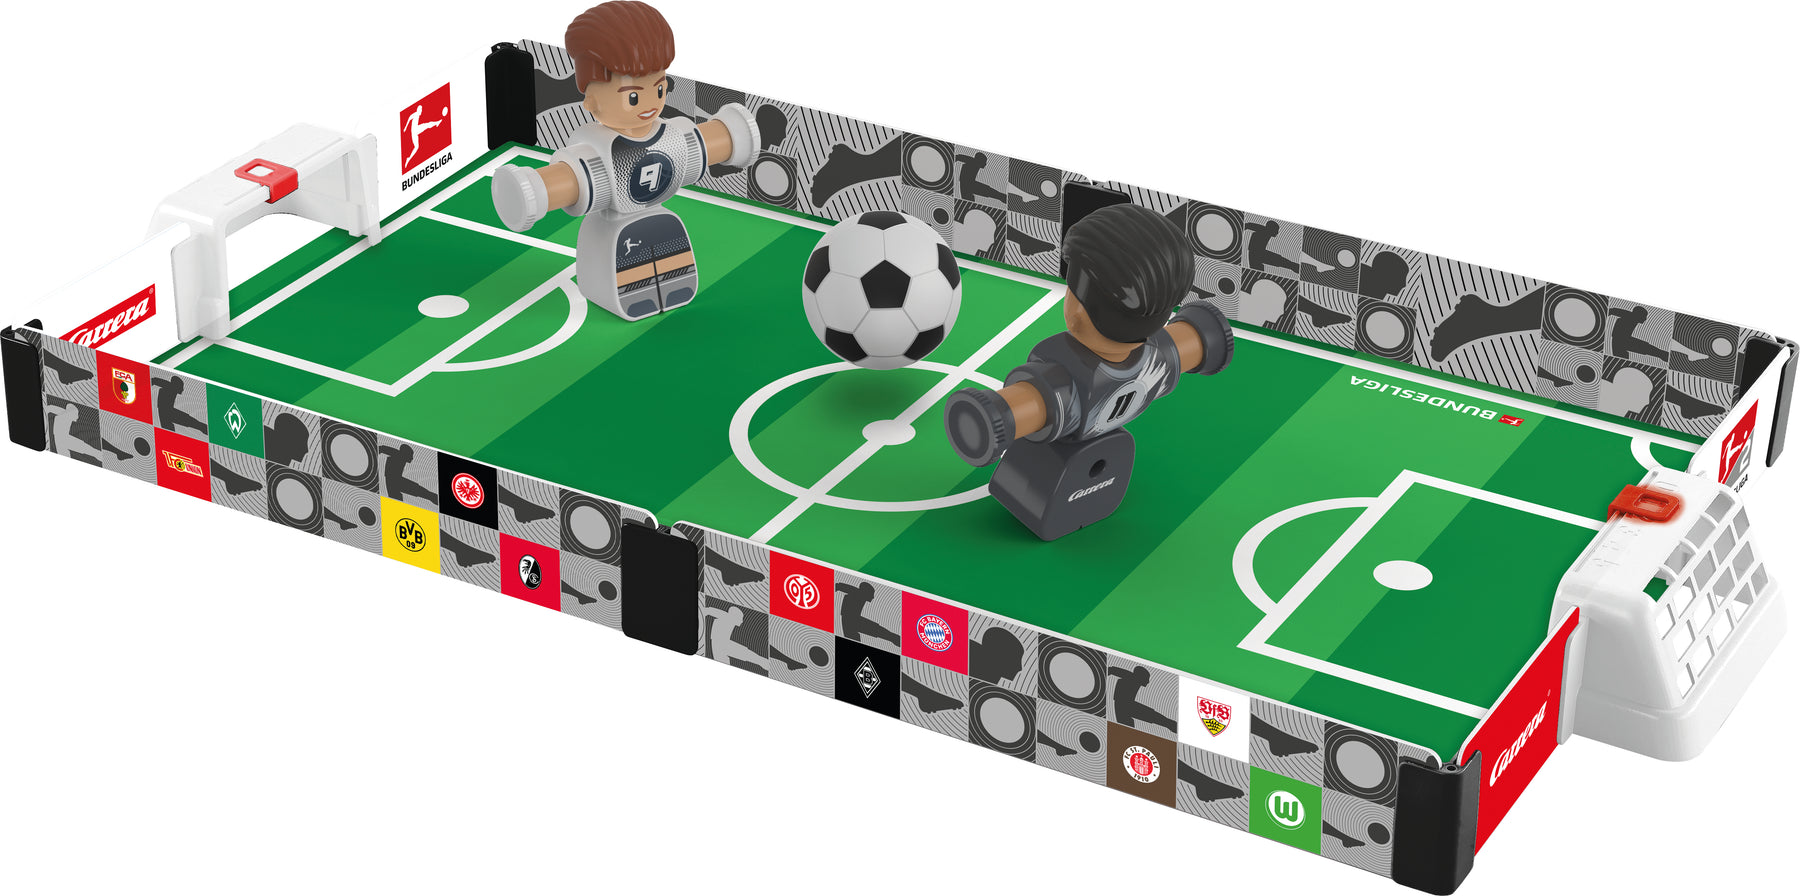
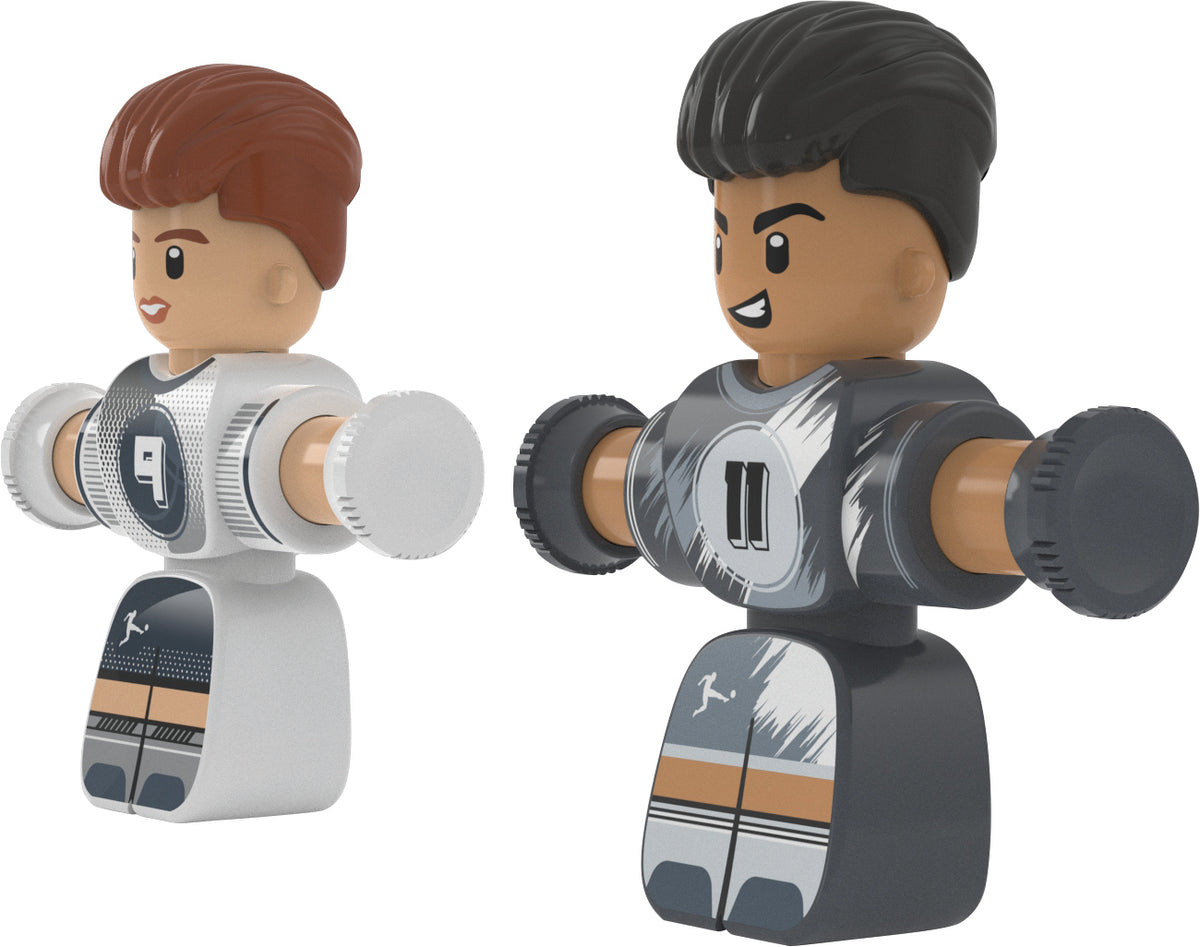
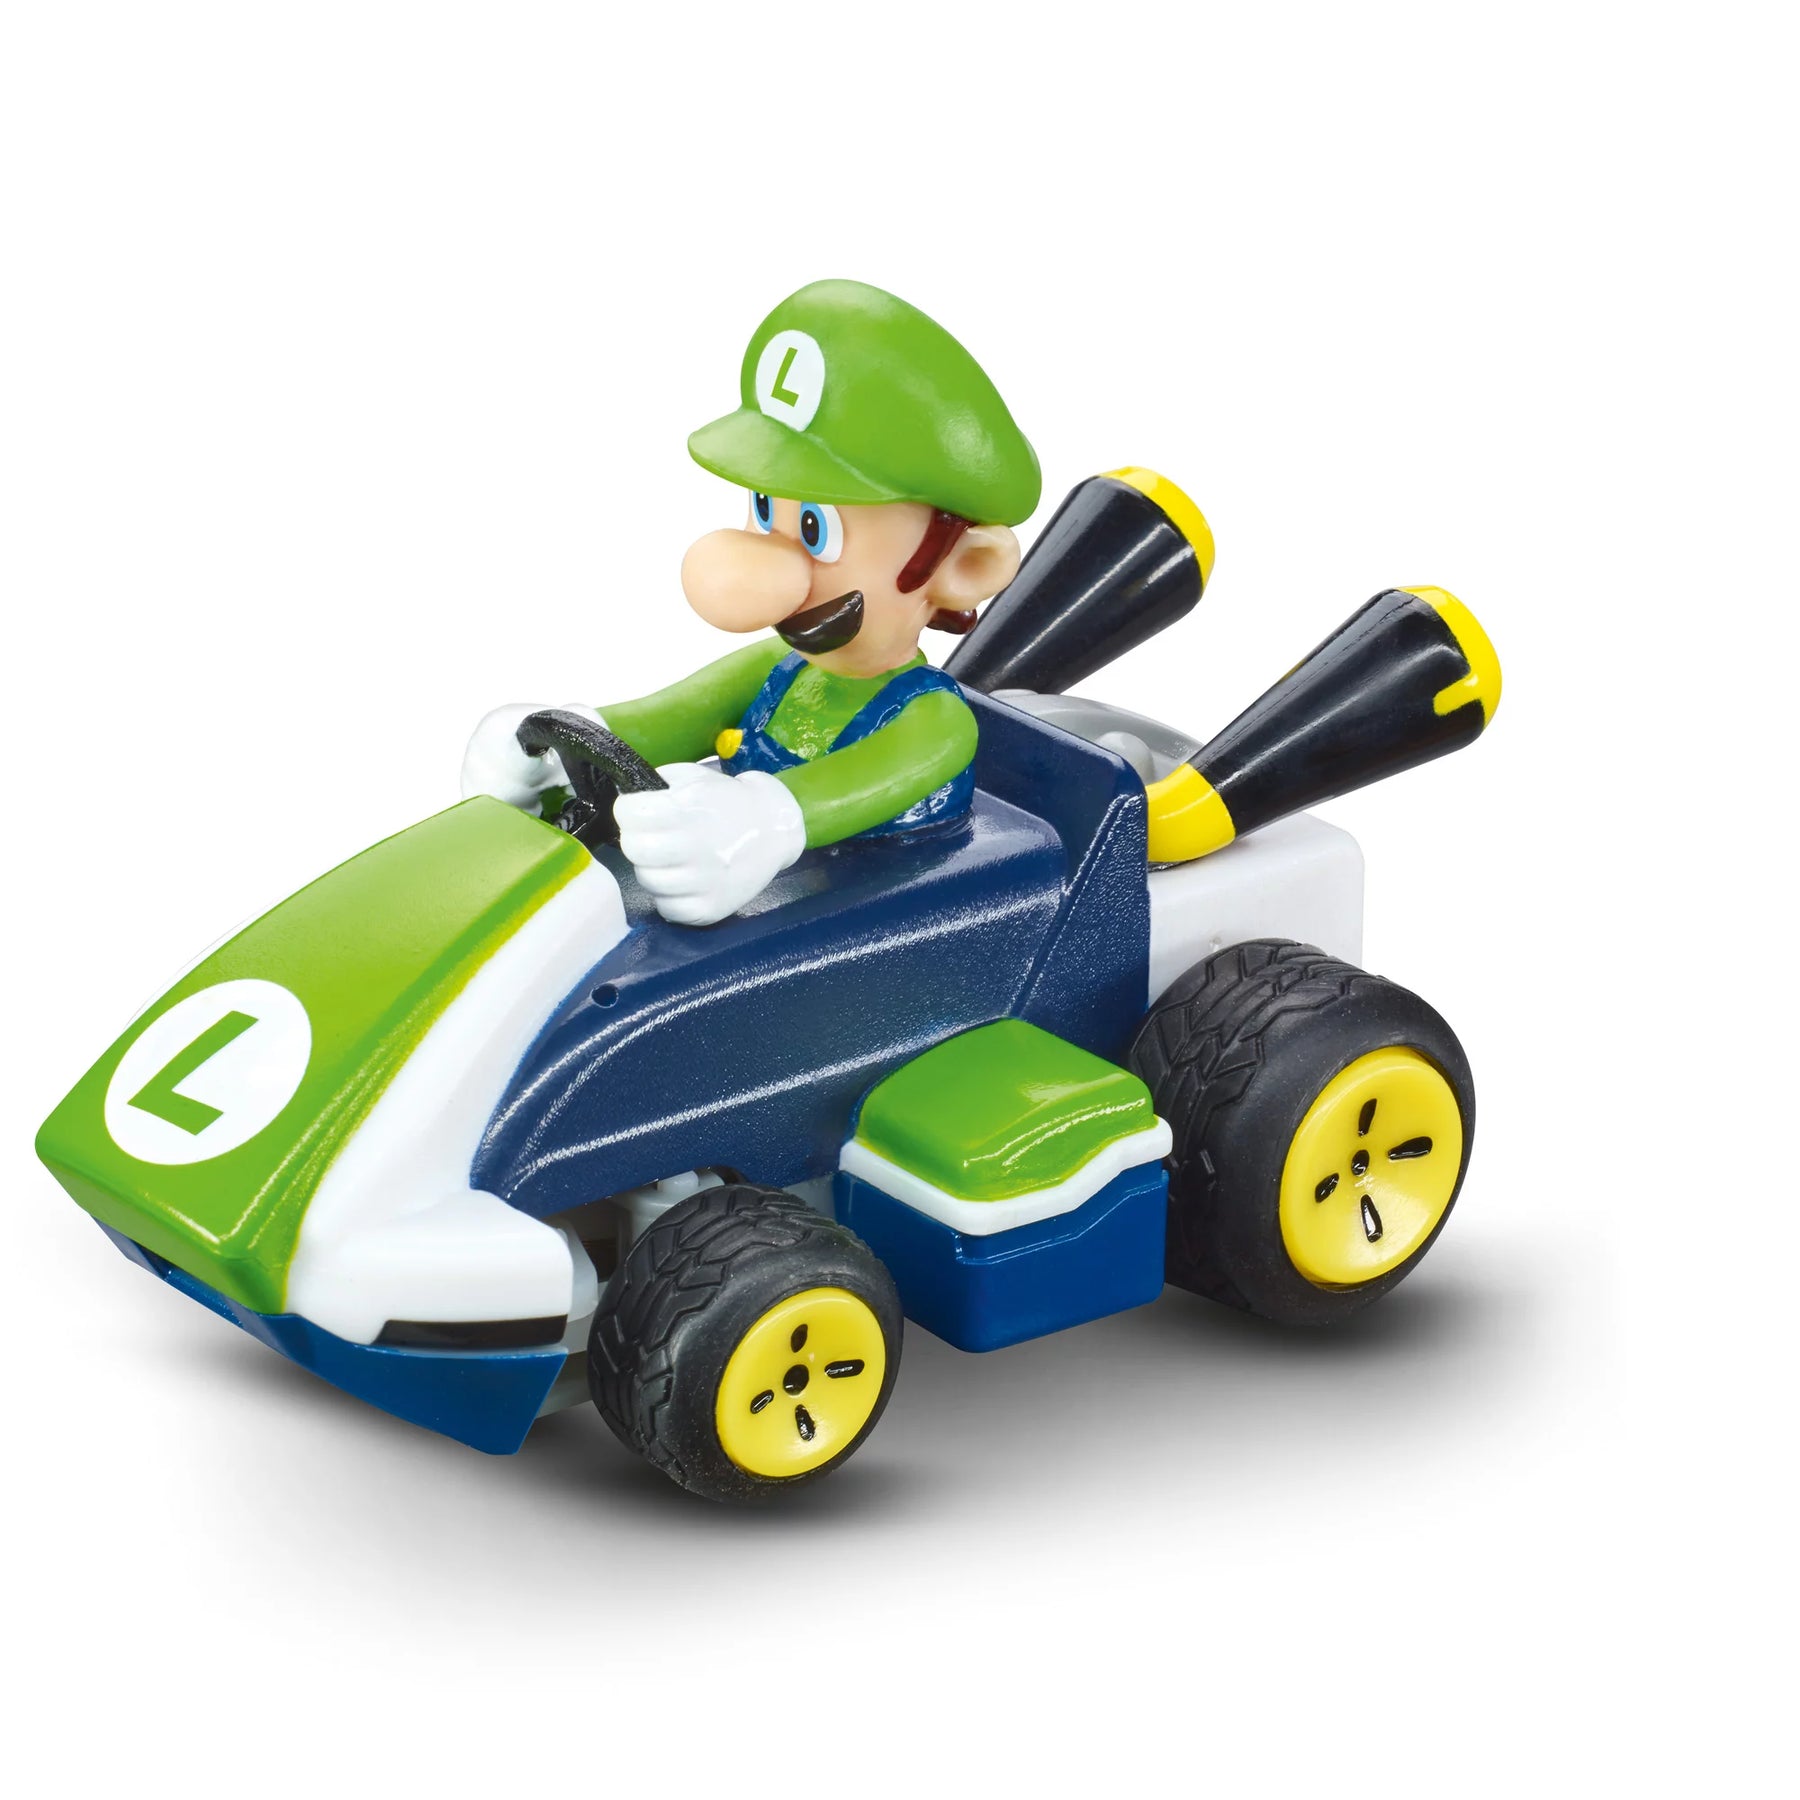
Remote-controlled action for racing fans, adventurers, and collectors

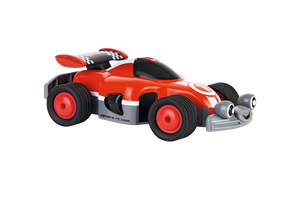
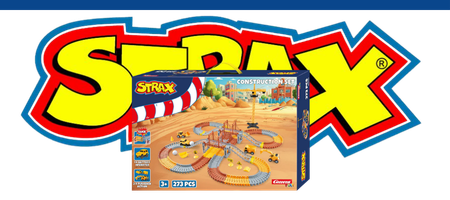
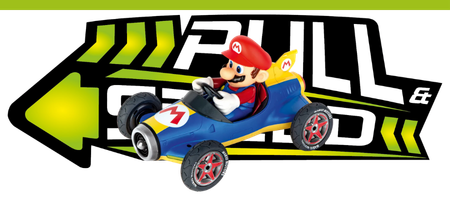
Licensed vehicles and theme worlds with recognition value